This post may contain affiliate links. Please read our disclosure policy.
Now that December is here, we can’t wait to share this idea with you! If you love to set your table in a special way for the holidays, you will love this DIY Snowman place setting. If you have a special “kids table” at your house for get togethers, then the kids will LOVE this too!
Today I’ll show you how we assemble a snowman place setting with simple supplies. It’s so adorable!
Snowman Place Setting
Materials Needed to Make a Snowman with Plates
- White plates in 2 sizes. We happen to have white glass plates, but you could always use paper plates or disposable plastic plates too! Use whatever works best for you:)
- Buttons. I got these red and green ones at Hobby Lobby.
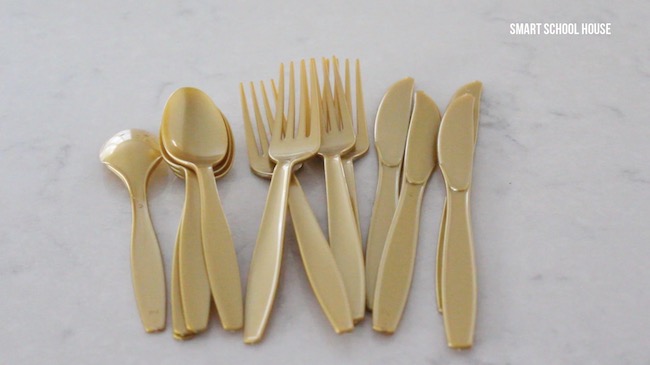
- Gold utensils: fork, spoon, and knife.
- Orange construction paper
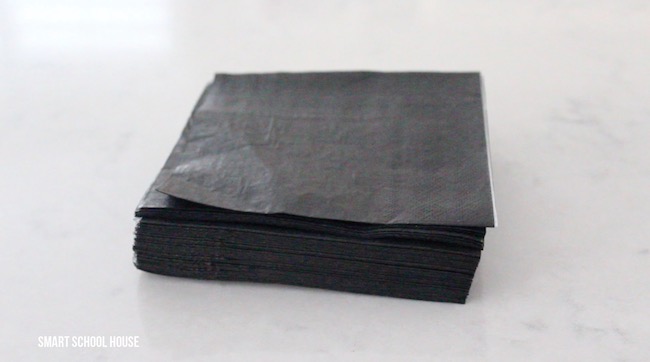
- Black cocktails size napkins
- Scissors
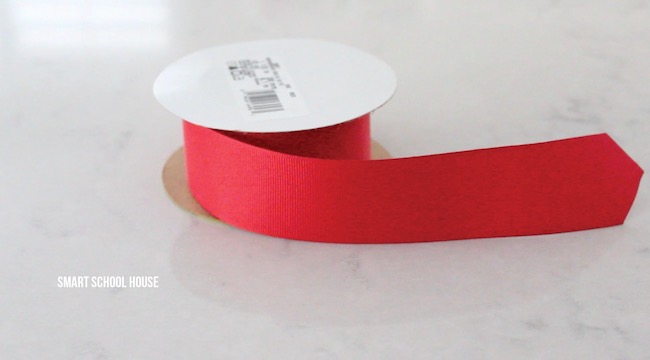
- Red ribbon
- Chocolate coal (found in the seasonal candy isle)
- Optional: novelty corn cob pipe. I found them at Hobby Lobby but Amazon sells them here too.
How to make a Snowman with Plates
Other DIY Christmas Crafts You Might Like:
- Mason Jar Lid Snow Globes
- Fish Bowl Snowman
- Candy Sleigh
- Giant Ornaments
- Penguins Sliding Down the Stairs
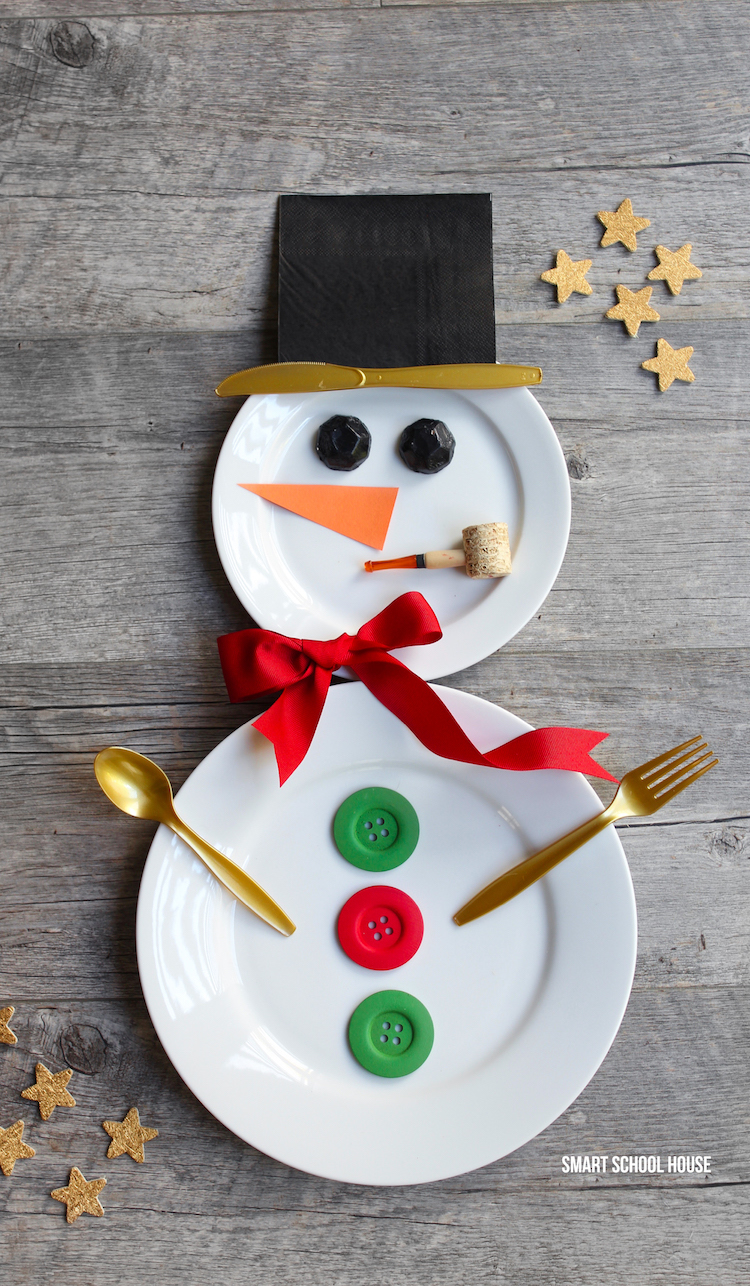
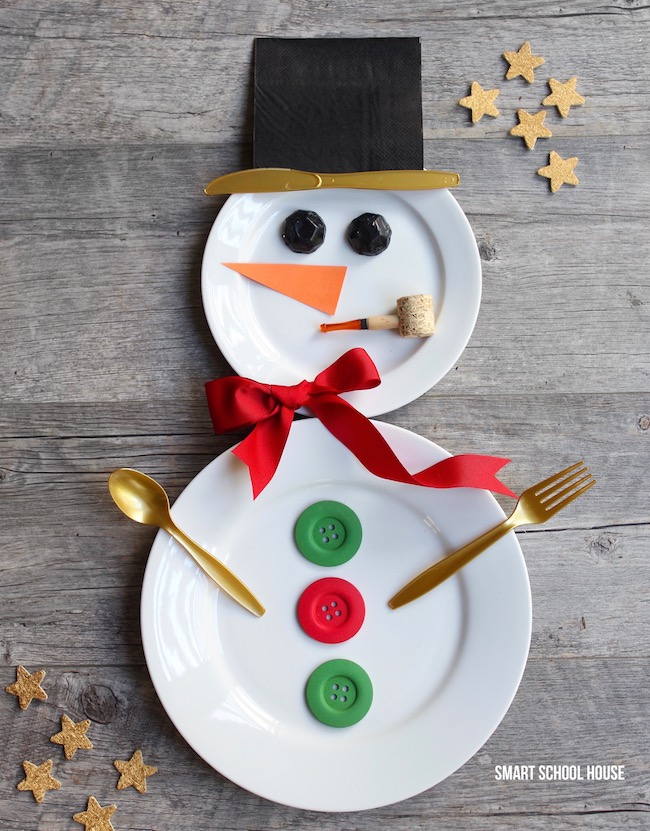
Isn’t he just the cutest?
I can think of a few people who would love to see this waiting for them at their spot on the table!
Snowman Place Setting
Print Here
You Will Need
- White plates in 2 sizes. We happen to have white glass plates, but you could always use paper plates or disposable plastic plates too! Use whatever works best for you:)
- Buttons. I got these red and green ones at Hobby Lobby.
- Gold utensils: fork, spoon, and knife.
- Orange construction paper
- Black cocktails size napkins
- Scissors
- Red ribbon
- Chocolate coal (found in the seasonal candy isle)
- Optional: novelty corn cob pipe. I found them at Hobby Lobby but Amazon sells them here too.
Directions
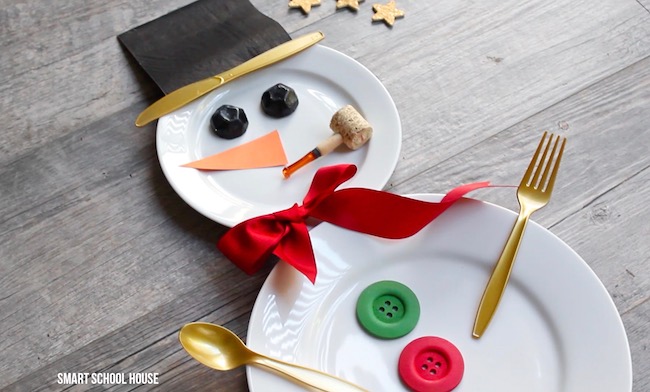
- Start by setting the plates out with the smaller one on top.
- Next, cut a triangle carrot for this nose out of orange construction paper
- Cut a long piece of red ribbon and tie it in a bow. Cut one strand of the ribbon shorter than the other so it resembles a scarf. Place the red ribbon “scarf” in between the two plates.
- Put the black napkin on top of his head and then place the golden knife on to to hold the napkin top hat in place.
- Give him arms by using the fork and spoon.
- Add buttons, chocolate coal eyes, and a corn cob pipe.


SO cute! That and the fishbowl snowman, and I am well on the way to great decorating this season! Thanks, SmartSchoolHouse!! Such creative ideas!!!