This post may contain affiliate links. Please read our disclosure policy.
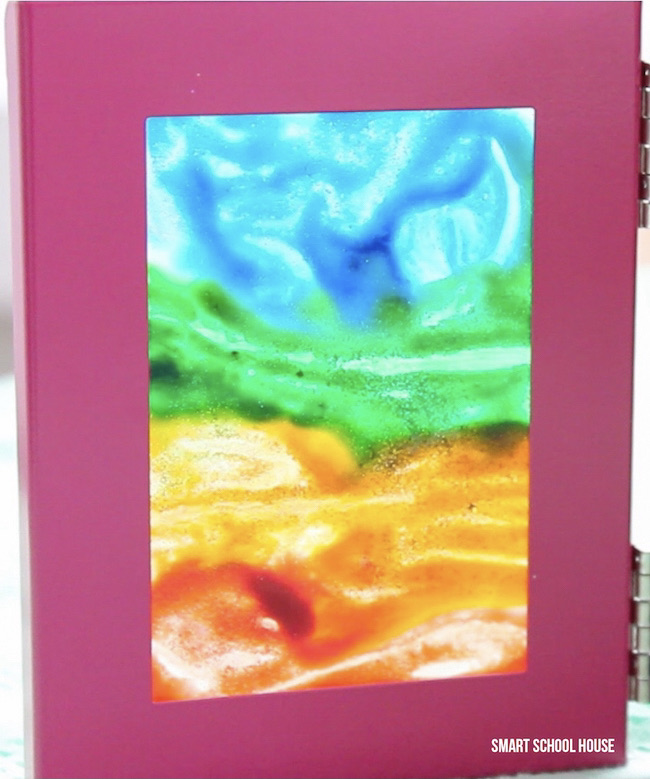
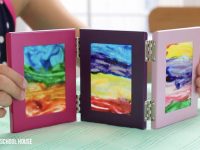
No matter what the weather is outside, these Stained Glass crafts will brighten up your day! This DIY Stained Glass for Kids is both a calming craft and is fun to decorate with (or give as gifts!). Beautiful, bright stained glass is something children are drawn to. The rainbow of blended colors and shapes are like puzzles of light. Can you believe this gorgeous craft was made using simple glue and food coloring? We love it!
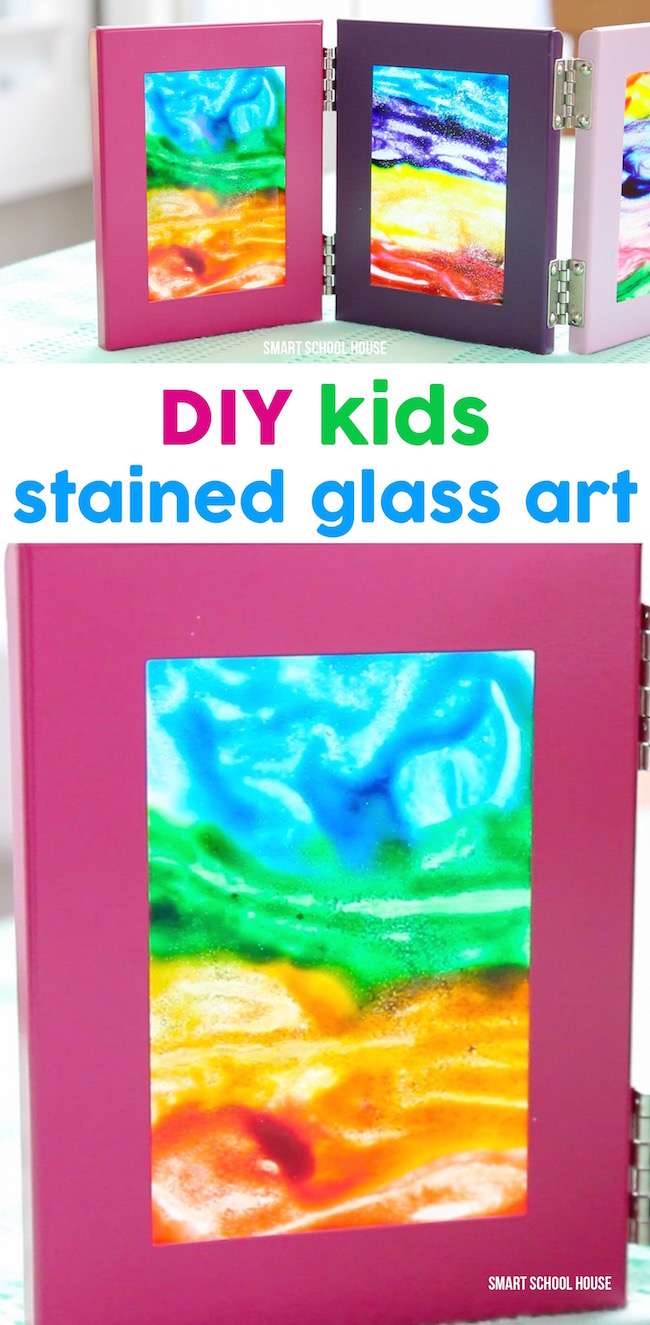
DIY Stained Glass for Kids
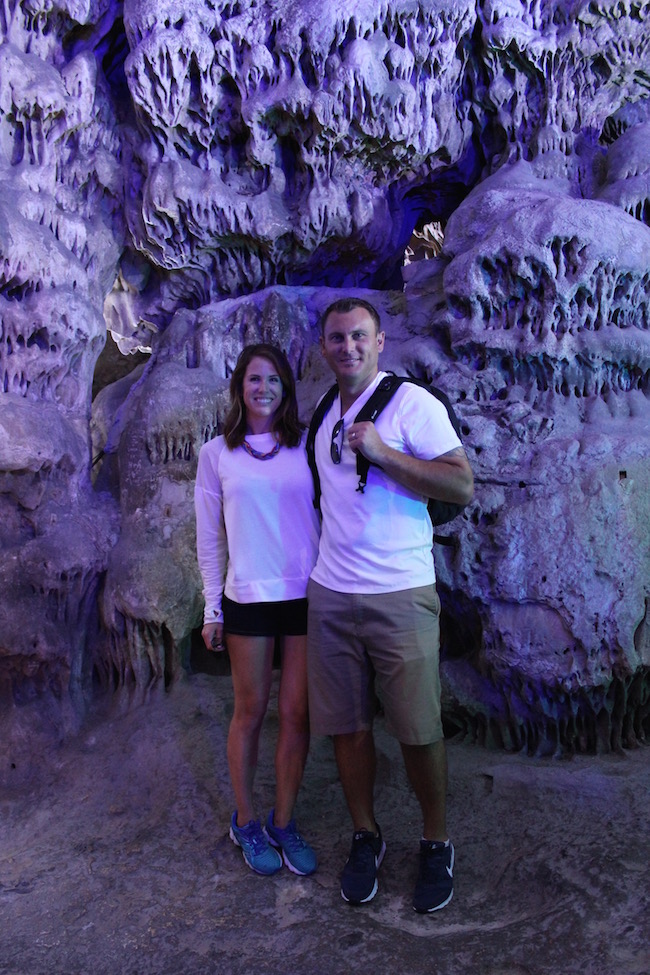
We recently sailed around the Mediterranean Sea on the Royal Princess cruise ship. It was a beautiful trip that we miss so much already! My husband and I went together and sent as many pictures of our experience as we could back to our kids in California throughout the trip. Once we got home I started to think of ways that I could share my experience with them in a way that would be fun and interesting. During our cruise, we stopped in Gibraltar (details about that here), which is filled with monkeys and colorful caves.
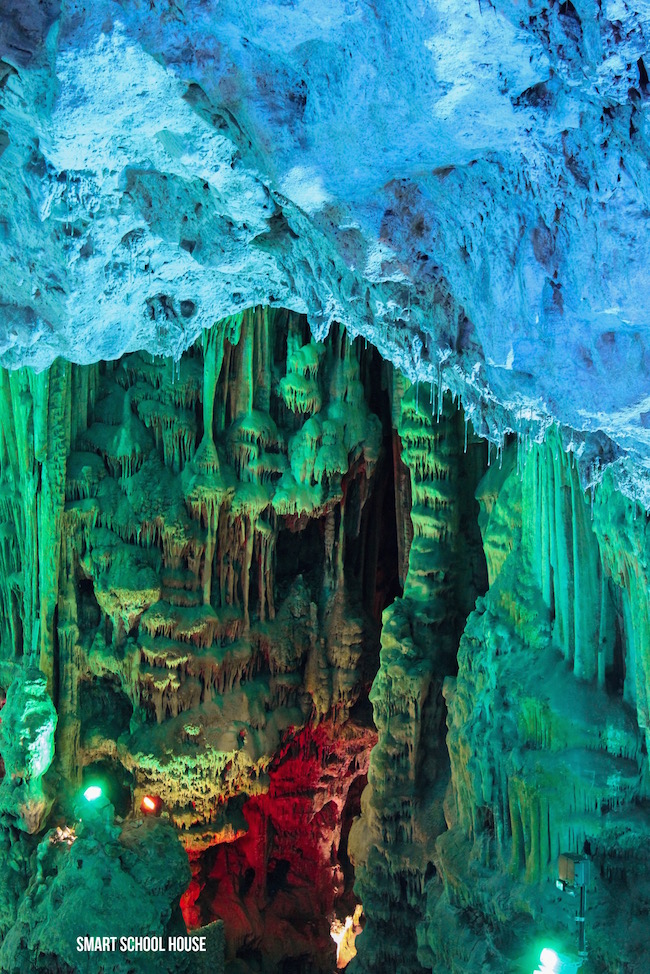
The kids would have loved it here! I showed them the pictures from inside St. Michael’s cave in Gibraltar (it looks unreal!). So, we gathered up some craft supplies and made some DIY kids stained glass art inspired by these colorful caves we saw in Gibraltar.
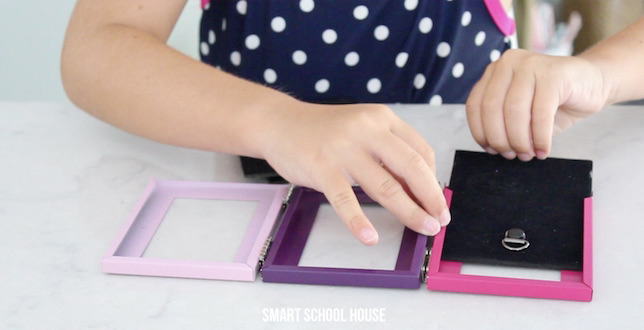
We used a small tri-fold picture fram from our local craft store for this craft. You can use ANY size picture frame, so consider going to the dollar store for a really budget-friendly craft.
DIY Stained Glass for Kids
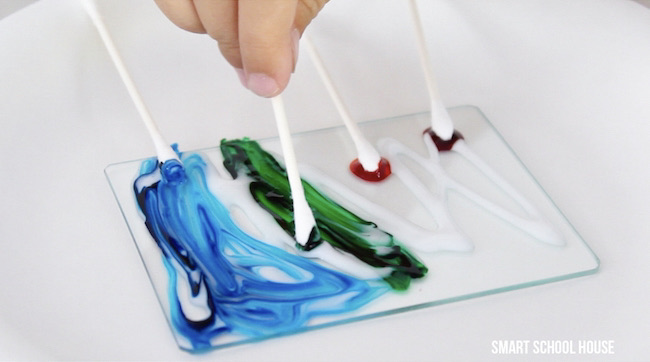
As seen in the video, remove the backing and the glass from the picture frame(s). Drizzle some basic white craft glue over the glass. Then, dip a cotton swab in some food coloring and create your masterpiece over the glue.
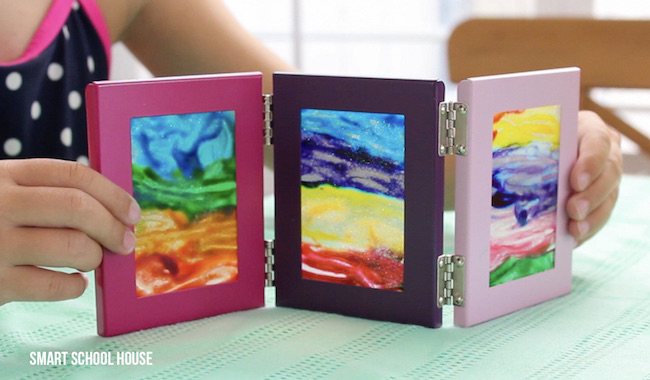
Let the glass dry, and maybe even add some glitter for extra pizzaz:) There is no wrong way to do this craft. Kids are always so proud of themselves when their masterpiece is dry. Seeing the sun shine through is magical for them!
Our frames were able to hold the glass in place. Depending on the frame you choose to use, you might need to help the glass stay in place (hot glue around the edges would work!).
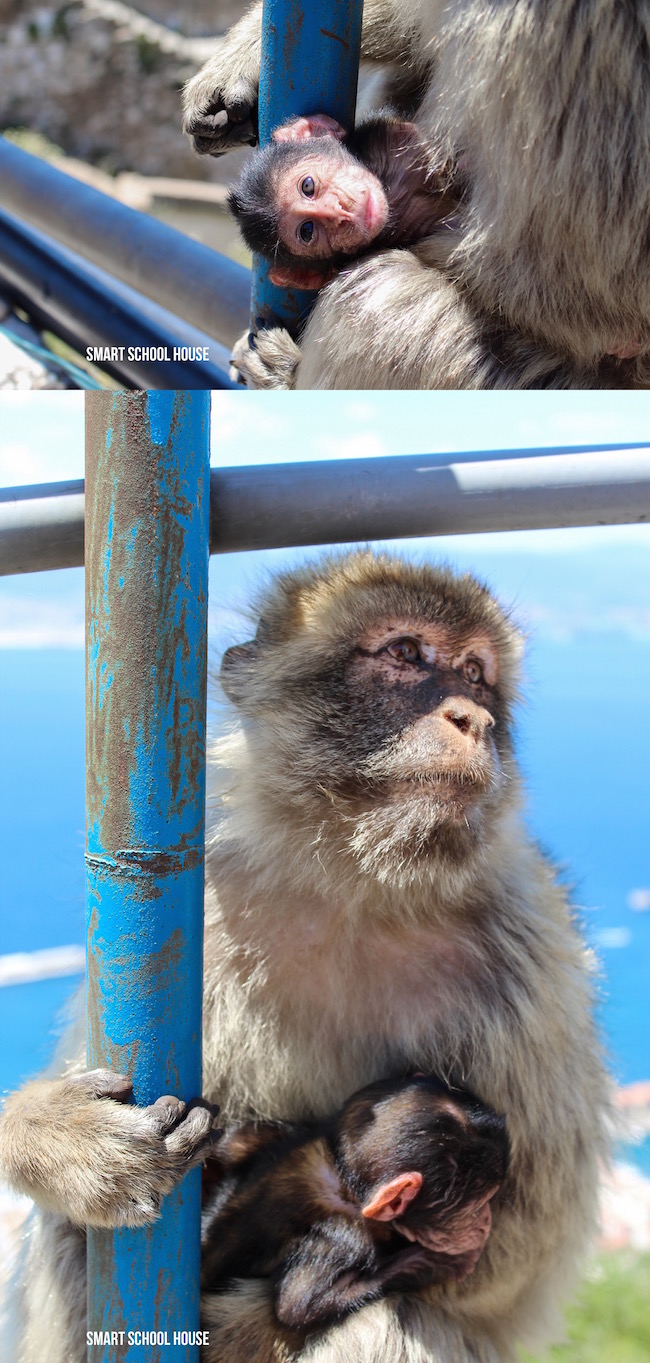
Have you heard about the monkeys in Gibraltar? Oh yes…. the monkeys! My kids would have loved them! These monkeys hang on the very edge of the cliff. It’s scary to watch but they do it so naturally! There was nothing but a cliff on the other side of this mama monkey. Simply amazing!
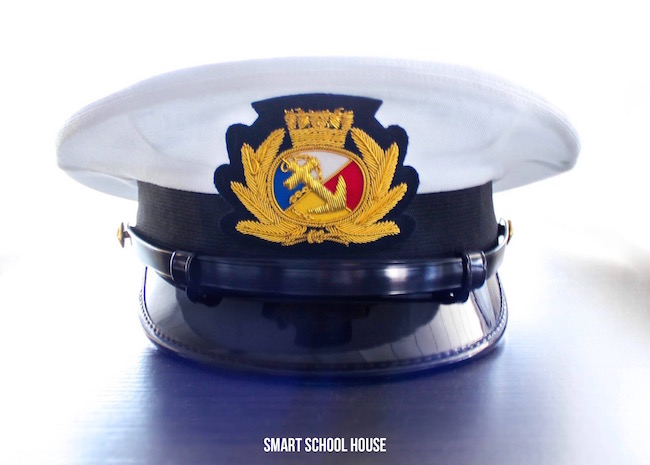
Our Mediterranean cruise was so fun and we learned so much. There were lots of things that the kids would have liked on the ship too! We got to meet with the captain….
More Crafts for Kids to Try Next:
DIY Stained Glass Art for Kids
You Will Need
- Picture frame with glass and removable backing
- Elmer’s glue
- Gel food coloring
- Cotton swabs
- Paper plate or paper towels
- Extra fine glitter (optional)
Directions
- Carefully remove the backing from the frame(s).
- Place the glass on a paper plate or paper towel.
- Squeeze glue onto one side of the glass.
- Show your kiddo some colorful pictures of inspiration, like the St. Michael’s cave!
- Let your kids pick out 4-6 colors using the gel food coloring.
- Put a little bit of food coloring on the end of a cotton swab.
- Mix the glue and the food coloring with the cotton swab until the glass is completely painted (as seen in the video).
- Sprinkle on some extra fine glitter (optional).
- Let the glass dry over night.
- Put the glass into the frame (without the backing) and display it in front of light.


