Whipped Cream Dyed Easter Eggs
0
Published: Mar 26, 2021
Updated: Feb 07, 2024
This post may contain affiliate links. Please read our disclosure policy.
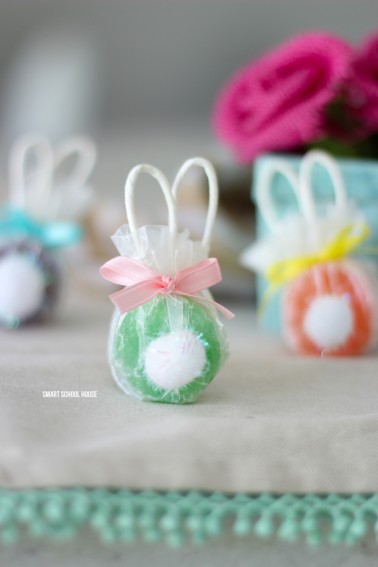
Whipped Cream Dyed Easter Eggs are a fun and easy way to create pastel tie-dye eggs for the holiday! One of the things kids look forward to most at Easter is dying eggs. There are many ways to decorate Easter eggs, but I love that these whipped cream Easter eggs don’t require smelly vinegar. The pastel tie-dye eggs created by the whipped cream and food coloring are AMAZING!

Whipped Cream Dyed Easter Eggs
This is a project you can get even the littlest hands involved in, and everyone will have fun. I like to eat the hard-boiled eggs later – making deviled eggs, egg salad, or just eating them for a snack Whipped Cream Dyed Eggs are super simple and so much fun. One can of whipped cream easily works for one dozen eggs. Whipped Cream Easter Eggs are a sensible and edible way to dye eggs.
Pin this now to save it for later
Pin It Now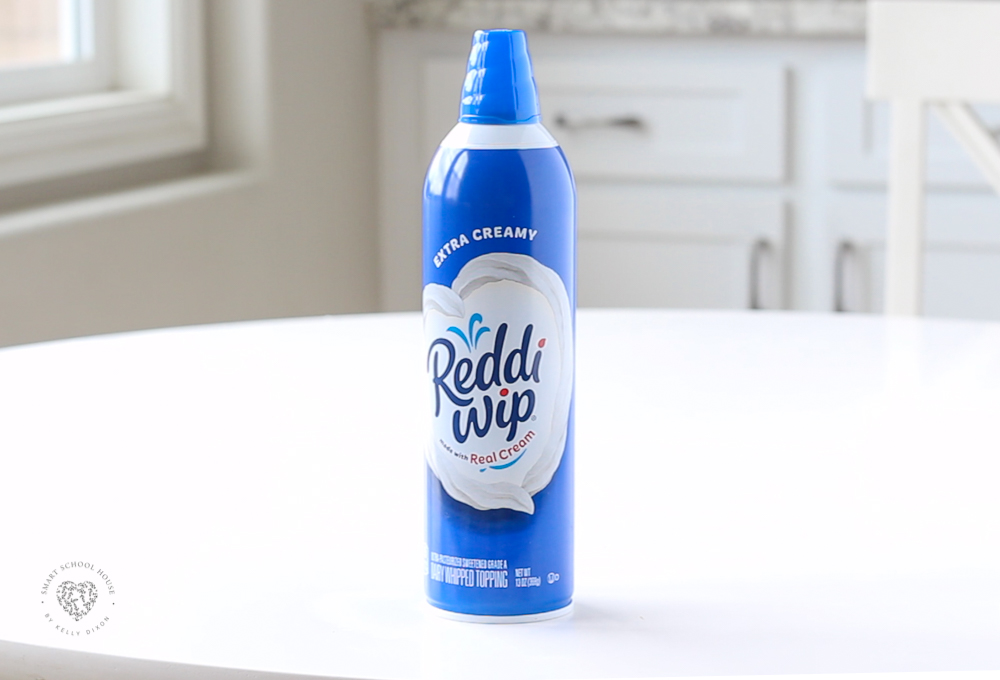
Supplies:
- Whipped Cream – 1 can per dozen eggs
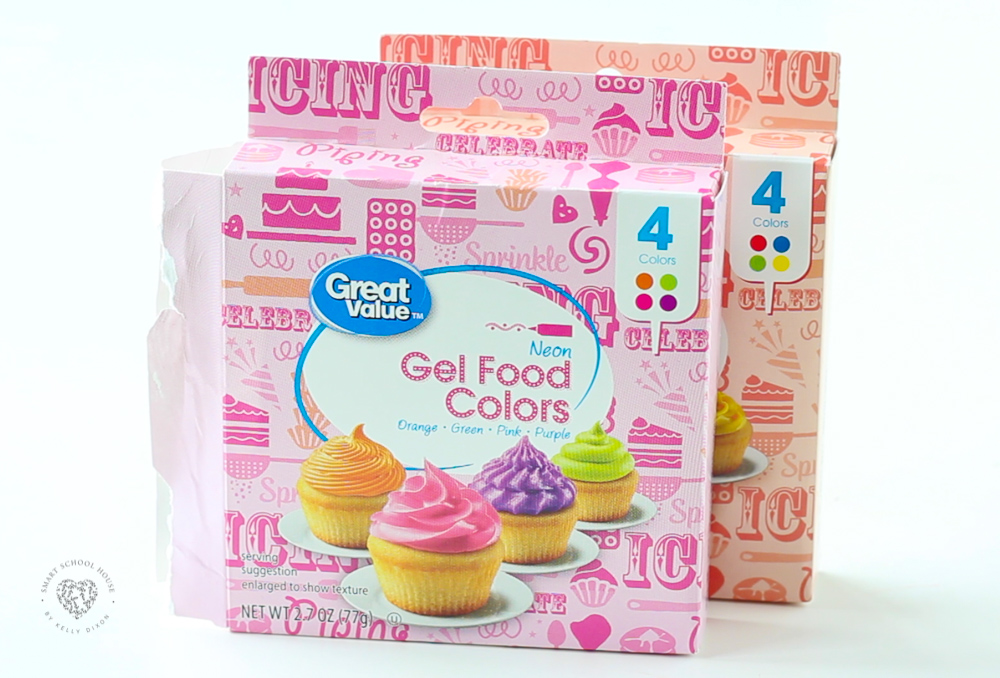
- Gel food coloring – must be gel!
- Sandwich baggies
- Hardboiled Eggs
- Baking sheet
- Paper towels
Recipe Tip
The key to getting vibrant colors dyed on the eggs is gel food coloring. You can find gel food coloring at any grocery store in the baking aisle (or you can purchase some online here). The gel coloring doesn’t drip as easily as the traditional food coloring because it has a thicker consistency. The neon colors work very well for dying Easter eggs! I love the pink and purple in the neon variety so much. Blue from the regular variety works very well. It’s fun to have a variety of colors!
Instructions:
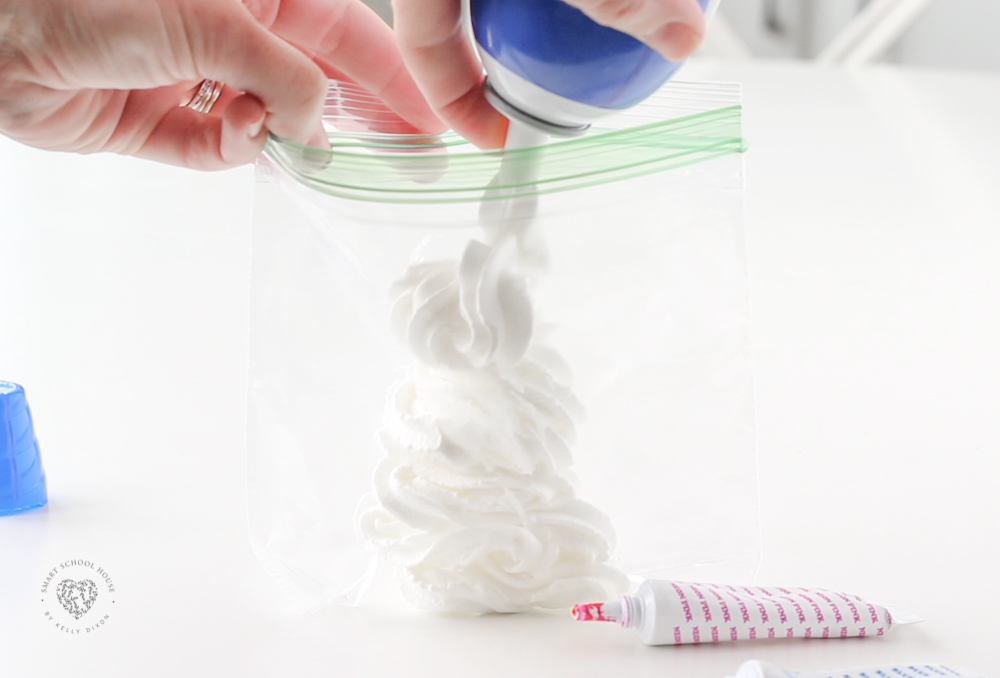
As seen in the video we made, simply put some whipped cream into the sandwich baggie. It doesn’t take a whole lot! Then, you add about 4-6 “drops” of the gel food coloring. Separate the drops of coloring as opposed to putting different colors right on top of each other.
I find that using 2-4 colors works best. If you mix in more colors, there’s a better chance the colors will blend quickly into a funky shade. For some reason, I find that green food coloring is the hardest to work with for this Easter craft. It tends to turn other colors brown very easily. In addition to pink, purple, and blue, orange and yellow work really well too!

Once the colors are in the bag, drop in one hardboiled egg and zip the top closed. GENTLY roll the egg around in the whipped cream until it is covered. The key is to not over-mix the colors inside the bag. Show the kiddos how to carefully roll the egg around without mixing the whipped cream up entirely. Place the baggies with eggs in the refrigerator for about 10-20 minutes.

While they are in the fridge, line a baking sheet with a couple of layers of paper towels. Give them a quick rinse of water in the sink. There’s no need to wash them too much because you want the color to stay on. Just rinse the whipped cream off quickly:) Place them on the paper towel-covered baking sheet to dry. Happy Easter!
More Easter Crafts


How to Dye Eggs with Whipped Cream

Whipped Cream Dyed Easter Eggs
Supplies
- Whipped Cream – 1 can per dozen eggs
- Gel food coloring – must be gel!
- Sandwich baggies
- Hardboiled Eggs
- Baking sheet
- Paper towels
Instructions
- Put a little whipped cream in a sandwich baggie (as pictured)
- Add 4-6 drops of food coloring in the bag, in different sections. TIP: For some reason, we don’t have luck with green. We think it turns brown easily when mixed with other colors.
- Place one hardboiled egg into the bag
- Seal the bag closed
- Gently roll the hardboiled egg around in the whipped cream and food coloring until the egg is covered in color. TIP: don’t mix the colors too much! Too much blending will create a funky color. You want that tie-dye effect, so don’t over mix.
- Refrigerate the eggs in their baggies for 10-20 minutes
- Rinse the eggs in the sink – Don’t over rinse! Just quickly run the whipped cream off
- Place the wet eggs on a baking sheet covered with a few layers of paper towels


