This post may contain affiliate links. Please read our disclosure policy.
Elmer's Glue has partnered with Smart School House for this post
How to Make Glitter Glue Sponges
Learn the step by step instructions for how to make glitter glue sponges for classrooms, small group centers, homework, artwork, and more! No more mess of drippy glue puddles!
Glue sponges are my new go to for anything that requires kids and glue. In 4 simple steps, these glue sponges will save your sanity! No more accidents and wasted glue. This trick will be one to share with all the moms and teachers you know!
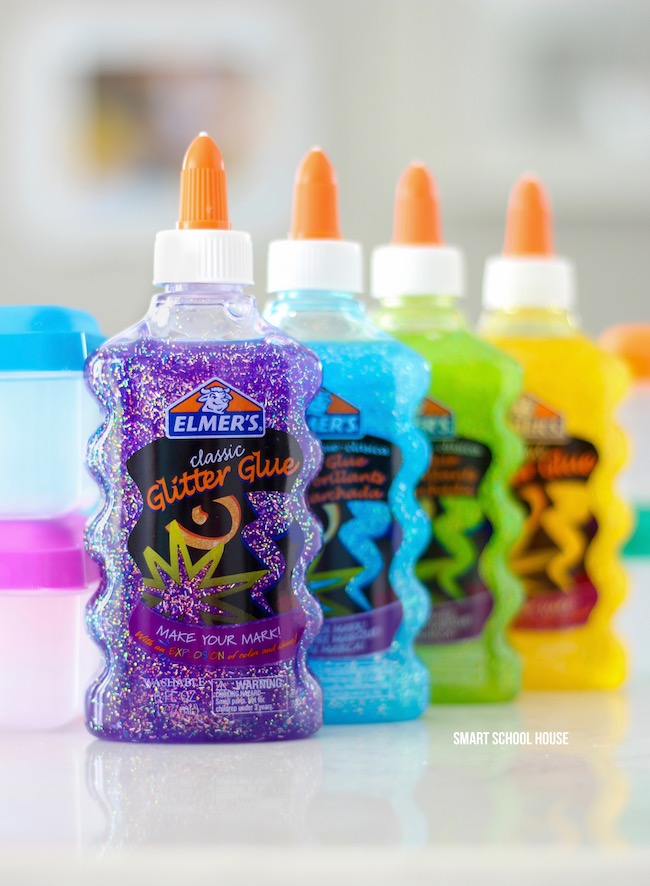
These sponges don’t require using glitter glue, but we sure do love it! Elmer’s School Glue, or even Elmer’s Clear School Glue will both work. If you’re wanting to make a small learning center extra special, or if you need to make activity more geared toward sensory learning, definitely use Elmer’s Classic Glitter Glue. It adds a bold, glittery pop to craft and school projects. Plus, it is washable, safe and non-toxic.
What do we use glue sponges for? HOMEWORK! My kiddos are little, so various cutting and pasting activities are usually part of our weekly homework assignments. Every teacher knows, there is something about glitter glue that makes life so much more exciting for students!
What is a glue sponge?
A glue sponge is a DIY technique using a sponge that will prevent over using glue (as in, messes on tables, desks, and paper).
How do you use a glue sponge?
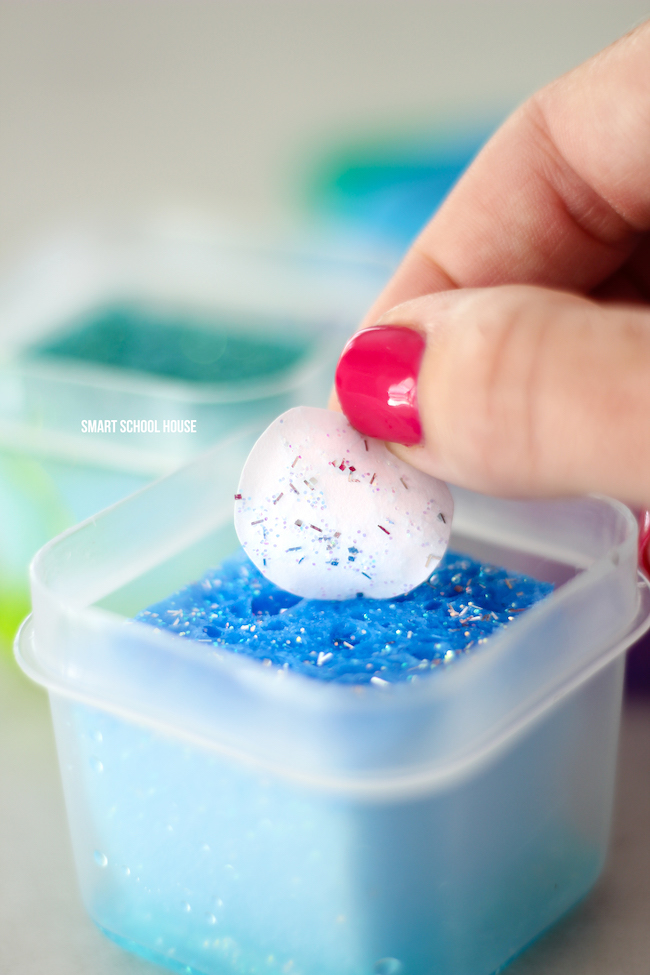
To use them, just dab the paper on top of the glue sponge. Just the right amount of glue will be added to the paper. The glue bottle will go a long way with this technique!
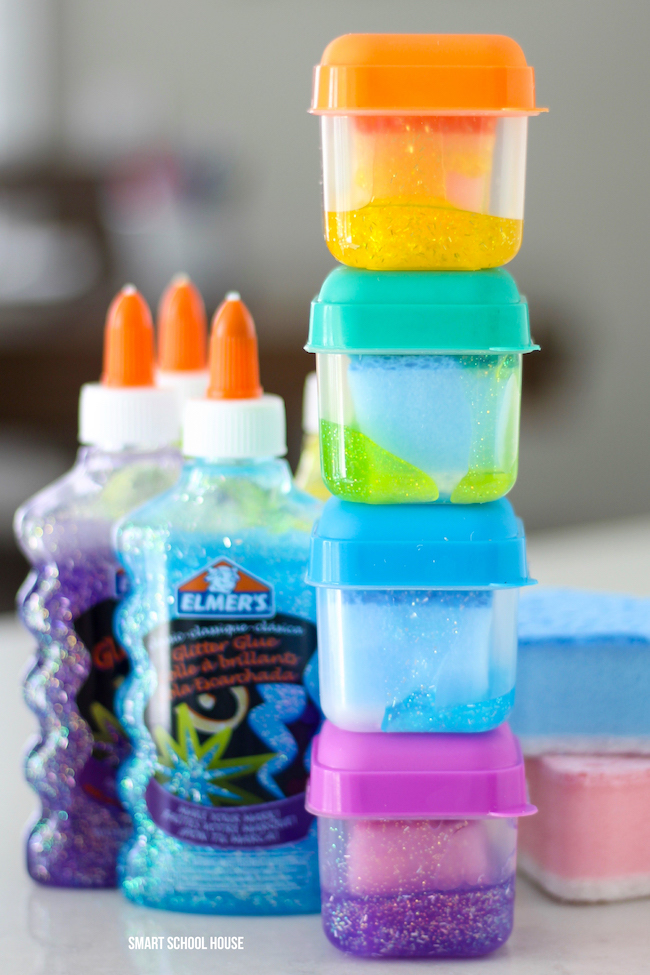
Supplies Needed to Make Glue Sponges:
- Elmer’s Classic Glitter Glue
- Plastic containers with lids (any size)
- Sponges
- Scissors
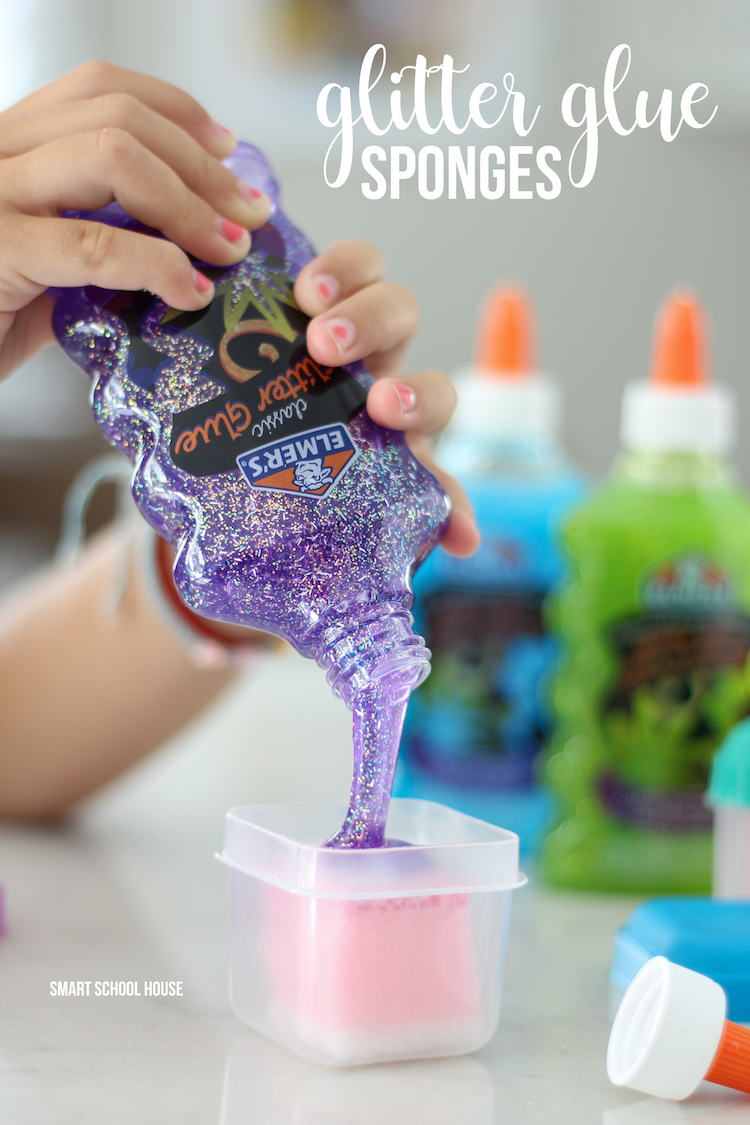
How to make Glitter Glue Sponges
- Cut the sponges to fit the plastic containers you plan to use. We are just using them at home so our containers are small. I recommend larger containers for a classroom.
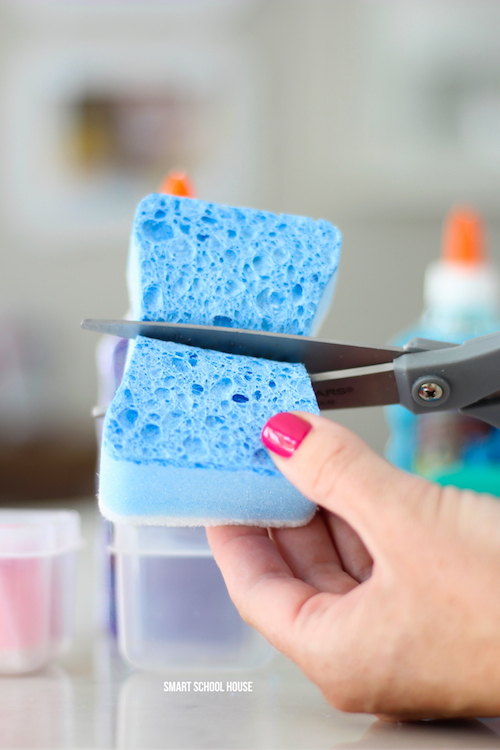
- Place the sponge into the plastic container. If your sponge has a “scrubber” side, place that on the bottom.
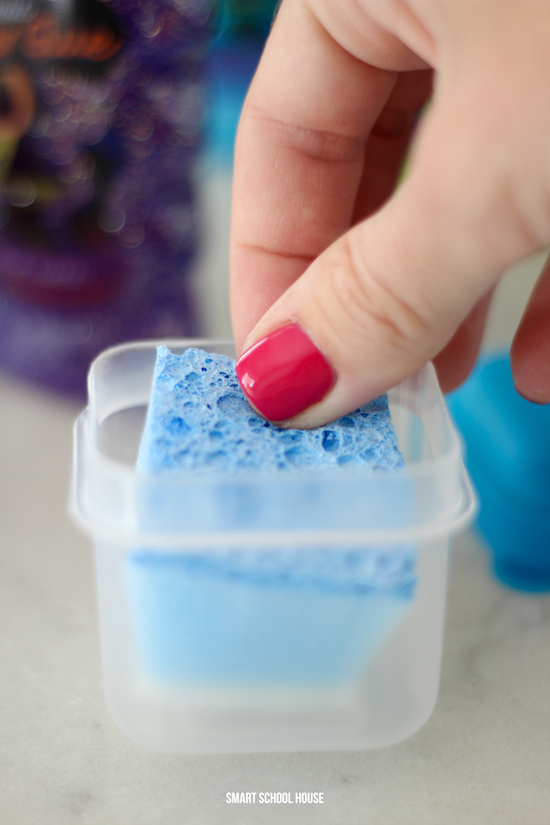
- Pour the glitter glue over the sponge until it is completely covered. Just a small amount of glue should sitting at the bottom of the container.
- Cover the plastic container and let the sponge absorb the glue over night.

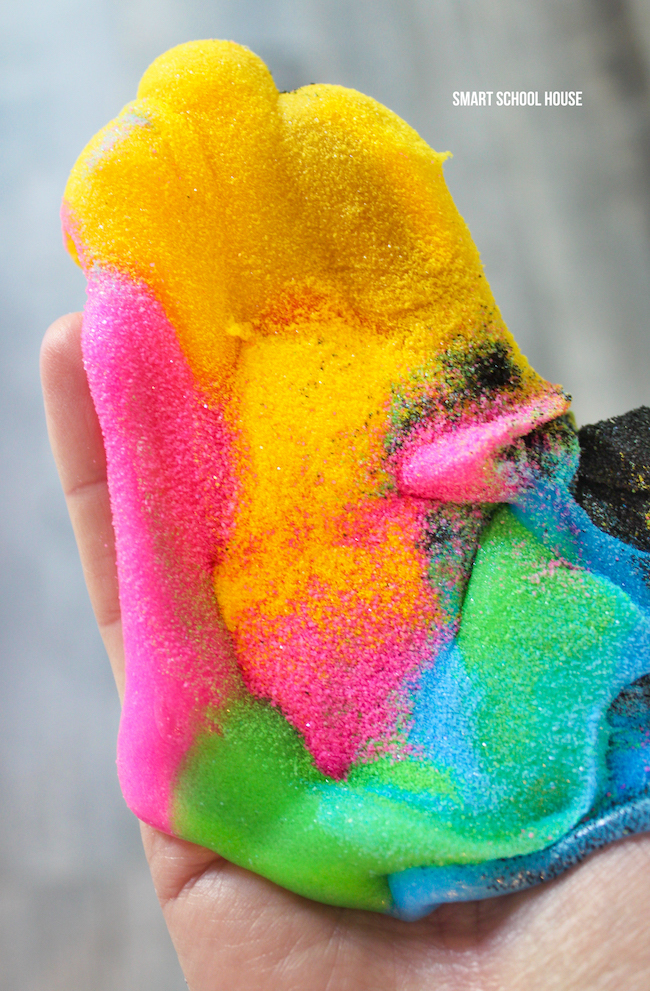
When you are ready to use the glue sponges, simply dip paper onto the sponge and you’ll see a glittery and sparkly surprise on the paper! So fun:)
After the kids are done using the glue sponges, be sure to place the lid back on top to prevent the sponge from drying out. Once the glue gets low, add more and let the sponge sit over night again. The sponges will be like new in the morning!
Are you looking for more activities using glue? Head over to our tutorial for making SAND SLIME!