This post may contain affiliate links. Please read our disclosure policy.
How to Gold Leaf Coasters
Written and photographed by Amy of A Blossoming Life
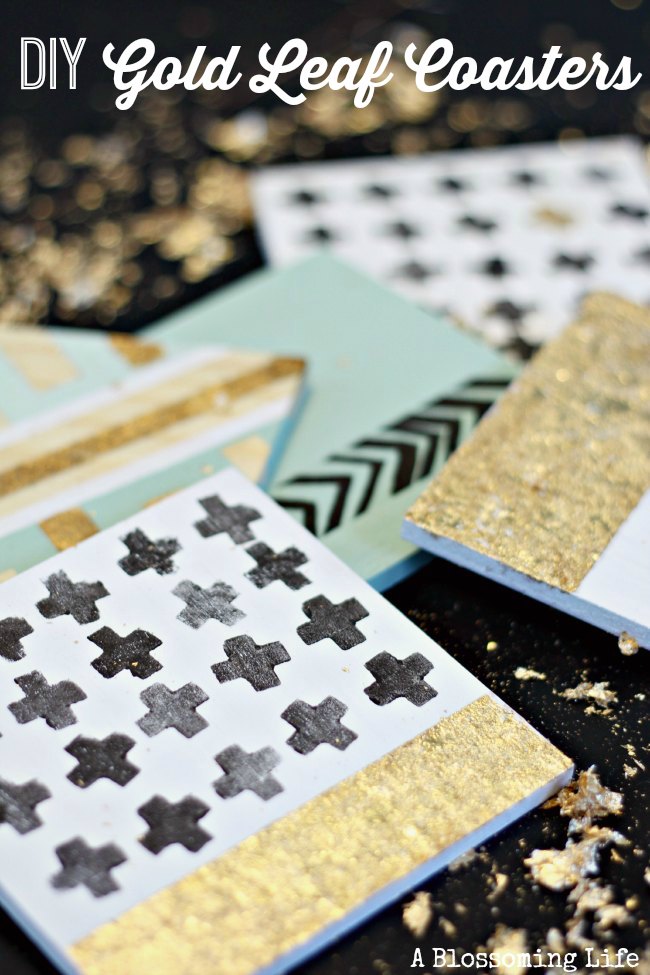
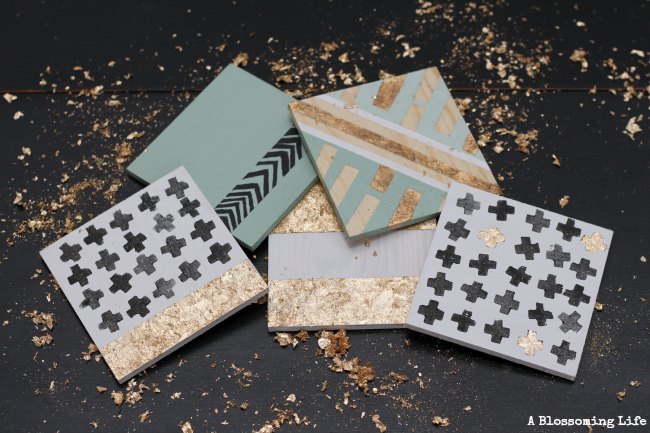
I love finding inspiration in everyday life. Everywhere you look there are beautiful things. Usually, when I find something I like, it sparks something in me to want to create something similar, but completely different. Today I want to share you this fun and simple gold leaf coasters. I got the inspiration from some Anthropology coasters but put my own twist. They will give your room that last bit of glam and would also be great gifts!
I love finding inspiration in everyday life. Everywhere you look there are beautiful things. Usually, when I find something I like, it sparks something in me to want to create something similar, but completely different. Today I want to share you this fun and simple gold leaf coasters. I got the inspiration from some Anthropology coasters but put my own twist. They will give your room that last bit of glam and would also be great gifts!
DIY Custom Gold Leaf Coasters
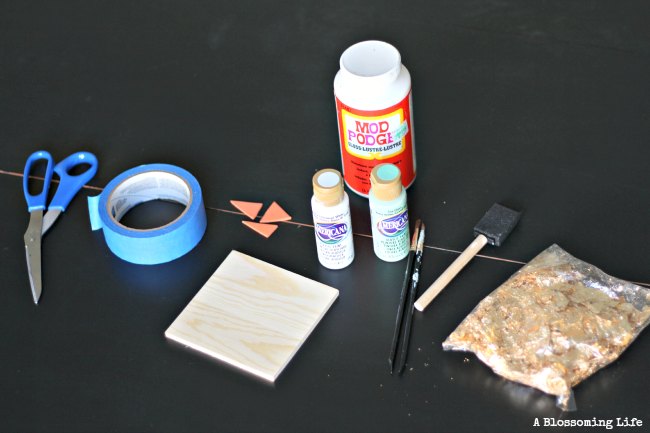
Materials:
- Gold leaf
- Craft Paint
- Coasters (purchased at hobby lobby)
- Paint brushes
- Mod Podge
- Painters tape
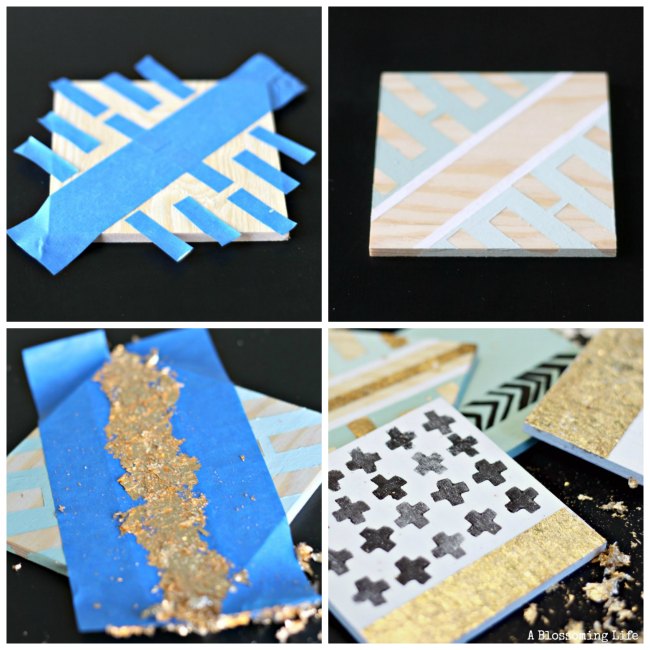
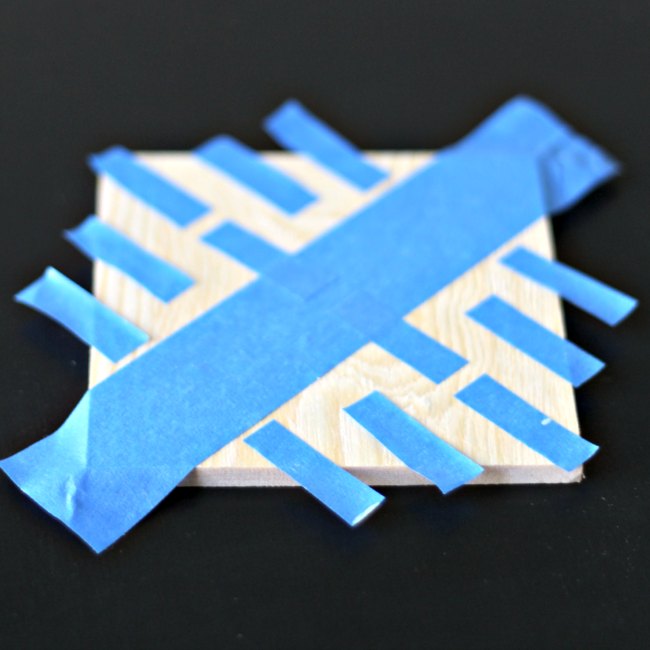
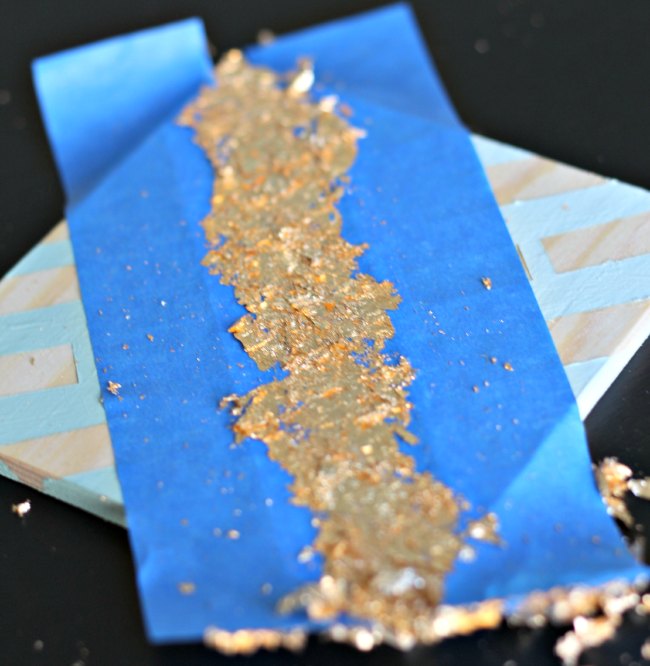
Directions: Decide a pattern or design you want to do. For the first few coasters, I used painters tape cut up into different sizes. The trick to really crisp lines is adding 2 thin coats of mod podge over the edges of the painters tape and allowing to dry before applying paint.
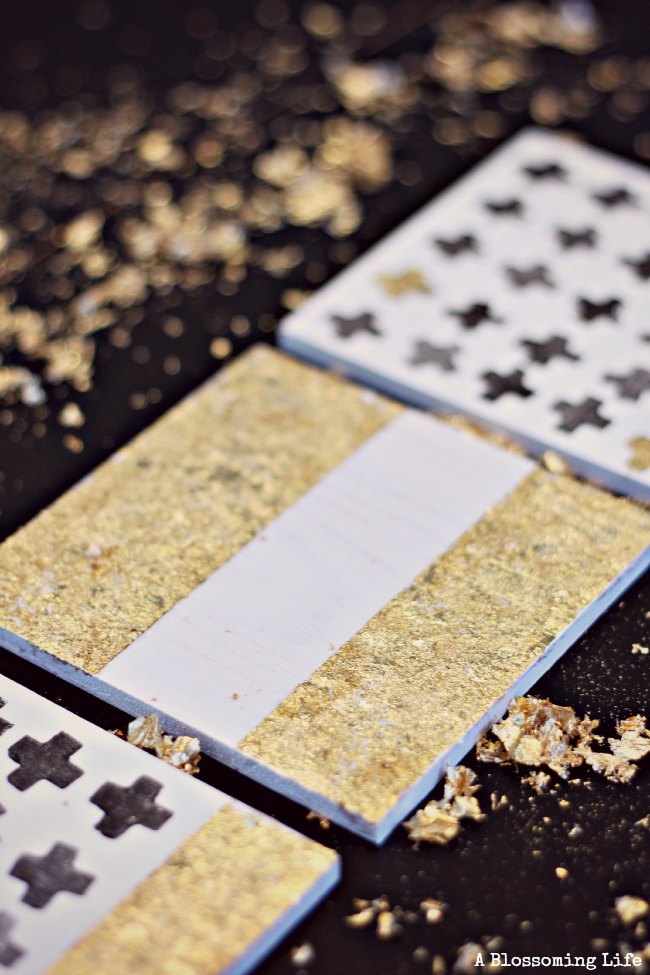
To apply the gold leaf apply a thick layer of mod podge (or a different water based glue) and using a dry fluffy brush, sweep the gold leaf unto the wet mod podge without touching the glue. Allow to dry, and gentry brush off excess gold leaf. Reapply gold leaf if needed.
Seal the entered coasters with a sealer or more mod podge.
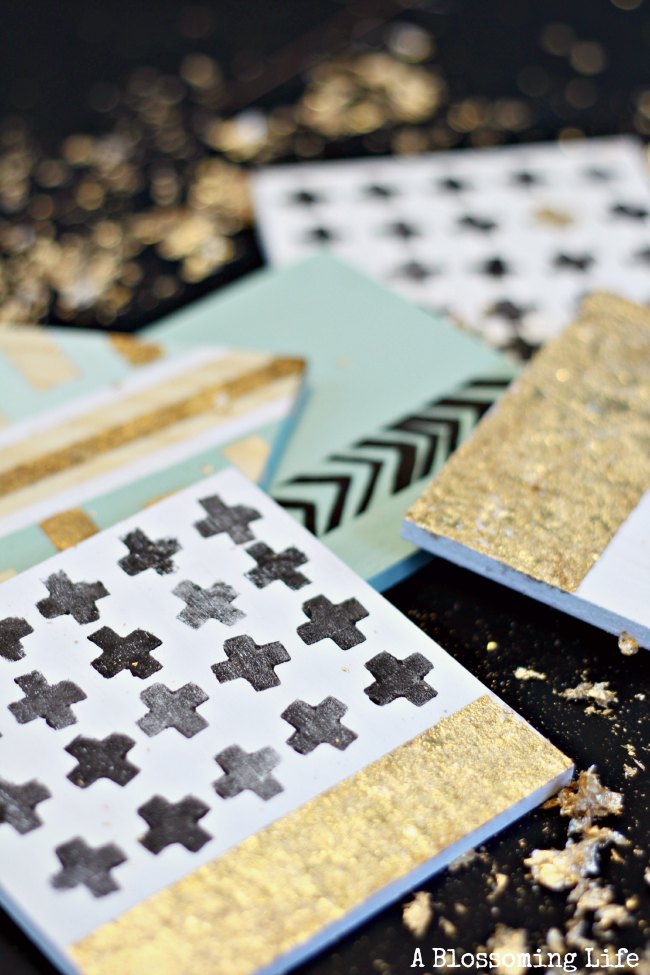
I also made my own stamp to create a fun pattern. See how to make your own stamp here.
You can use these fun techniques on anything from furniture to art. If you can dream it you can do it. You don’t need to live inside the box.
Thanks for hanging out y’all. What are you going to create?

1 Comment