This post may contain affiliate links. Please read our disclosure policy.
No Bake Cake
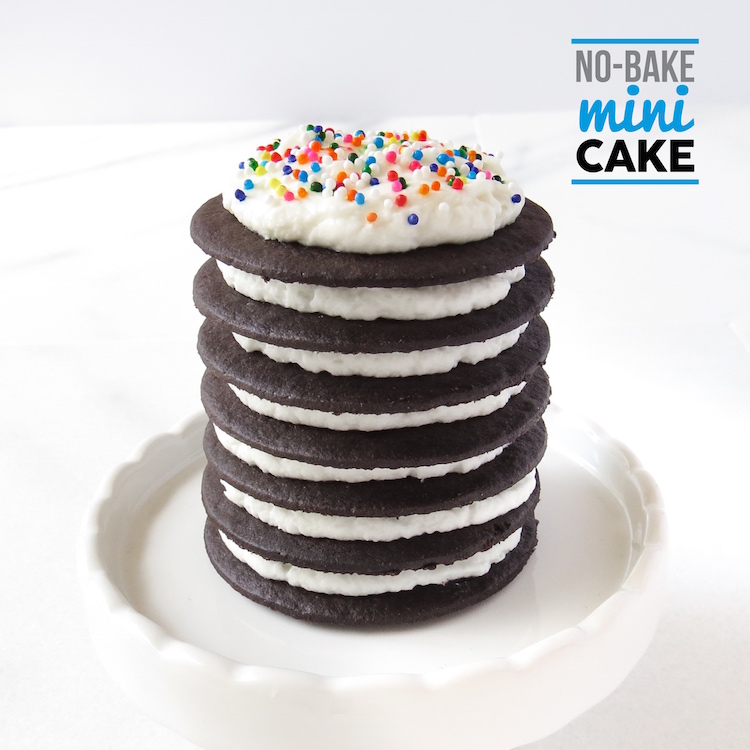
This no bake cake is so easy, my kids made it! So, here’s how the story goes: It was my birthday and my two young kids were way more excited about it than I was. It’s not that I don’t look forward to my birthday, I totally do! It’s that my kids now fully understand what birthdays mean: cake, ice cream, presents, and fun. I can’t blame them, I looked forward to birthdays just as much when I was little. In our house we love to bake. So, making a birthday cake was the plan! However, it was hot outside that day and I couldn’t get myself to turn the oven on. Insert- a no bake mini cake! They truly are miniature in size so we each got to make our own (perfect for when you’ve got kids in the kitchen!).
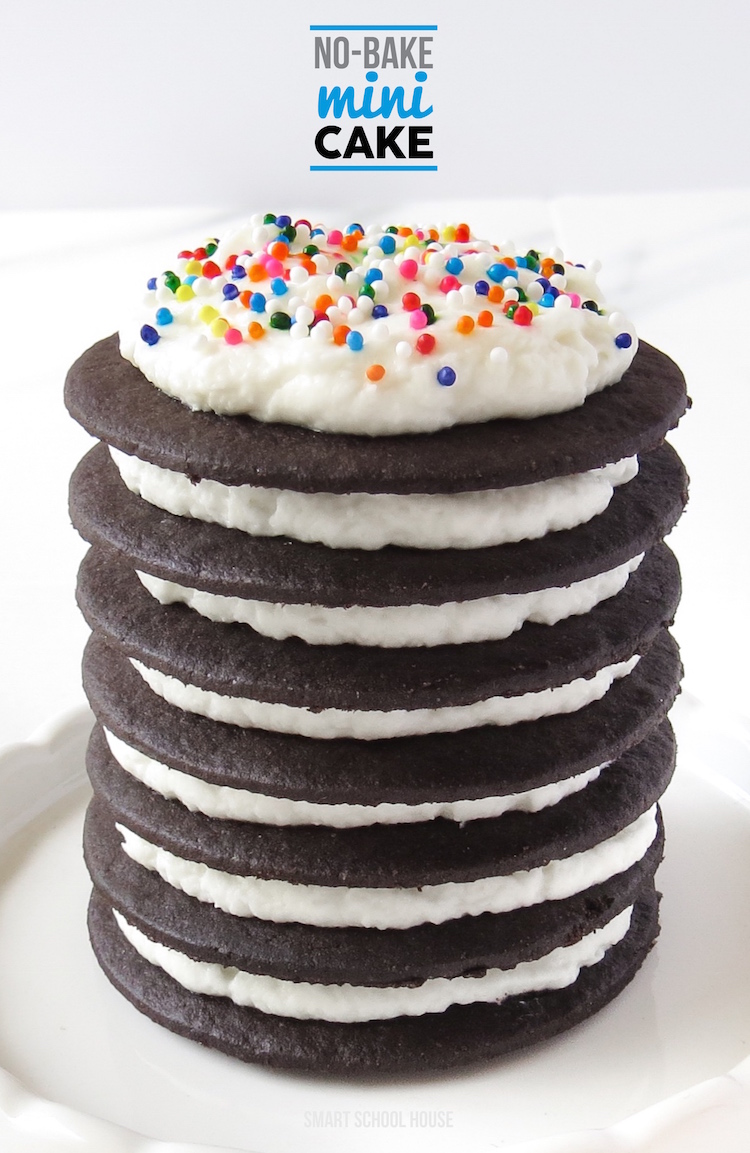
Have you ever heard of an icebox cake? An icebox cake is typically made with chocolate wafers and whipped cream. This no bake mini cake is very similar, but with a special twist.
For this no bake cake, you will need:
(associate links for convenience)
- Chocolate wafers (like THESE)
- 8 oz. package of cream cheese
- 2 cups of heavy whipping cream
- 1 teaspoon of butter vanilla flavoring (found HERE)
- 1/2 cup of plain white sugar
The butter vanilla flavoring is my absolute favorite! It gives this icebox cake more of a out of the oven taste. Butter makes everything better, right? The butter vanilla flavoring is very similar to vanilla extract, but it’s yummier. You can use it in everything that calls for regular vanilla extract- you can’t go wrong!
How to make a no-bake mini cake:
- Leave the cream cheese out for a little while before you start. It’s best if it’s at room temperature.
- Using an electric mixer, combine the sugar, vanilla butter emulsion, and the cream cheese. Whisk until fully combined and smooth.
- Turn the mixer on low and slowly add the heavy whipping cream.
- Once all of the whipping cream has been added, turn the mixer up to medium/high speed and whip it up! It will become thick and hold a shape when left alone.
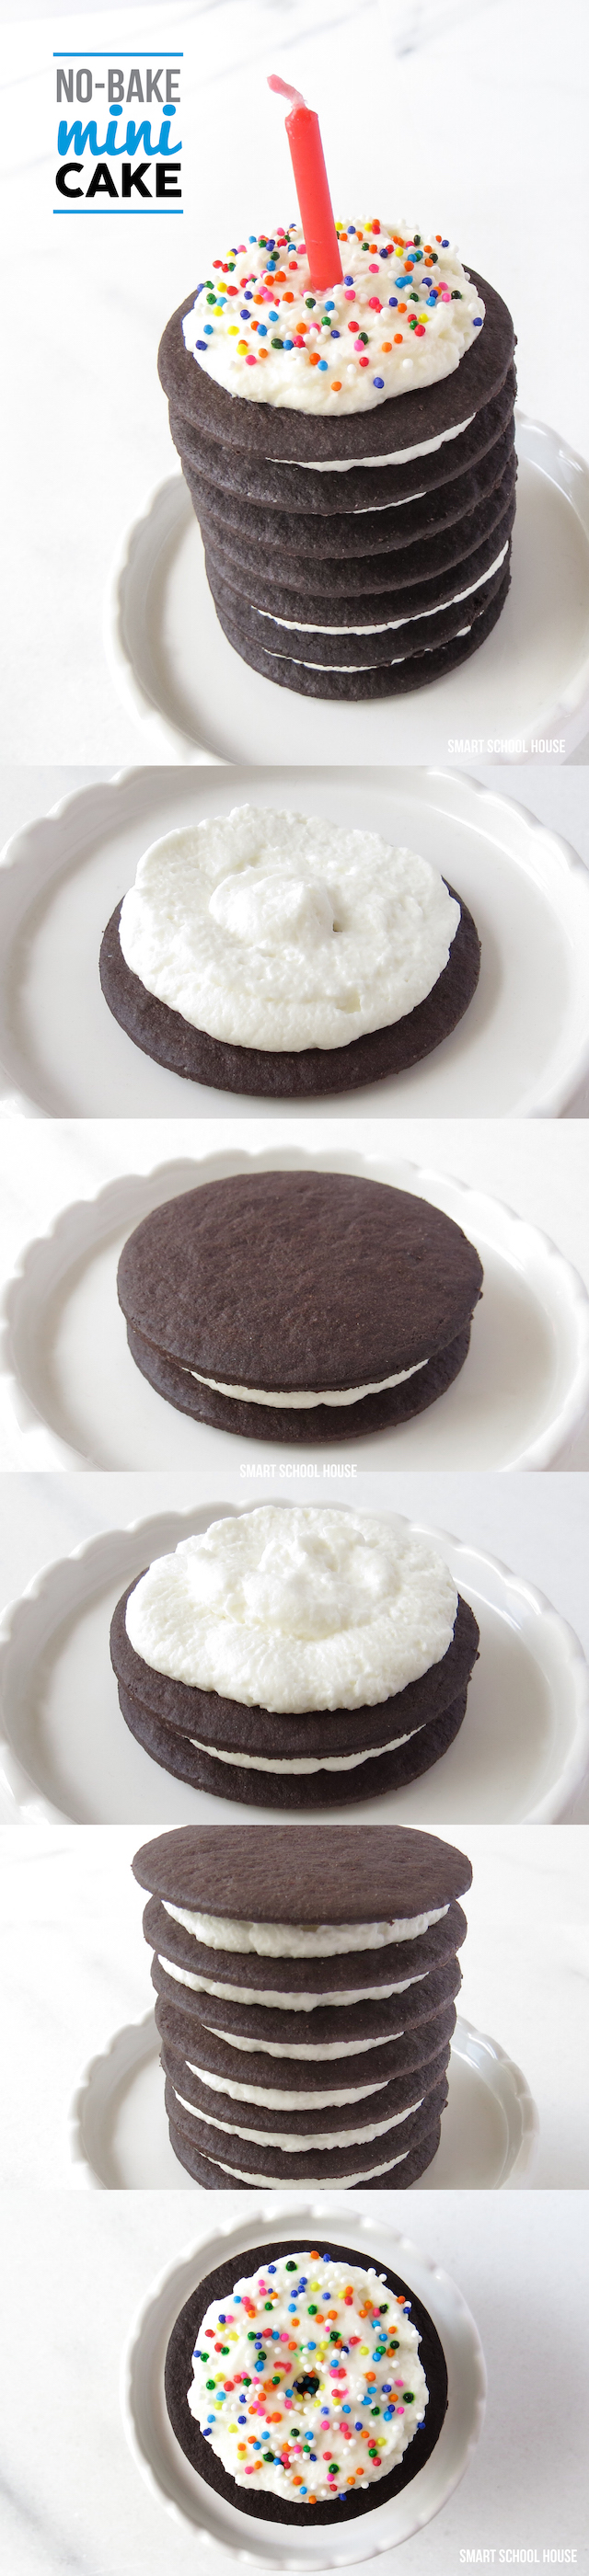
- Place a small dab of the frosting on the bottom of your plate. This will help keep the entire cake sturdy.
- Layer the chocolate wafers with about 1 tablespoon of frosting (as seen above). Make as many layers as you want!
- Sprinkles are optional:)
- Place the mini cake in the freezer for about 2 hours. Well, an hour will do if you’ve got eager kids!
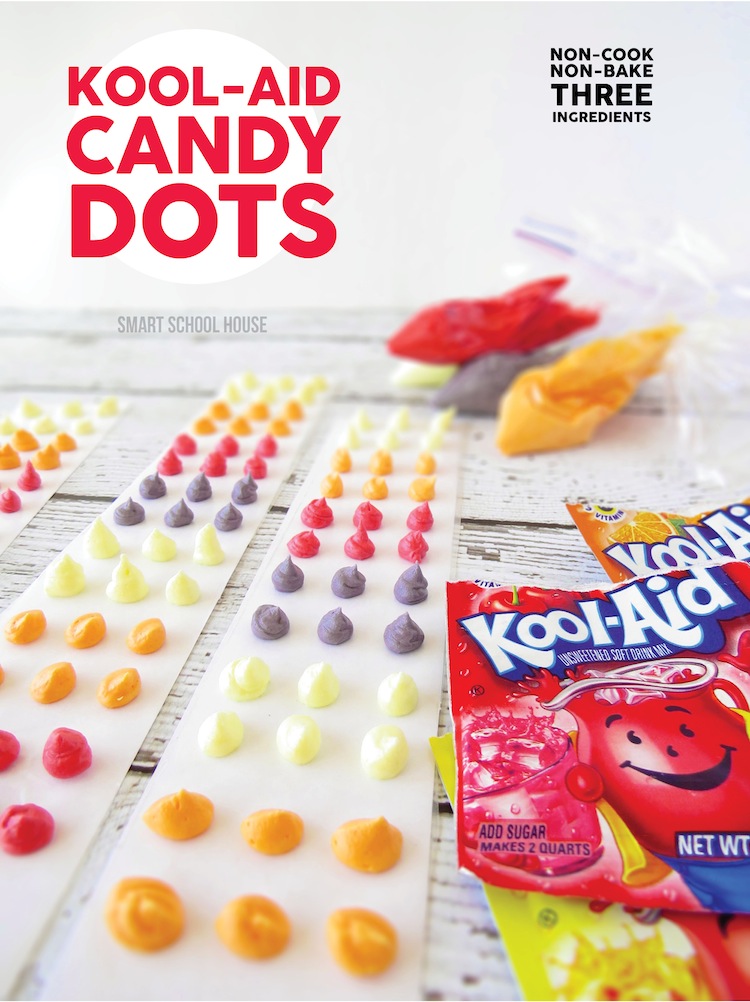
Looking for other no-bake treats to make with your kids? Check out these Kool-Aid Candy Dots! You will LOVE these!
Come and see Smart School House’s wonderful book Year-Round Projects for Holidays, Parties, & More!


How far in advance can the Mini Cakes be made….and do the go soggy/soft once the are out of the freezer?
I would eat them within 24 hours (otherwise they get that “freezer” taste). They actually don’t get soggy!
What a great idea! These will be perfect for those silly people like my kids and hubby who are not big fans of cake:)
This is such a fantastic idea, I will try it out, baking without baking, makes everything so much easier.