Glow in the Dark Window Clings
0
Published: Sep 12, 2015
Updated: Oct 03, 2025
This post may contain affiliate links. Please read our disclosure policy.
Looking for a fun and spooky way to decorate your windows this Halloween without spending a lot of money? These DIY Halloween Window Clings are easy, affordable, and perfect for kids and adults alike. With just a few simple ingredients, you can make festive shapes like pumpkins, bats, ghosts, and spiders that peel right off the glass and stick without any mess. Whether you’re decorating for a Halloween party or just adding a festive touch to your home, these homemade window clings are a must-try fall craft!

Glow in the Dark Window Clings
Making your own DIY Halloween Window Clings is a simple, fun, and festive way to bring Halloween magic into your home. Kids will love creating spooky shapes, and parents will love how affordable and mess-free this craft is. Try it this year and wow your trick-or-treaters with a festive window display!
Pin this now to save it for later
Pin It NowWhy You’ll Love This Craft
- Customizable – Make any Halloween design you want: pumpkins, witches, ghosts, black cats, or spider webs.
- Kid-Friendly – Safe and simple for children to help create.
- Budget-Friendly – Made with everyday craft supplies you probably already have.
- Reusable – Store them flat and use them year after year.
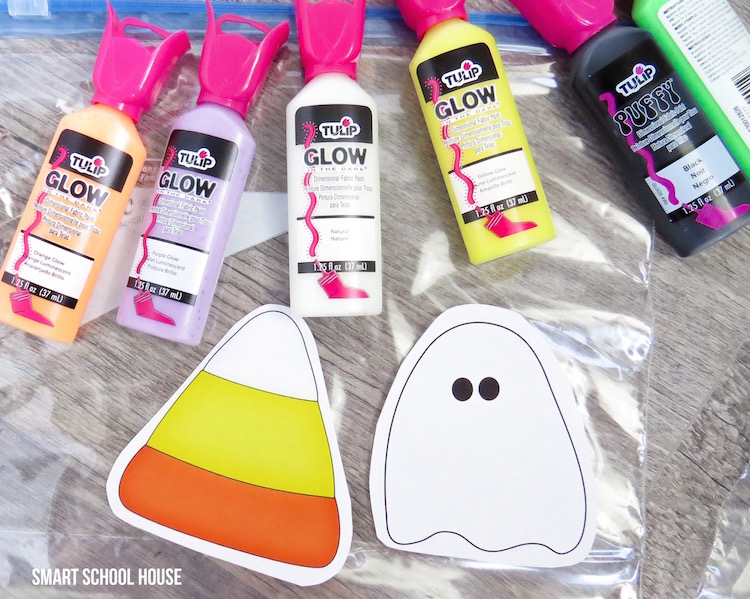
Supplies
- Glow in the dark puffy paint (in various colors)
- Plastic gallon sized zip bags
- Scissors
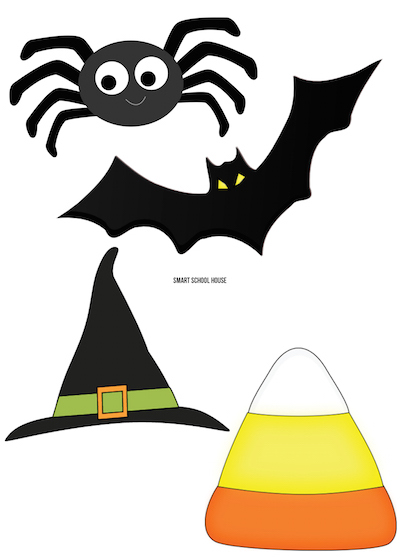
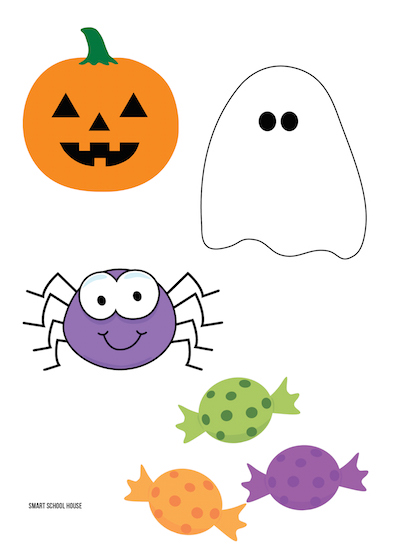
- My free Halloween printables (download them below- keep reading)
Instructions:
Print the Halloween pictures and cut them out. You don’t have to cut them out perfectly because a little extra edge on each picture actually helps. These downloads are free. Simply drag and drop the designs onto your desktop.
Place the pictures inside the zip lock bag making sure they aren’t on top of each other or overlapping. No need to zip the bag shut because any air that is in the bag will make it difficult.

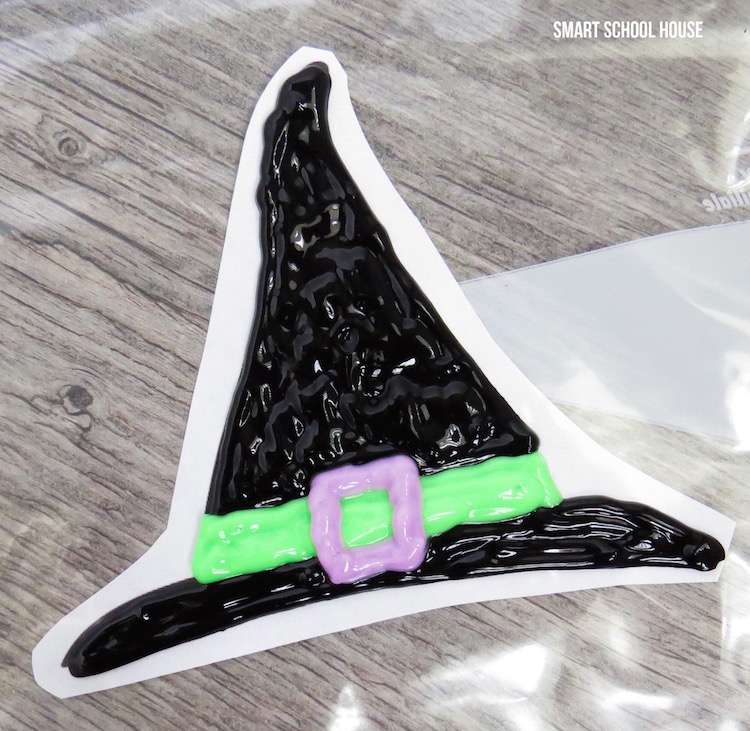
Using matching colors of glow in the dark puffy paint, “color in” the Halloween pictures on top of the bag, making sure that the different colors connect so that the window cling dries in one piece. Puffy paint is, well, puffy (ha!) but if you apply too much while you are coloring in the Halloween shapes making it extra thick, it will have a hard time drying.
Set the wet window clings aside in a safe place and wait at least 24 hours for the clings to dry.
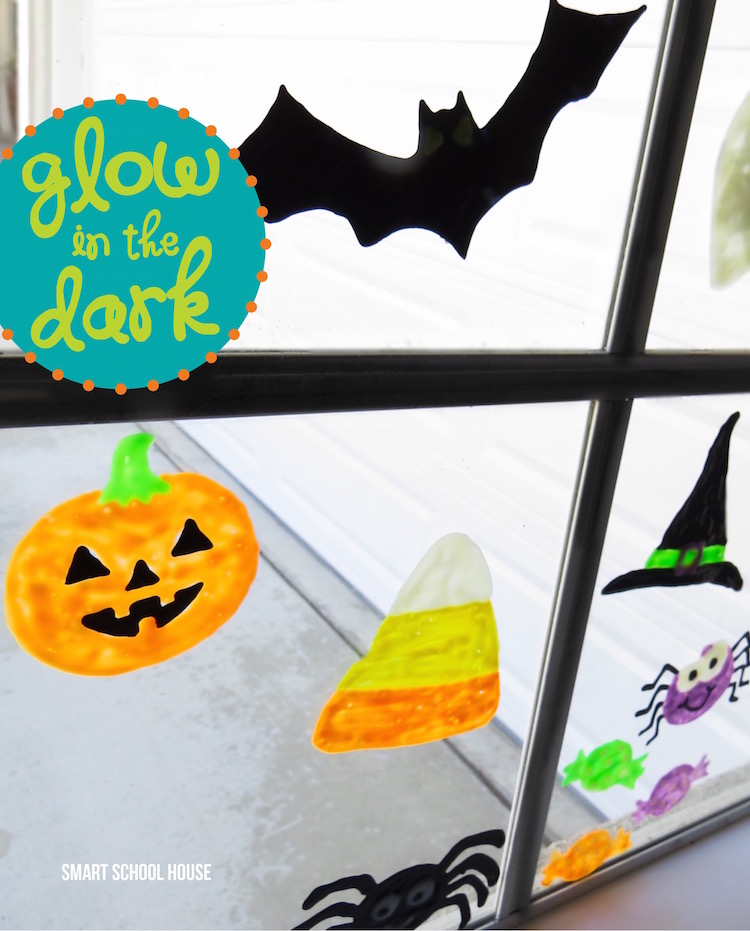
Once they are dry, carefully peel them off of the plastic bag and place them on a clean window (be sure to clean the window first!).
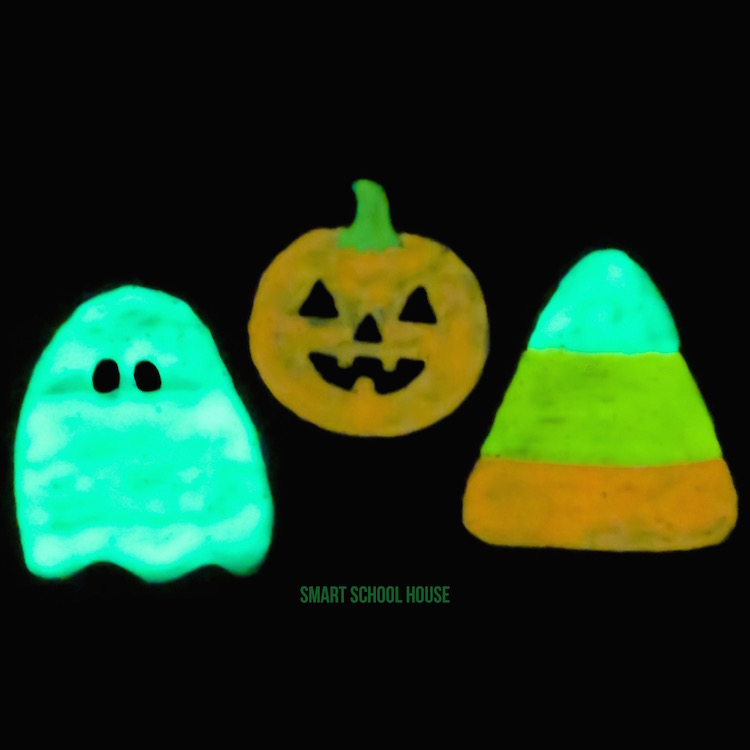
As the sun sets, the window clings will glow! After a little while their glowing power reduces. But, to recharge the glow, hold a flash light in front of the window clings for about a minute. When you turn the flash light off, they will glow bright again!
Fun Design Ideas
- Dripping slime designs for a spooky effect
- Jack-o-lantern faces with glowing orange and black
- Friendly ghosts with glittery edges
- Creepy bats and spiders
- Purple and green witch hats
Storage
When Halloween is over, peel your window clings off the glass and store them flat between sheets of wax paper. Keep them in a cool, dry place to reuse next year.
More Halloween Ideas


Halloween Window Clings

Halloween Window Clings
Ingredients
- Glow in the dark puffy paint
- Plastic gallon sized zip bags
- Scissors
- My free Halloween printables
Instructions
- Print the Halloween pictures and cut them out. You don’t have to cut them out perfectly because a little extra edge on each picture actually helps.
- Place the pictures inside the zip lock bag making sure they aren’t on top of each other or overlapping. No need to zip the bag shut because any air that is in the bag will make it difficult.
- Using matching colors of glow in the dark puffy paint, “color in” the Halloween pictures on top of the bag, making sure that the different colors connect so that the window cling dries in one piece. Puffy paint is, well, puffy (ha!) but if you apply too much while you are coloring in the Halloween shapes making it extra thick, it will have a hard time drying.
- Set the wet window clings aside in a safe place and wait at least 24 hours for the clings to dry.
- Once they are dry, carefully peel them off of the plastic bag and place them on a clean window (be sure to clean the window first!).
- As the sun sets, the window clings will glow!


