This post may contain affiliate links. Please read our disclosure policy.
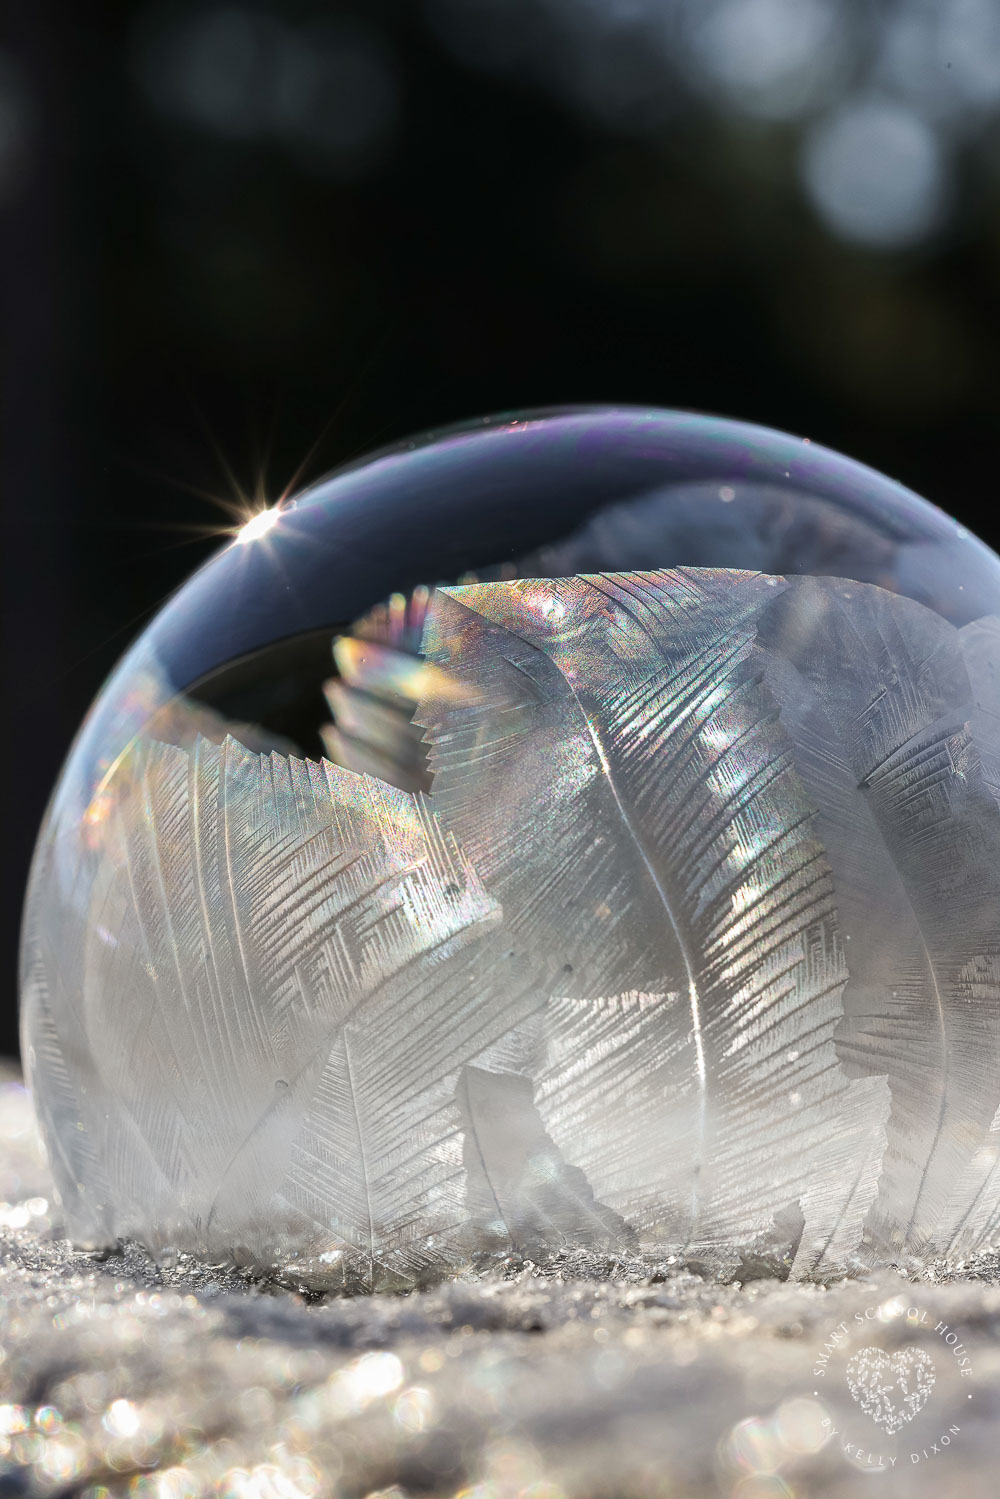
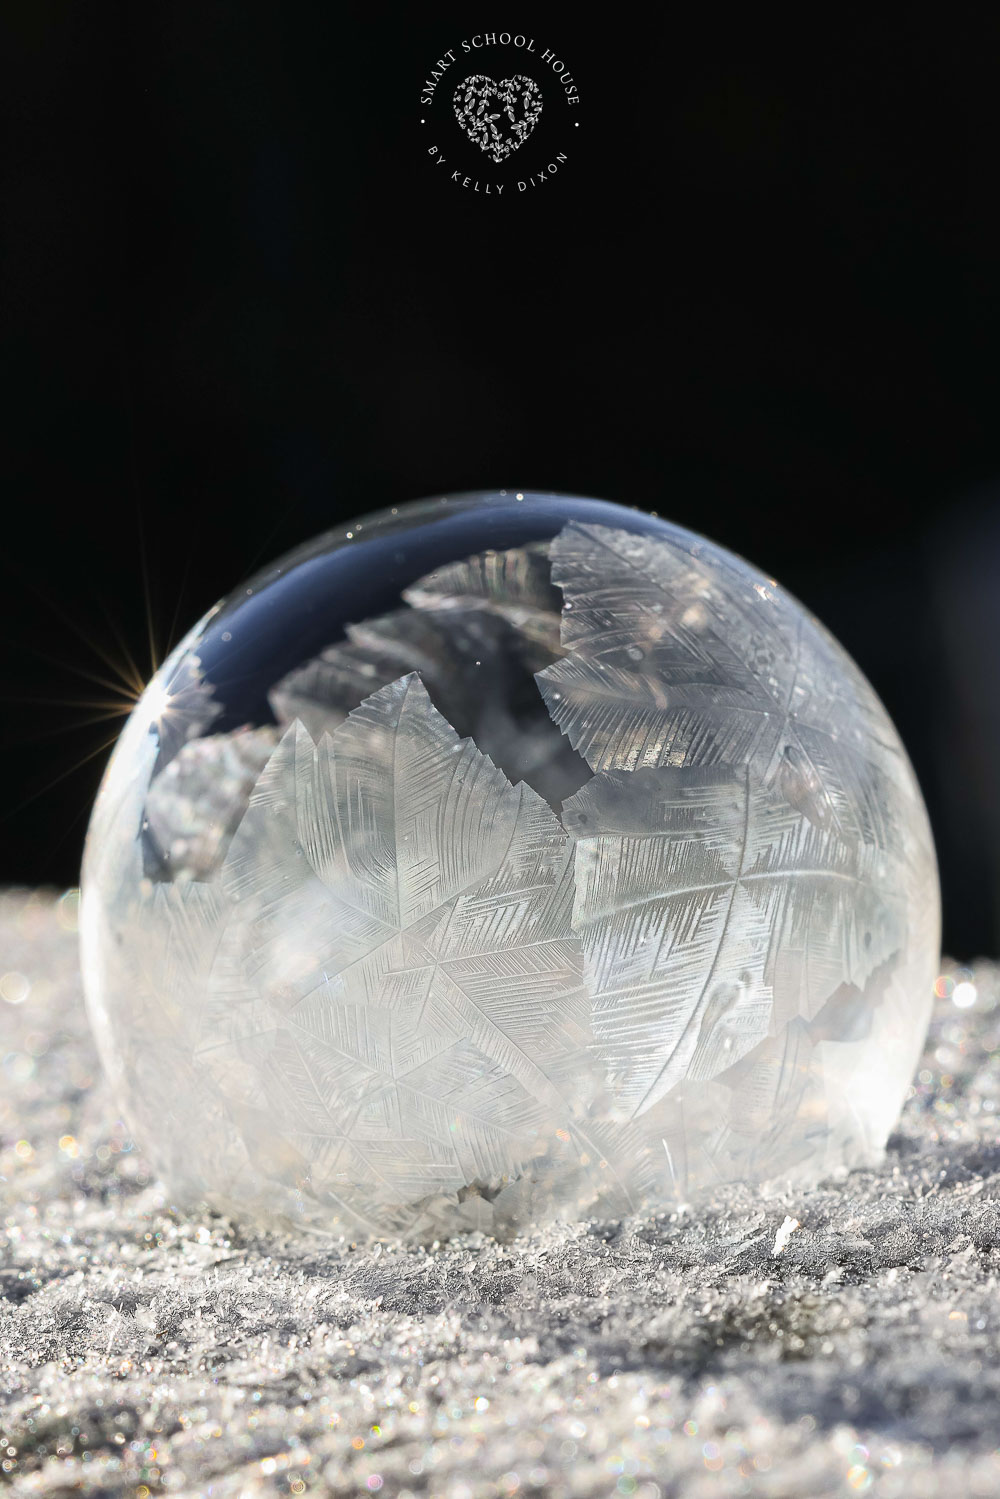
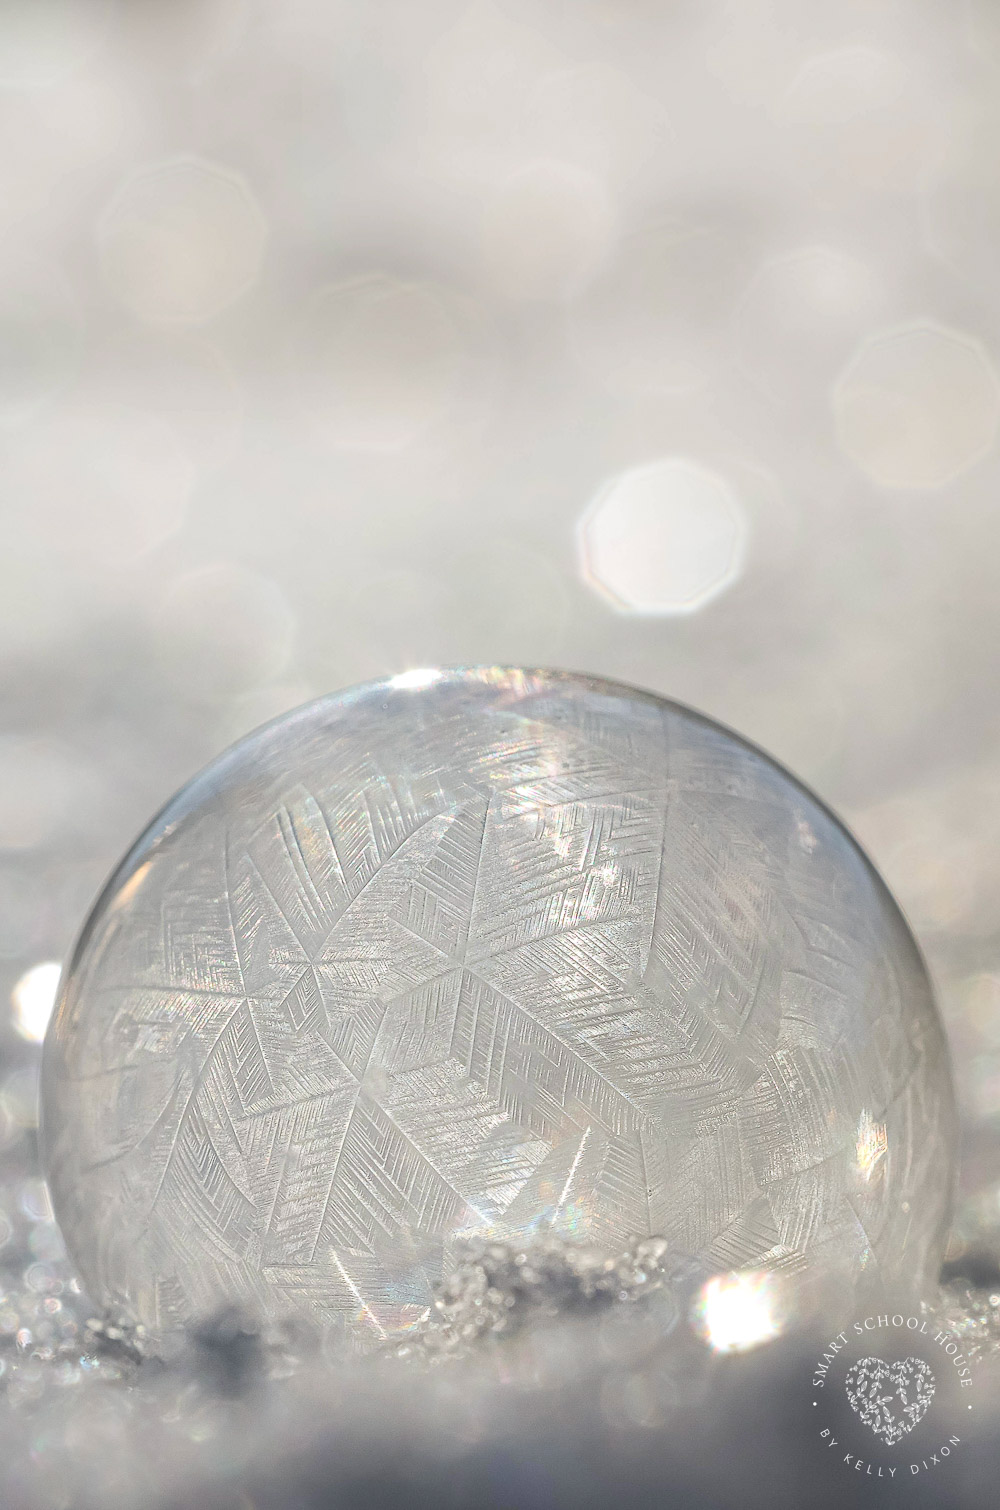
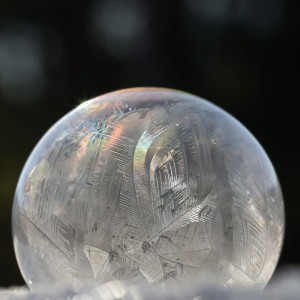
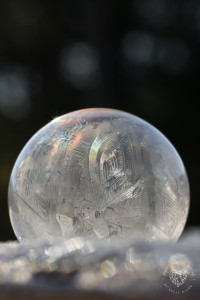
Frozen Bubbles are so fun to make! When the cold weather hits in the winter, grab these simple supplies to make a frozen bubble solution. Using straws for bubble wands and an easy DIY bubble solution, the whole family can enjoy this activity together on a cold winter day. Each bubble is a unique work of art!

Frozen Bubbles
Don’t let the frost or single digits keep you from playing outside. This fun winter activity can be done right on a fresh surface of snow. Kids of all ages can have fun with this bubble mixture to blow bubbles in the middle of winter! This is not your regular bubble solution, but we will share our tricks and secrets for making the best soap bubbles.
Pin this now to save it for later
Pin It Now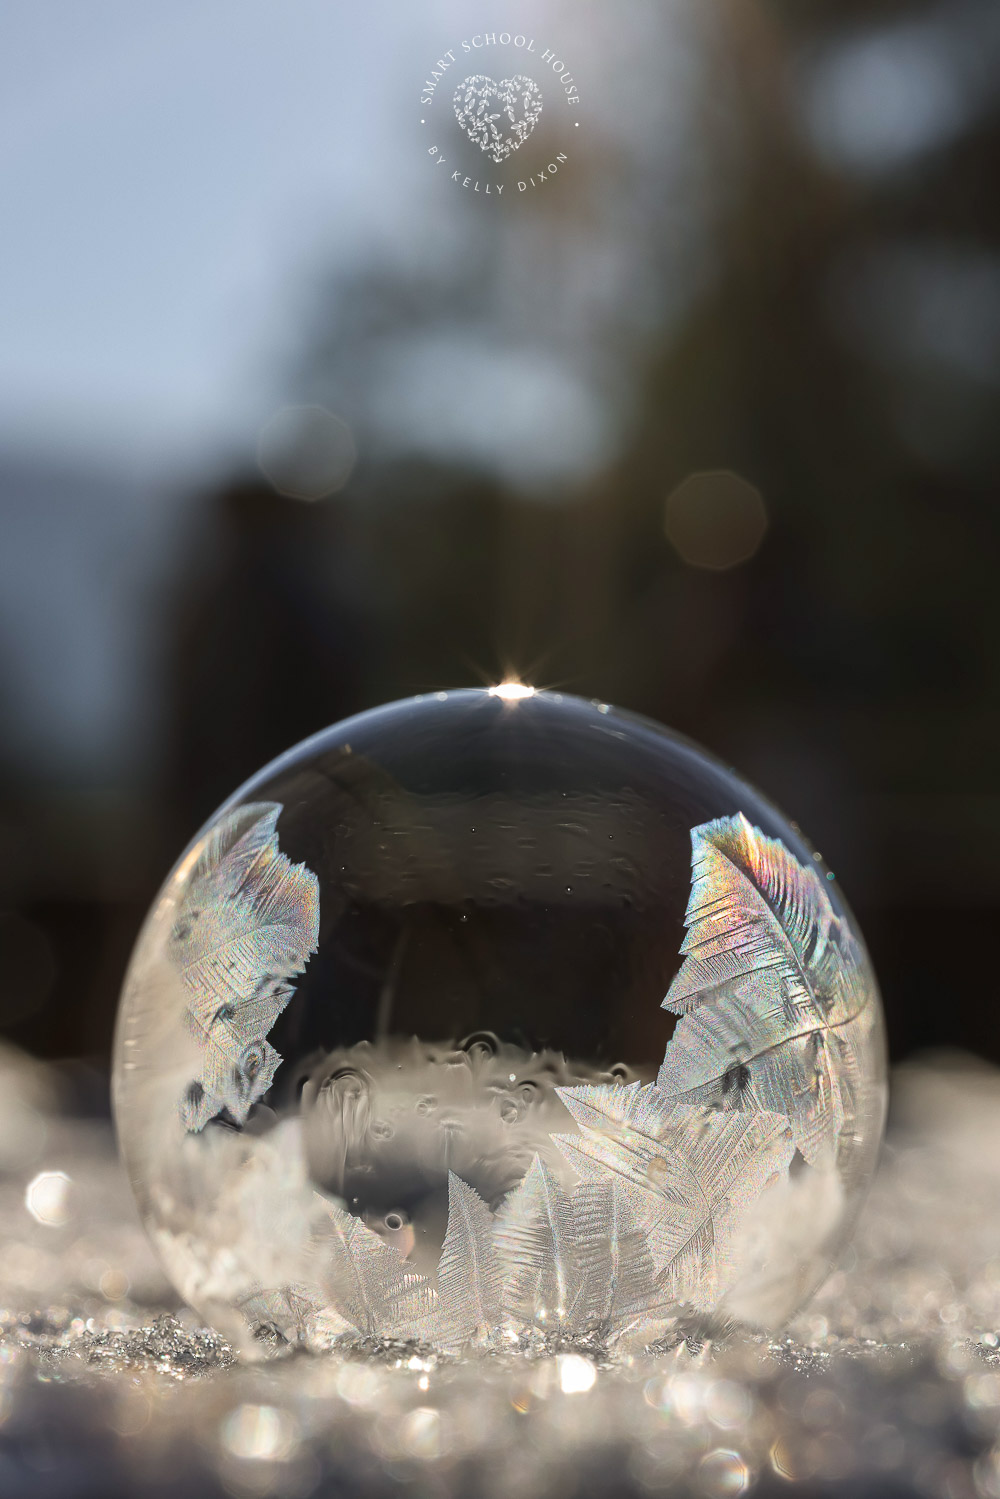
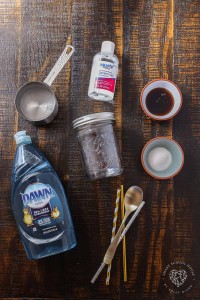
Ingredients:
- Warm tap water – tap water works just fine!
- Dark Karo corn syrup – found in the baking aisle at the grocery store
- Sugar – regular granulated sugar you use for baking
- Vegetable glycerin – a common, inexpensive, and versatile skin care product that can be found in the soap or skincare aisle or here on Amazon.
- Dish soap – I suggest Dawn dish soap

Supplies:
- Straws – regular size paper or plastic straws
- Measuring cups and spoons
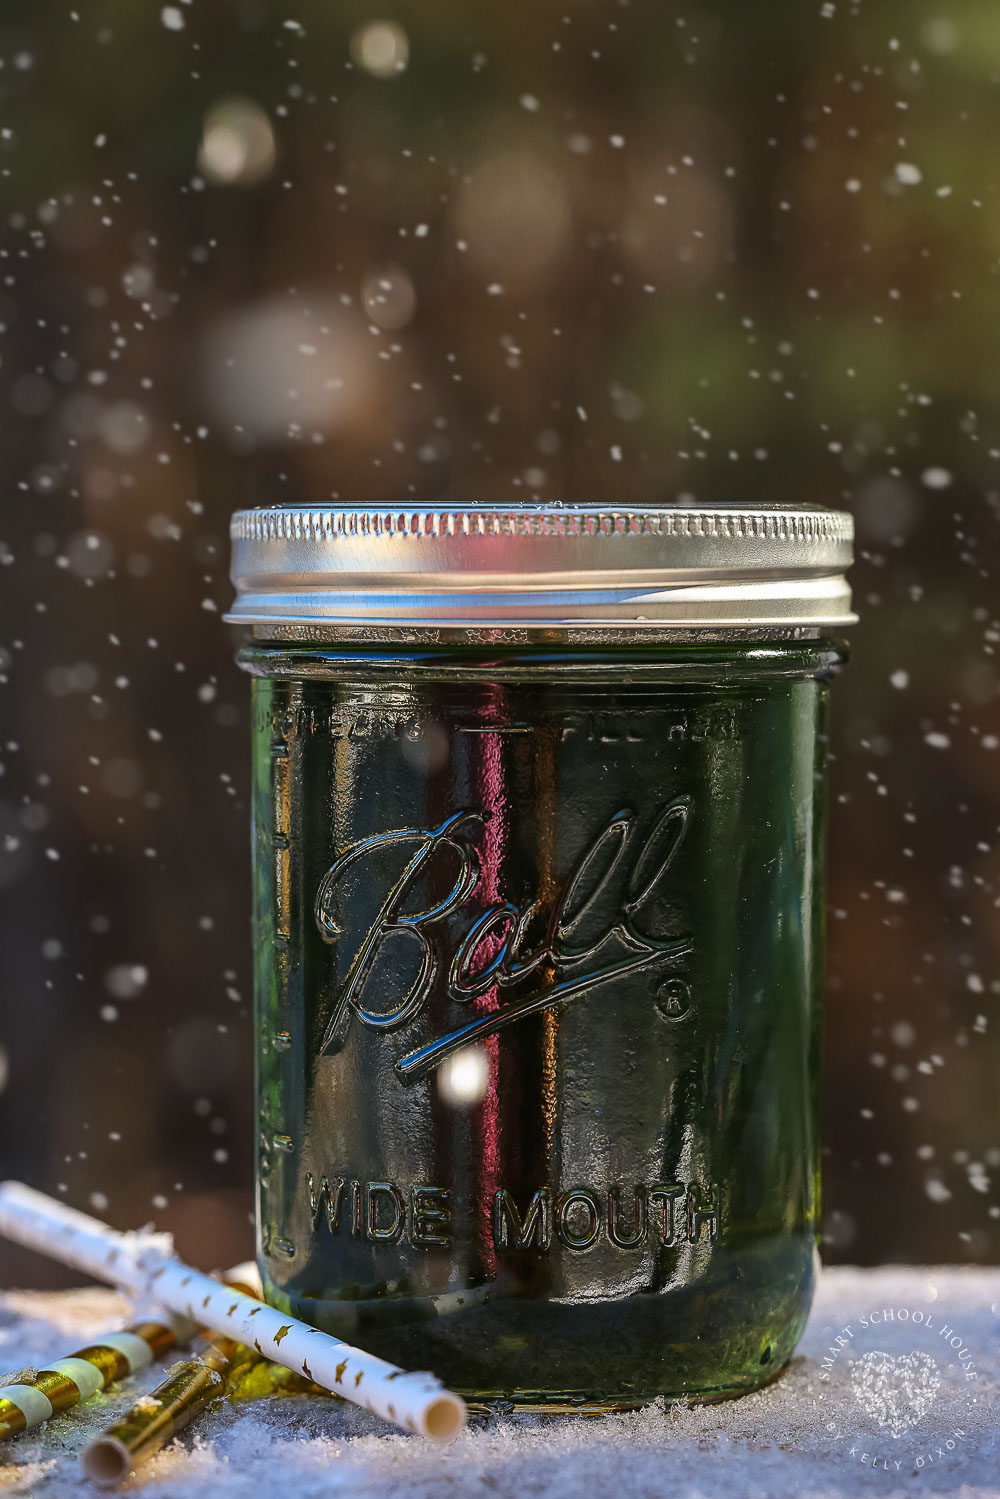
- Mason jar – or container with a fitted lid
- Spoon – for mixing the solution
Instructions:
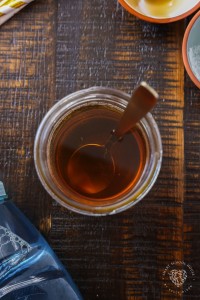
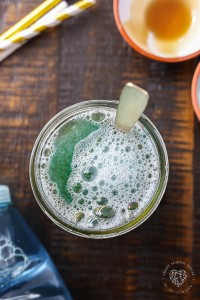
Combine the warm water, corn syrup, sugar, and vegetable glycerin into your mason jar. Your mixture should be yellow. Next, add the dish soap to the water/sugar concoction, and GENTLY stir just enough to incorporate the dish soap. Save all the bubble action for blowing!
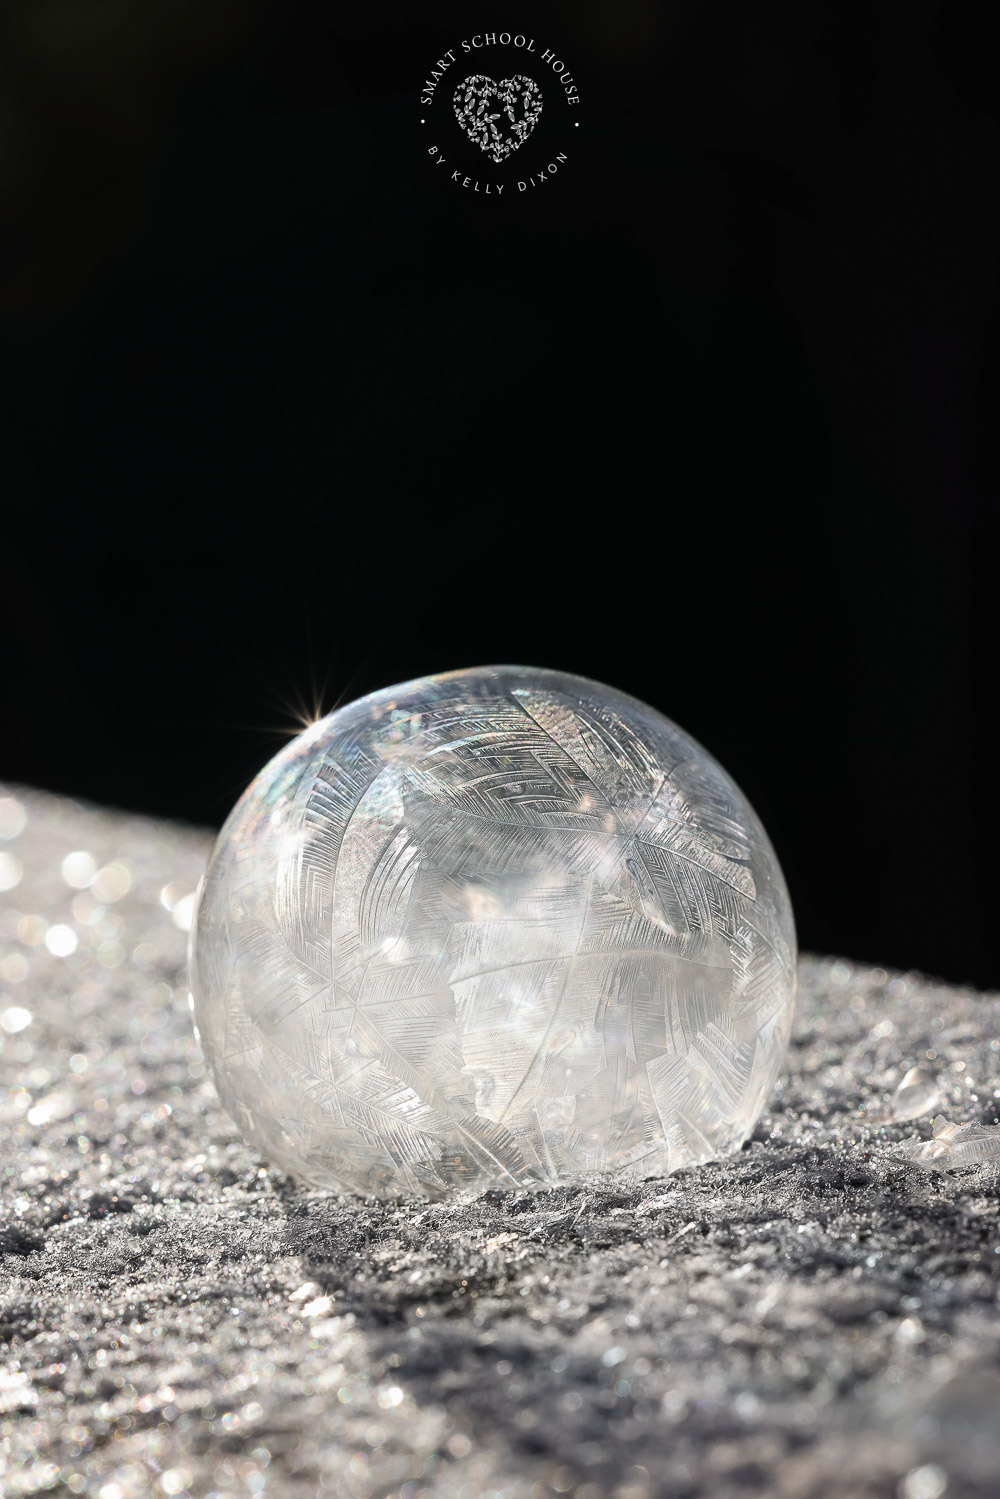
When you’re bundled up and ready to head out for some fun, bring your straw. You will use the straw as your bubble dipping wand. Dip your straw an inch or deeper into the bubble solution, and SLOWLY blow the bubble onto a cold surface.
Where to Make Frozen Bubbles
- Outdoors in temperatures below 32 degrees
- Rails of a deck
- Patio table
- A soft patch of snow
- A flat surface
A printable and interactive list of ingredients and step-by-step instructions can be found at the bottom of this post!
Bubble Solution Tip
Put your bubble solution in the refrigerator for at least one hour.
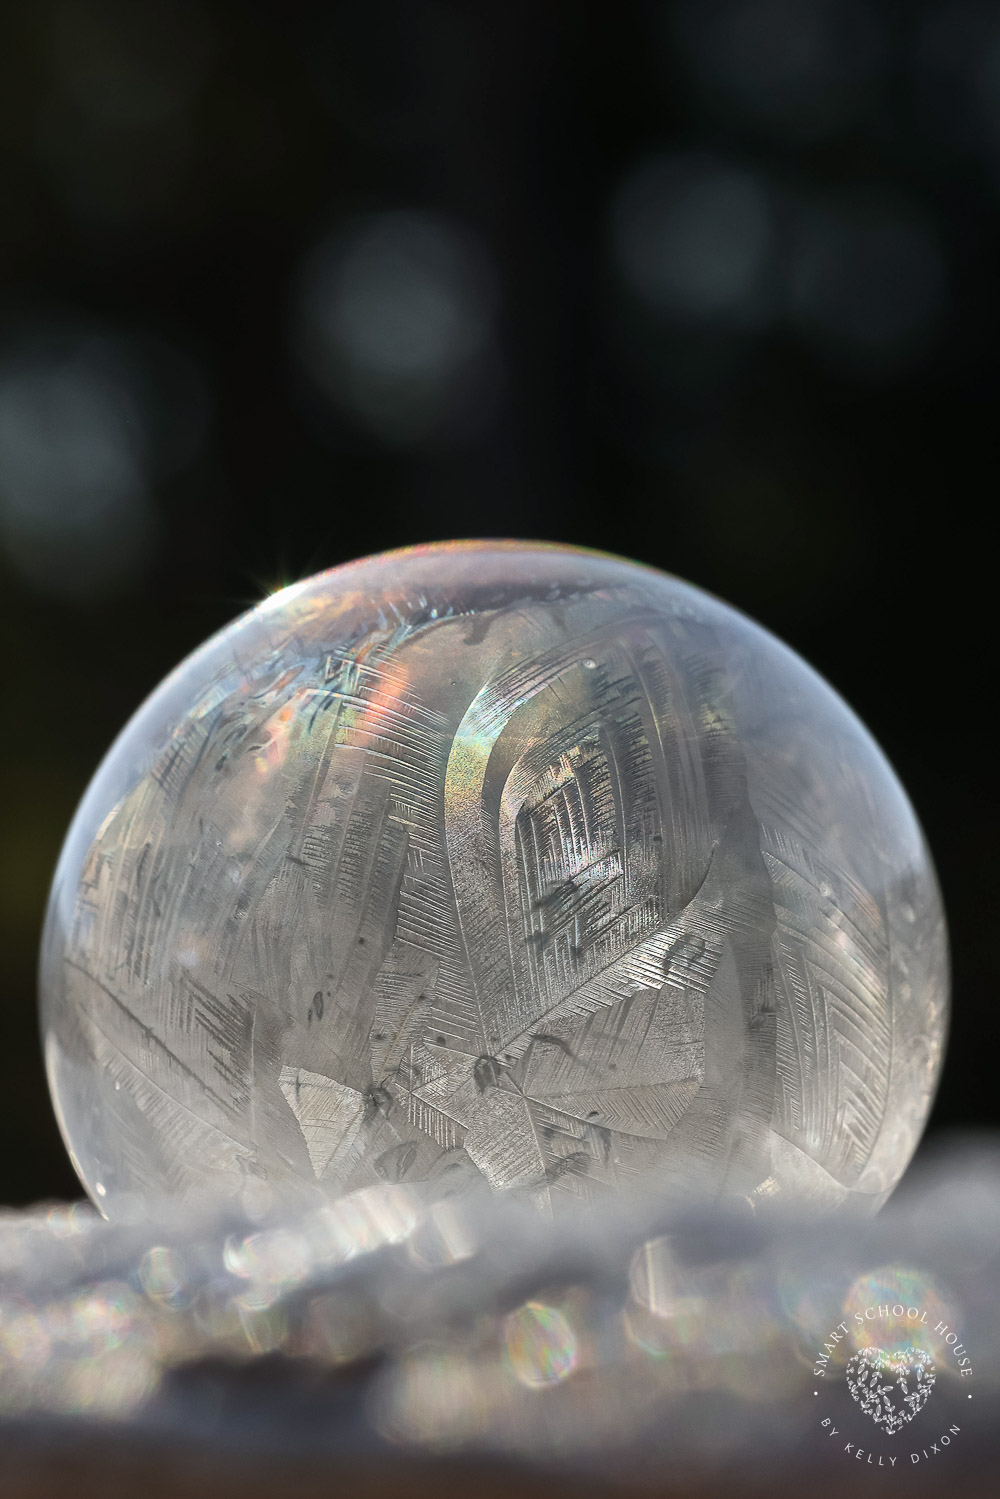
You want the bubble solution to be cold before using it! This will help them freeze more quickly and have less chance of popping. Even the slightest breeze will pop them!
More Winter Crafts
How to Make Frozen Bubbles
Frozen Bubbles
Supplies
- Paper or plastic straws
- Measuring cups and spoons
- 16 oz mason jar with a fitted lid
- Spoon
Ingredients
- 1 cup warm tap water
- 1 tablespoons Karo corn syrup
- 2 tablespoons sugar
- 2 tablespoons vegetable glycerin
- 3 tablespoons dish soap
Instructions
- Measure your ingredients and add the warm water, corn syrup, sugar, and vegetable glycerin to your mason jar.
- With a spoon, stir until everything is mixed into the water well and the sugar has dissolved. Your mixture should be yellow.
- Add the dish soap to the water/sugar concoction, and GENTLY stir just enough to incorporate the dish soap. Save all the bubble action for blowing!
- Place the lid on your bubble solution and put it in the refrigerator for at least one hour. You want the bubble solution to be cold so that they are that much closer to freezing when you are ready to head outside. This will help them freeze more quickly and have less chance of popping. Even the slightest breeze will pop them!

- When you’re bundled up and ready to head out for some fun, bring your straw. You will use the straw as your bubble dipping wand. Dip your straw an inch or deeper into the bubble solution, and GENTLY blow the bubble onto a cold surface. Depending on how cold it is outside, it can take up to a whole minute before the bubbles freeze.


Love all your crafts.I teach with crafts.Kids enjoy and want more.They learn.