This post may contain affiliate links. Please read our disclosure policy.
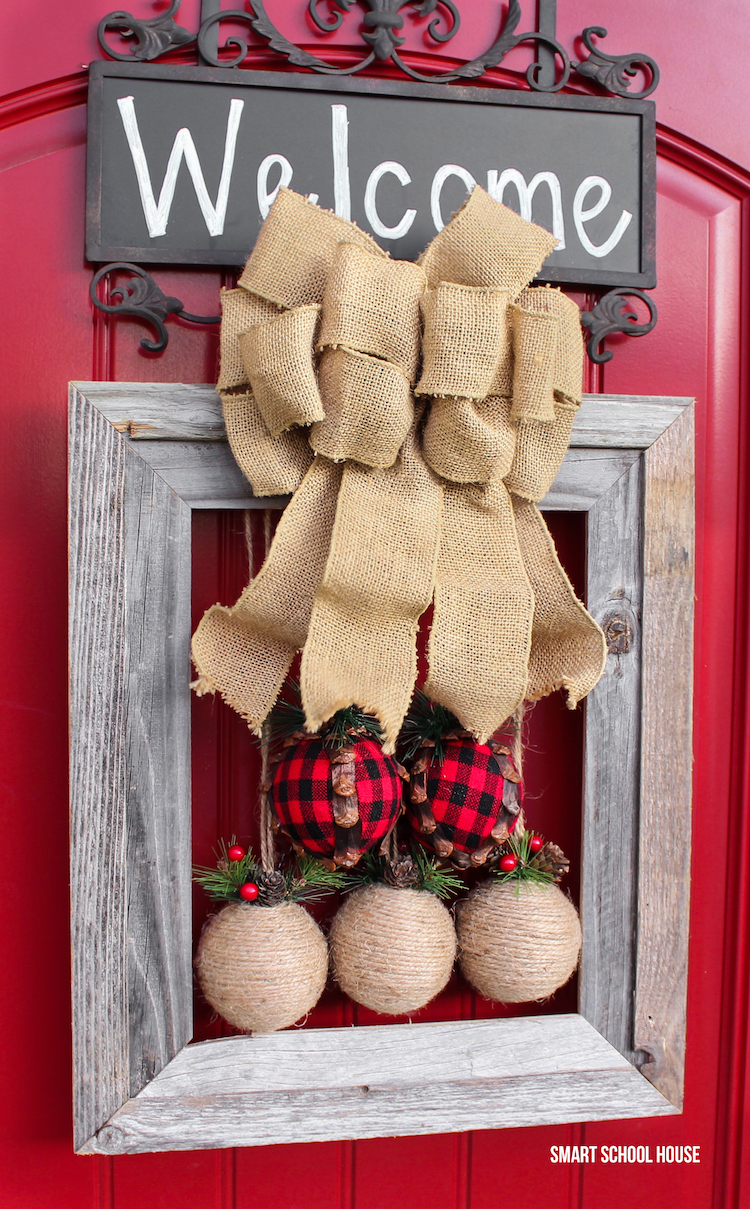
Picture Frame Christmas Wreath
Happy holidays from us here at Smart School House! We have started to deck our halls with all things Christmas. This year we put a little rustic flare into some of our decor. Today we are going to show you how to make this rustic picture frame Christmas wreath with just a few simple craft supplies. It looks so pretty on our front door and I love that it cost way less to make than some of the super expensive pre-made wreaths I’ve purchased in the past. A picture frame wreath is made out of an empty picture frame. It hangs on a wreath hanger (just like a regular wreath). Their unique design adds charm and style to your front door! Let’s get started, shall we?
Supplies Needed:
- An unfinished (or reclaimed wood) picture frame. I got this empty picture frame at Hobby Lobby. It didn’t come with glass or backing, which was great! If you can’t find an empty frame to purchase, just purchase a regular frame (or reuse one you have), then remove the glass and backing.
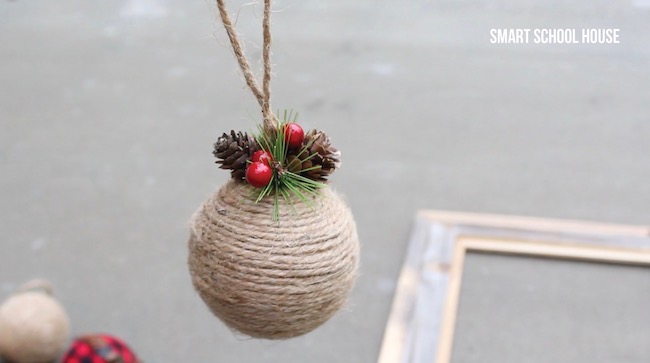
- “Rustic” ornaments. You can find these at any craft store right now! A rustic ornament has things like twine, burlap, greenery, plaid, etc. Pick one or two styles for your wreath. I picked red & black plaid and twine ornaments with some greenery.
- A bow for the top. I picked a pre-made burlap bow from Hobby Lobby.
- Glue gun.
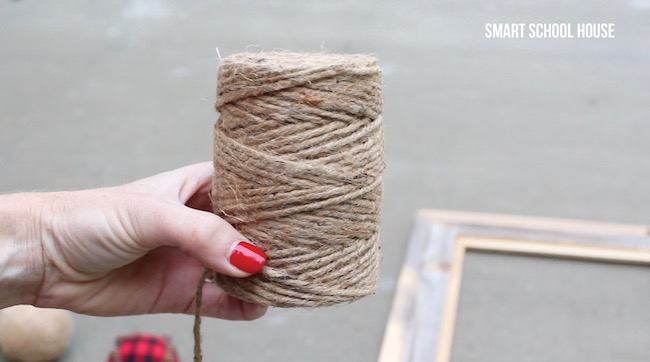
- Twine, festive string, or Christmas ribbon depending on the ornaments you pick. The ornaments I picked had a short twine string on each one that wasn’t long enough. So, I picked up some extra matching twine to make them hang longer.
- Wreath hanger. Any craft store or hardware store will have them. The chalkboard one pictured is from Pier One.
Watch how easy it is to assemble a picture frame wreath!
Directions:
- Depending on the ornaments you pick, tie extra the ribbon or twine to make the length at which they hang in the frame long enough (as seen in the video).
- Arrange the ornaments how you like them! I put the plaid ornaments above the twine ornaments, using a total of 5 ornaments. It’s best if the ornaments all fit within the size of your frame.

- Hot glue the hanging ornaments in place on the back of the frame.
- Hang the picture frame on the wreath hanger, then attach the big bow to the hanger just above the frame.
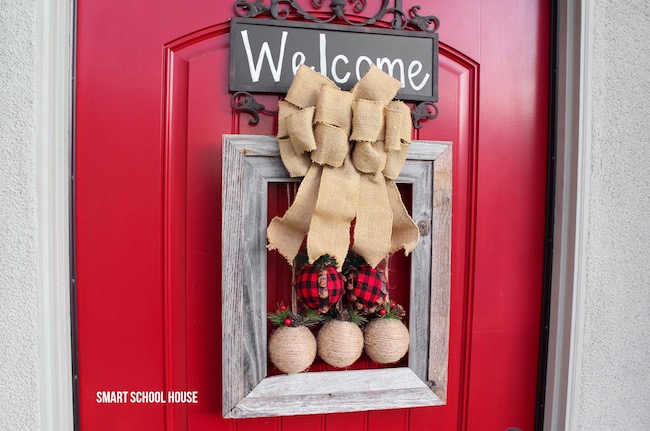
It is so cute! Plus, it will last all through January, which I secretly love:)
Happy Holidays!
You might also like these DIY crafts on Smart School House:
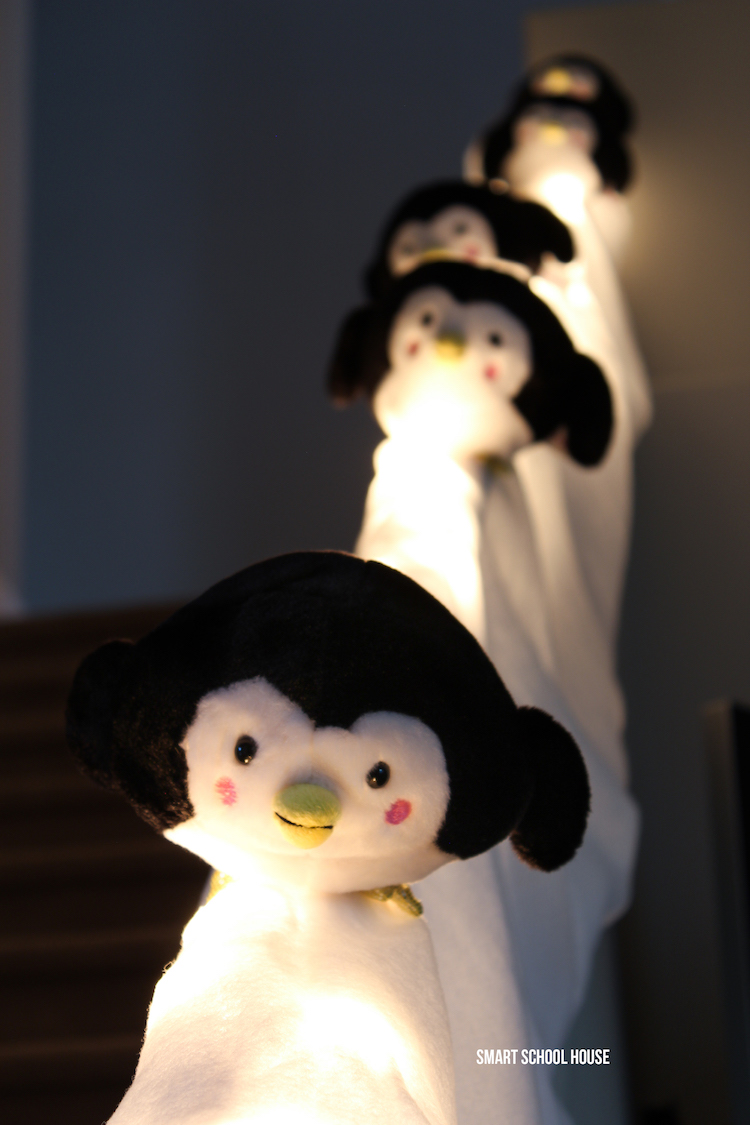
Penguins Sliding Down the Stirs
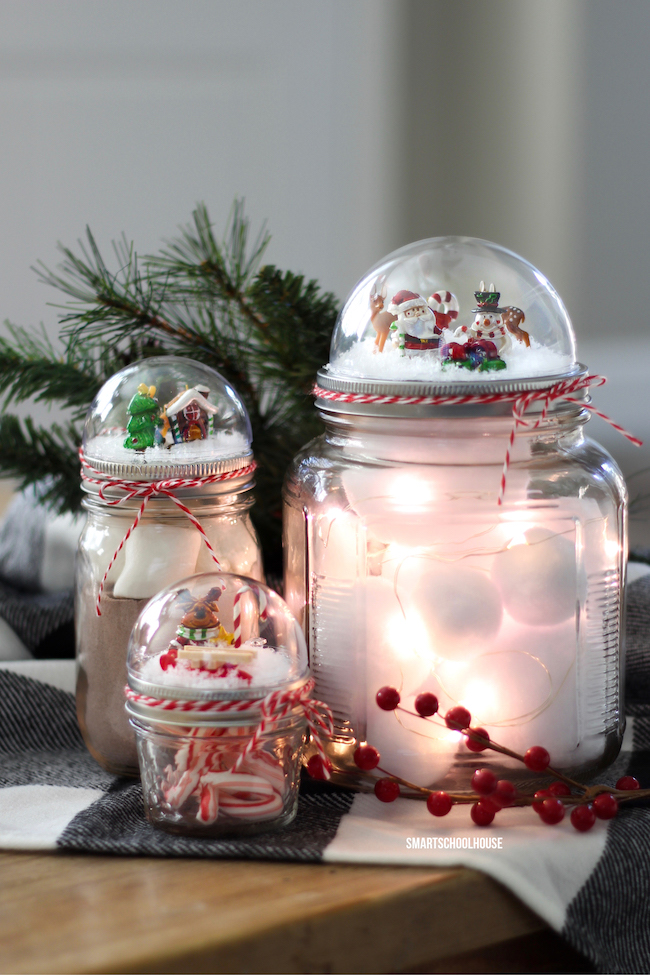
Unbreakable Ornaments Made with a Kids Ball