This post may contain affiliate links. Please read our disclosure policy.
These BIG Plastic Ball Ornaments for Christmas are unbelievably cool and incredibly easy (and inexpensive) to make. They are so pretty!!! Best of all, they are unbreakable and the supplies are fully reusable year after year. You’re going to love this Christmas craft tutorial…..

Big Plastic Ball Ornaments
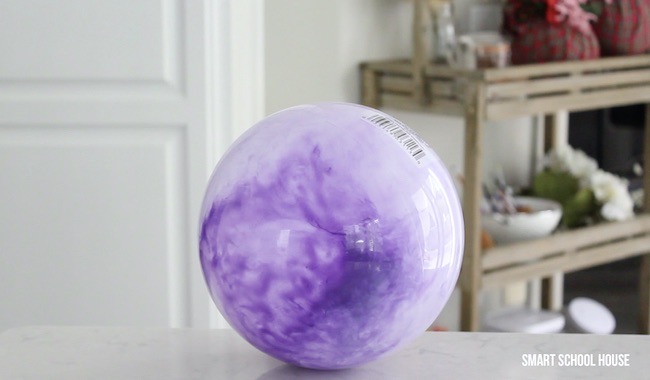
First, you’ll need to find a festive fabric. No need for it to be expensive. Use anything you have or go to a craft store, fabric store, or the fabric section in Walmart for some. I paid $8 for and it was enough for 3 huge ornaments. Next, you’ll need plastic playground balls for children. You know, the ones in the big racks in the toy aisle that your kids beg for? Yup! Those are the ones and they are about a dollar or so.
Pin this now to save it for later
Pin It Now
Supplies:
- Fabric – No need for it to be expensive. Use anything you have or go to a craft store, fabric store, or the fabric section in Walmart for some. I paid $8 for and it was enough for 3 huge ornaments.
- Plastic balls – You know, the ones in the big racks in the toy aisle that your kids beg for? Yup! Those are the ones and they are about a dollar or so.
- Ribbon – Some to tie the fabric on top, some to hang the ornaments by (optional) and I picked up some curly ribbon that is meant for gift wrapping. It’s really cute.
- Various embellishments (optional) – Visit the craft store and find some picks and seasonal accents like cranberry, pinecones, etc. You can’t go wrong.
- If you want to hang your big ornaments, be sure to have a good little chip clip, clothespin, or safety pin on hand. You’ll also need a thumbtack or whatever you prefer for your walls.
After that, pick out some pretty ribbon that coordinates with your fabric. Get some to tie the fabric on top, some to hang the ornaments by (optional) and I picked up some curly ribbon that is meant for gift wrapping. It’s really cute! Finally, you will need various holiday embellishments (optional). Visit the craft store and find some picks and seasonal accents like cranberry, pinecones, etc. You can’t go wrong.
If you want to hang your big ornaments, be sure to have a good little chip clip, clothespin, or safety pin on hand. You’ll also need a thumbtack or whatever you prefer for your walls.
As we all know, those fun plastic balls don’t stay inflated forever. However, they will stay inflated ALL season long, that’s for sure! So, when it is time to take down your Christmas decor, simply hand the ball over to some kids and pack away all of the other supplies. Just buy some new plastic balls next year and hang them again.
More Giant DIY Christmas Ornaments
How to Make an Ornament with a Ball

Plastic Ball Ornaments
Supplies
- Fabric. No need for it to be expensive. Use anything you have or go to a craft store, fabric store, or the fabric section in Walmart for some. I paid $8 for and it was enough for 3 huge ornaments.
- Plastic balls. You know, the ones in the big racks in the toy aisle that your kids beg for? Yup! Those are the ones and they are about a dollar or so.
- Ribbon. Some to tie the fabric on top, some to hang the ornaments by (optional) and I picked up some curly ribbon that is meant for gift wrapping. It’s really cute.
- Various embellishments (optional). Visit the craft store and find some picks and seasonal accents like cranberry, pinecones, etc. You can’t go wrong.
- If you want to hang your big ornaments, be sure to have a good little chip clip, clothespin, or safety pin on hand. You’ll also need a thumbtack or whatever you prefer for your walls.
Instructions
- Start by cutting your fabric to size. I cut mine into 2.25 ft. squares. The size of your ball might vary a tiny bit. Just make sure the fabric covers the ball on all sides.
- Cut a long piece of ribbon. This will be used to tie everything together. Make sure it is at least 2.5 ft long. Excess is good because you can trim it later.
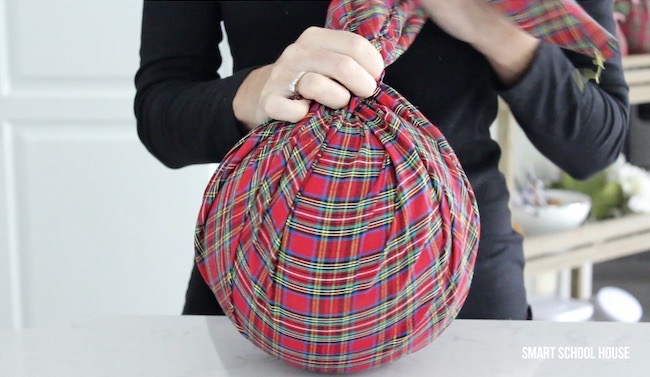
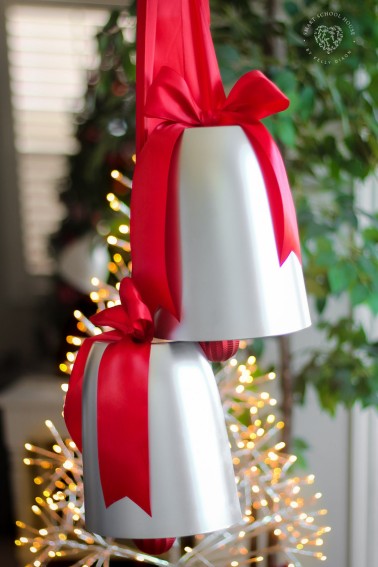
- Gather the fabric around the ball and tie it tightly in a knot at the top with ribbon. Cut off the excess fabric on top if necessary.
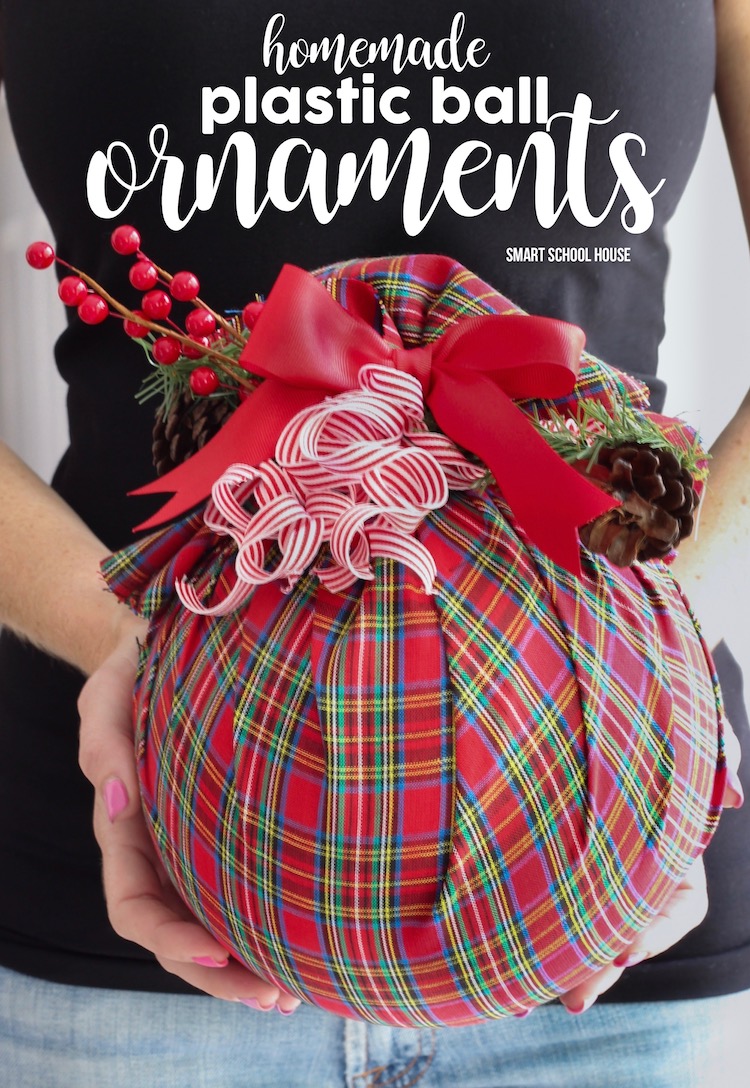
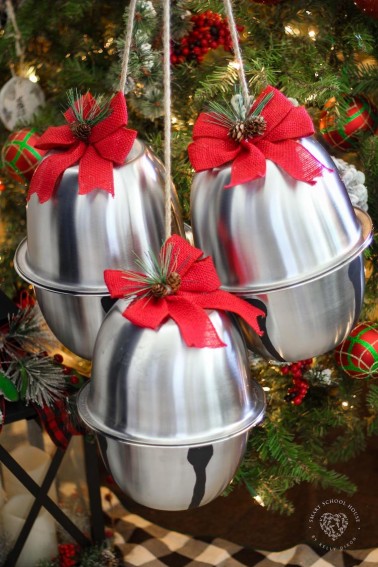
- Add the embellishments. I used greenery, pinecones, and curly ribbon. Hold them over the knot you just tied, then use the extra ribbon strings to tie a big bow over the embellishments, keeping them in place. Trim excess ribbon.
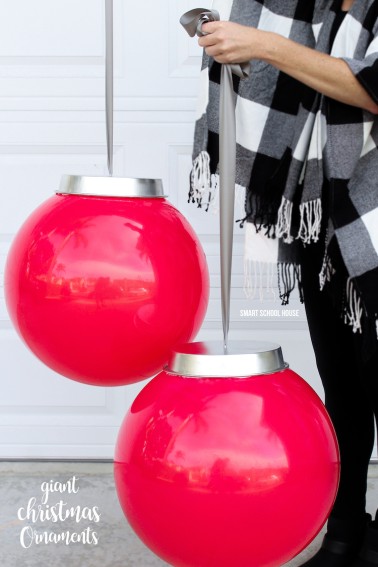
- That’s it!! Stack them, stick them in your tree, place them around your house, or even hang them like I did. To hang them, use a chip clip/clothespin/safety pin and another piece of ribbon. The fabric at the top of the ornament will hide the clip or pin (which I love). Attach it to the wall with a thumbtack or something similar. They are so light that it doesn’t take much effort to hang them at all!


I LOVE YOUR CRAFTS TINA D,BAUGHMAN