This post may contain affiliate links. Please read our disclosure policy.
‘Tis the Season to Be Jolly! Oh my goodness, I am SO excited to share today’s DIY Christmas craft with you! While shopping recently, I spotted these shatterproof light bulbs. An idea instantly popped into my head (love with that happens!). This Light Bulb Snowman ornament should be on your DIY craft list this holiday season. As always, I made sure to keep the craft simple so everyone can find the supplies and make a perfect one too.
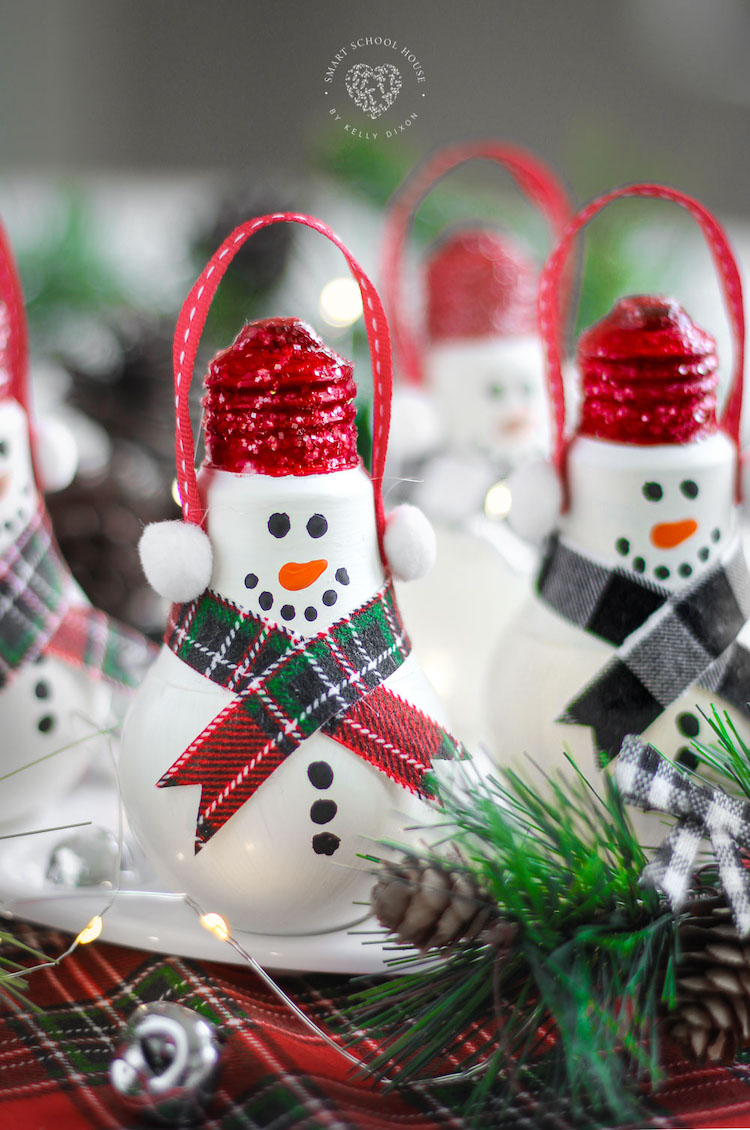
Light Bulb Snowman
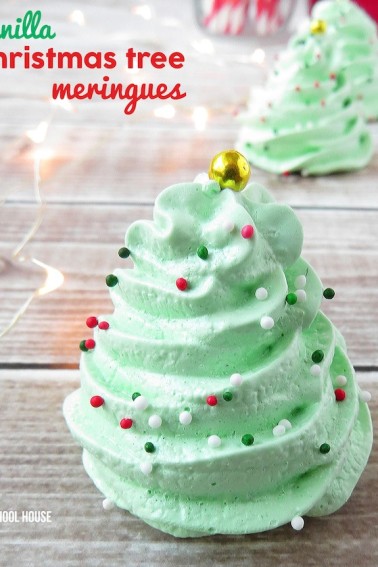
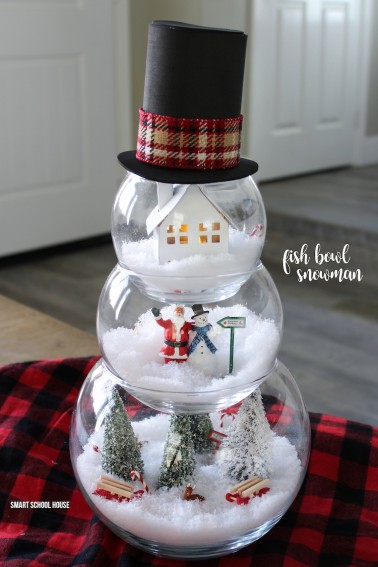
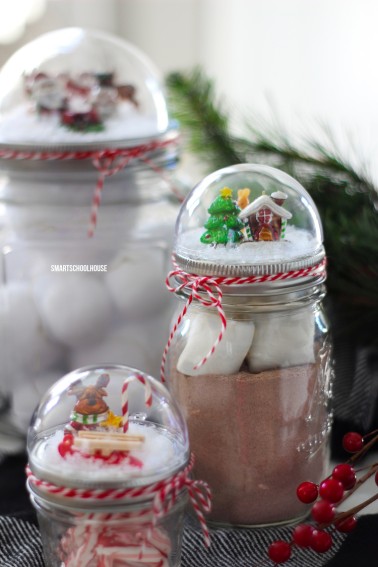
If you are new here at Smart School House, I welcome you to look around. We have SO many easy holiday craft ideas, with Christmas being my favorite. From our Fish Bowl Snowman, to our Mason Jar Lid Snow Globe, Paper Plate Lollipops, and these adorable Snowman Light Bulbs.
Pin this now to save it for later
Pin It Now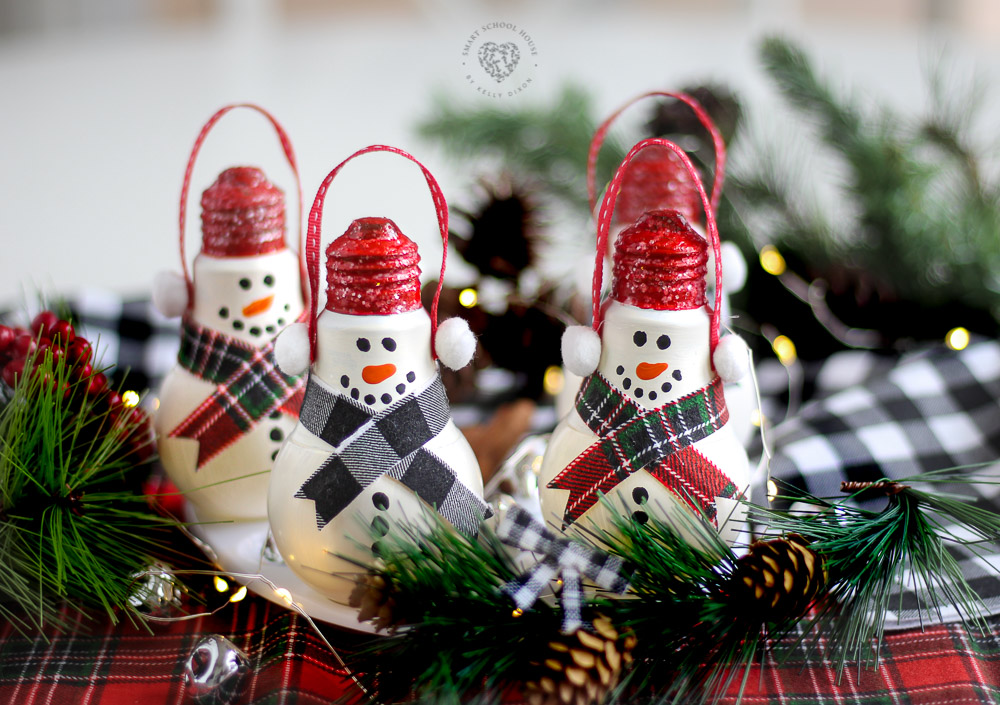
Supplies:
- Shatter Proof Light Bulbs
- Acrylic Paint:
- White
- Black
- Orange
- Red (or in desired color choices, get creative!)
- Small white pom poms for the ears
- Ribbon for the ear muffs – about 5 inches
- Festive fabric for the scarf – about 8 inches
- Paint brushes
- Hot glue (or regular craft glue if you’re working with kids)
- Mod Podge glue
- Fine glitter (in colors of your choice)
- Scissors
- Optional: plastic paint palette to allow the painted bulbs to dry
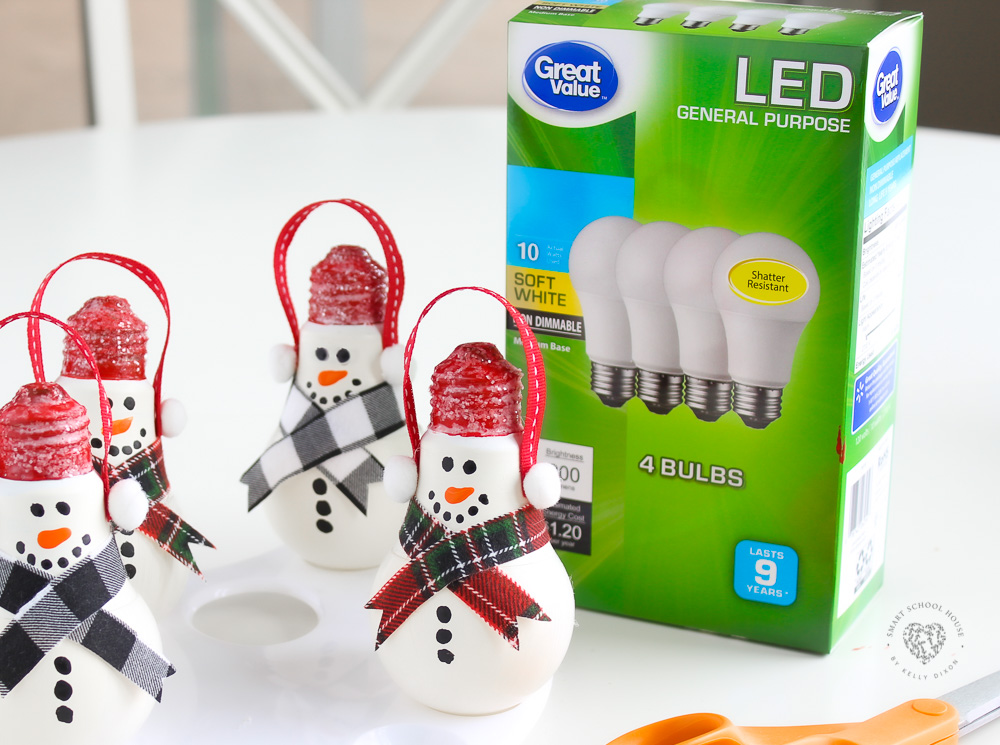
While at the store (I was at Walmart), I picked up some paintbrushes, hot glue, and acrylic paint. Bottles of acrylic paint come in small bottles and are about $1 each. You’ll definitely need white, black, and orange. I happened to make red “hat” tops on my snowmen, but get creative with this part. Use any color you love, including pastels.
Craft Tip
Find some fabric: buy some inexpensive fabric squares or use what you might have (re-purpose something). I used fine white glitter for the tops of the snowmen, but this is optional. If you want to make your snowman hats glittery too, be sure to pick up a very small bottle of Mod Podge and fine glitter in your colors of choice.
Instructions:
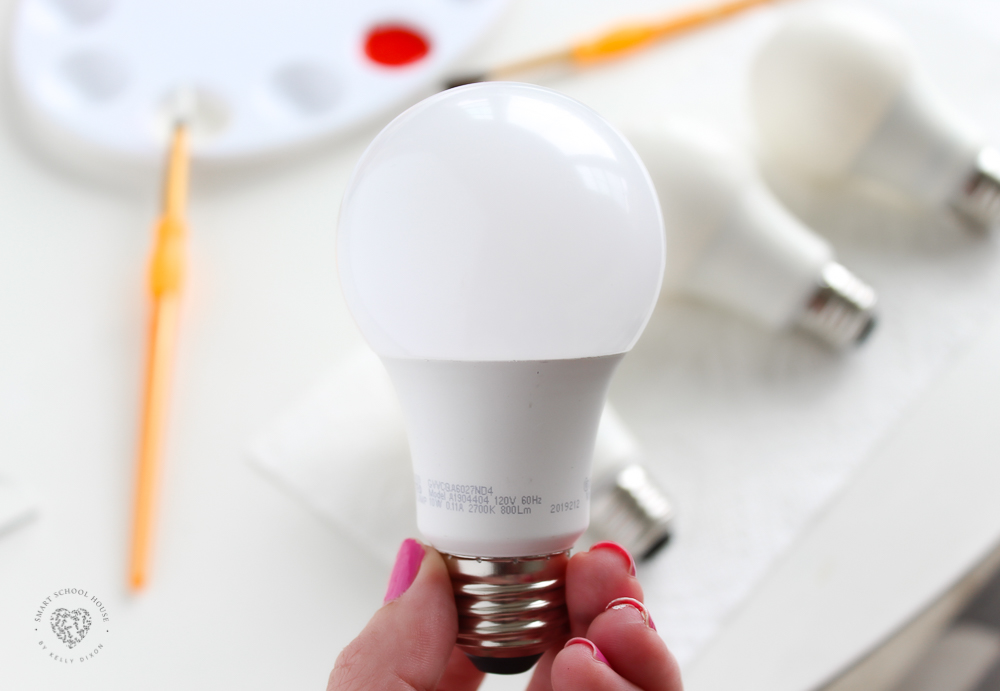
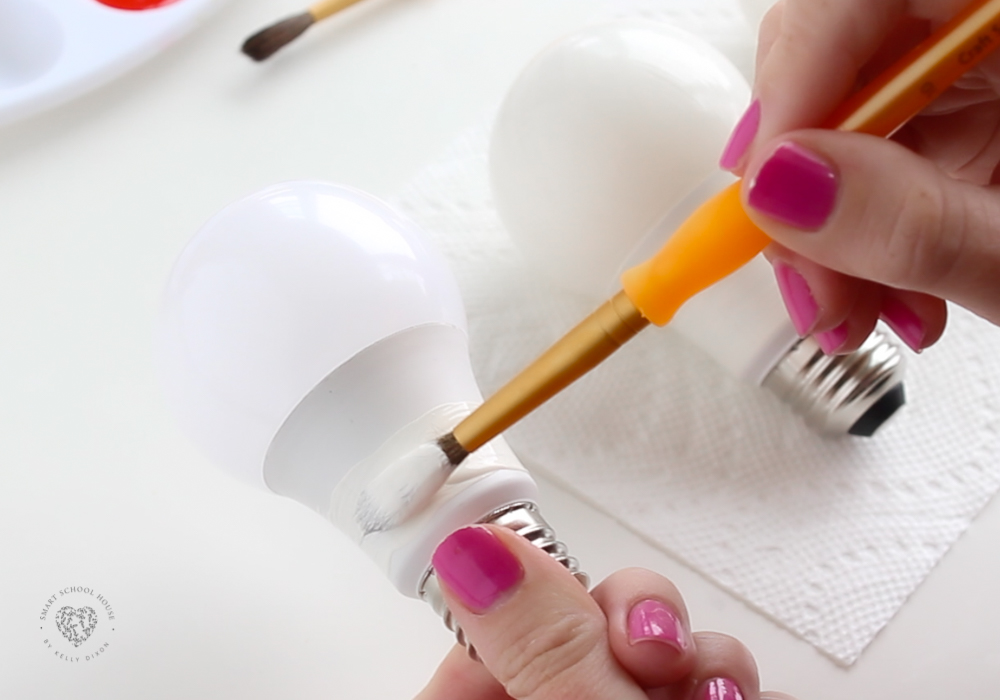
Paint the entire light bulb white to make the colors consistent. You could do 2 coats if preferred. Gently place them somewhere where they can dry. I happened to place them against the box they were purchased in. You can always touch up the white paint if desired.
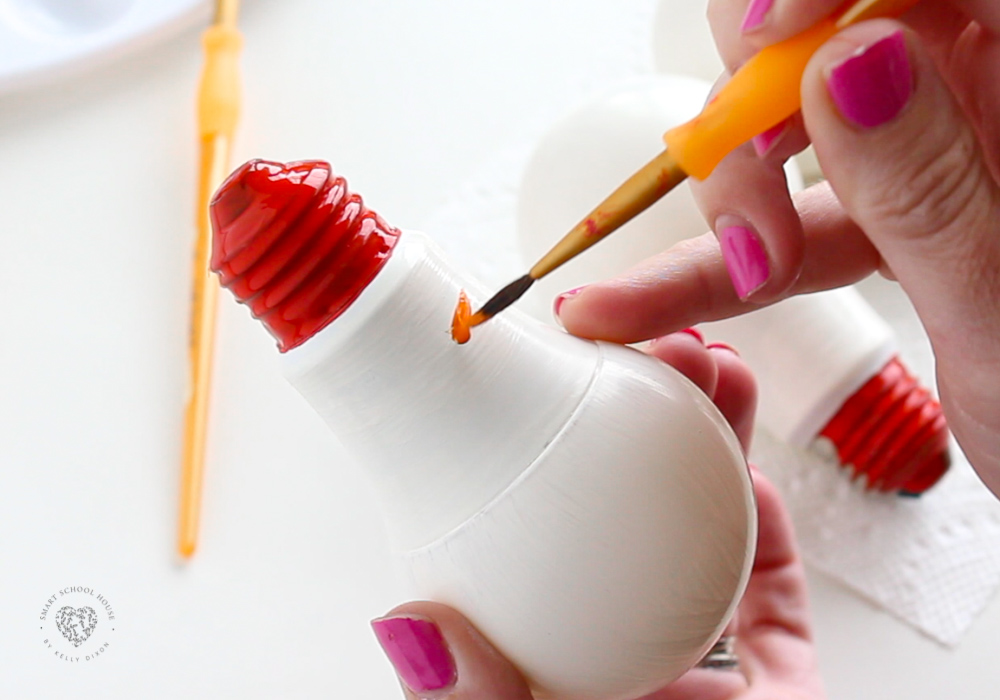
After the white paint dries, continue to paint the tops red, or whatever color you pick, and then draw on the eyes, nose, and buttons. This is the time to plug in your glue gun to create the scarf. Working with little kids? You can use regular glue too:) Just allow more drying time. Cut a thin piece of festive fabric and wrap it around the Light Bulb Snowman’s neck.
Light Bulb Snowman
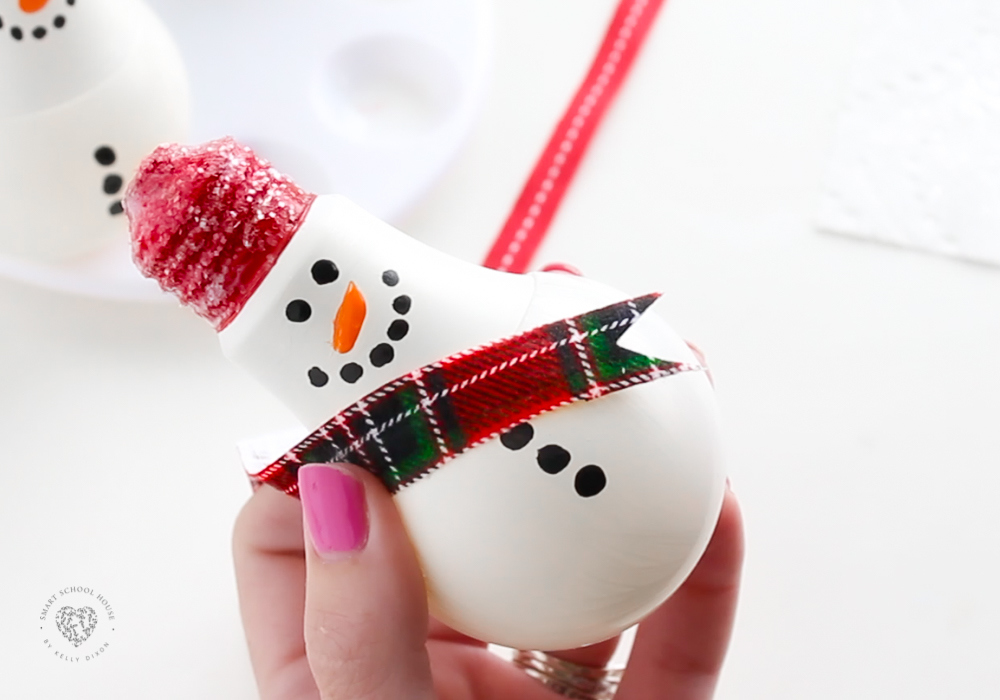
The glitter on top can be done before or after the scarf. Just be sure that the red paint is mostly dried. Most importantly, the white paint and face/ buttons need to be dry. Plaint a coat of Mod Podge glue over the red paint and add some fine glitter. Don’t worry, the Mod Podge dries clear.
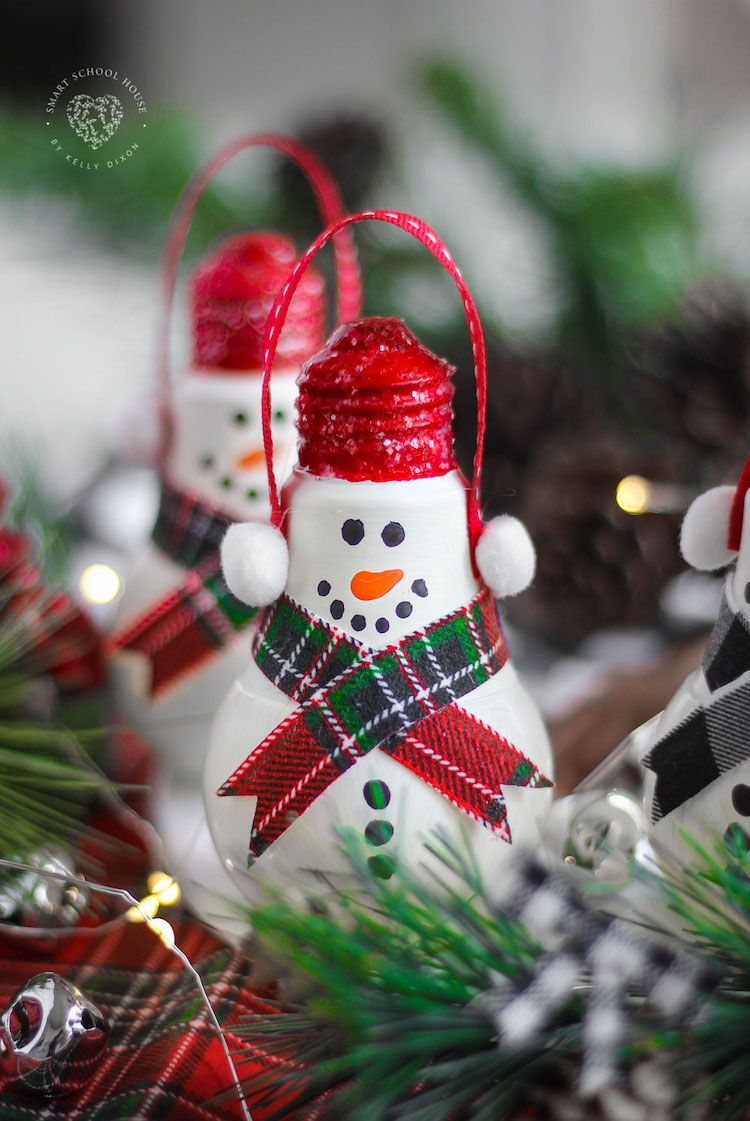
Finally, glue on the ribbon and a white pom pom on each ear to create ear muffs for the snowman. Be sure to add extra length to the ribbon so that the snowman light bulb can be hung as an ornament if desired! I used a VERY inexpensive plastic paint palette to stand the light bulbs on. You can find these at Michael’s and Walmart.
More Christmas Crafts
Light Bulb Snowman

Light Bulb Snowman
Ingredients
- Shatter Proof Light Bulbs
- Acrylic Paint: White, Black, Orange, and Red (or in desired color choices, get creative!)
- Small white pom poms for the ears
- Ribbon for the ear muffs – about 5 inches
- Festive fabric for the scarf – about 8 inches
- Paint brushes
- Hot glue (or regular craft glue if you’re working with kids)
- Mod Podge glue
- Fine glitter (in colors of your choice)
- Scissors
- Optional: plastic paint palette to allow the painted bulbs to dry
Instructions
- Paint the shatter proof bulbs white. Allow to dry (as seen in the video). You can do a second coat of white if desired
- Paint the metal part of the light bulb red or desired color. Allow to dry.
- Paint two eyes, an orange carrot nose, and buttons onto the snowman light bulb
- Once the red paint on the snowman’s “hat” is dry, paint a layer of Mod Podge over it
- Sprinkle fine glitter over the Mod Podge (it will dry clear)
- Using a glue gun, attach the scarf, ribbon ear muff, pom pom ear warmers


1 Comment