This post may contain affiliate links. Please read our disclosure policy.
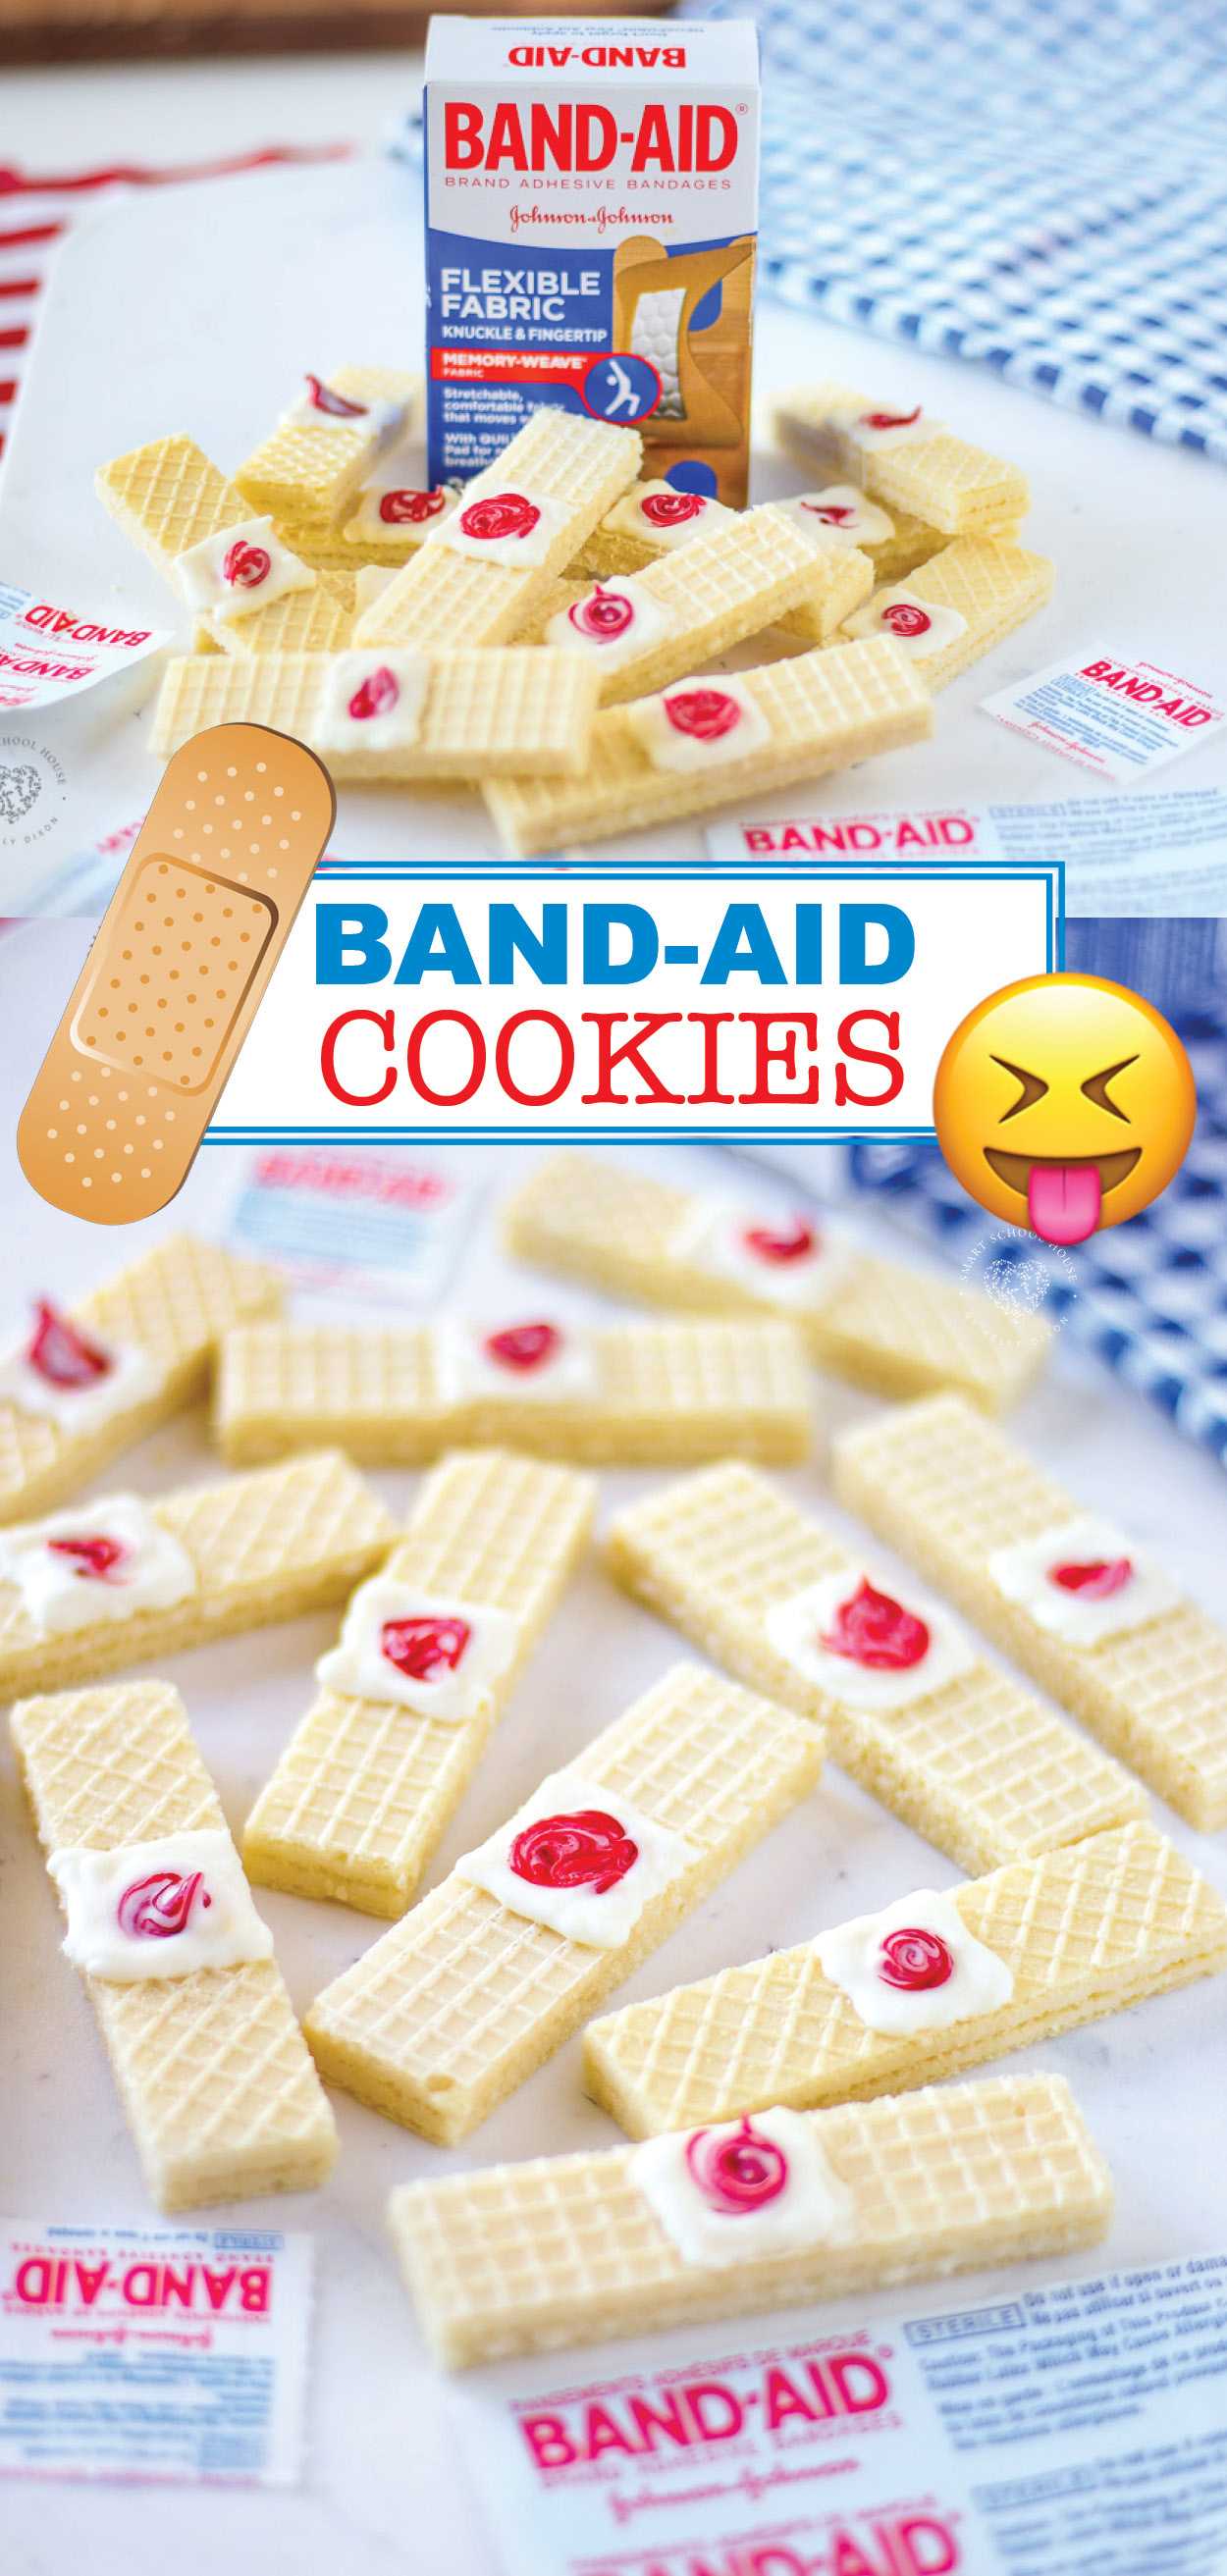
These gross Band Aid cookies are the perfect addition to your Halloween party platter. They are so easy that you can get the kids to make them. I’ve even made a quick DIY video with the complete instructions just to make life easy:) Be sure to pin and save this idea for Halloween!
Band Aid Cookies
Have you ever peeled a band aid off and looked at the blood left behind? Eww! We’ve all had to do it! Instead, try putting these band aids covered in blood inside of your mouth ?
In all seriousness, these are the EASIEST Halloween cookies that can be made it just 5 minutes. We are having another Halloween party this year, so we are all about making scary little treats.
Whatever band-aid you pull off, scar blood, kicked in the face blood, fell of your bike blood, tripped on your shoelace blood, they will taste delicious. After you have eaten one of these band aid cookies, you’ll go back for seconds (or thirds!).
How to Make Band Aid Cookies
Ingredients Needed:
-
Vanilla Waver Cookies
-
White CandiQuik
-
Food Coloring Gel
I like to melt CandiQuick (which is far easier to work with AND tastes better than regular candy melts) in a plastic container. You can create a homemade piping bag using a sealable plastic bag! Place the baggie over a cup and pour the melted candy in there. Work the melted candy to the corner of the baggie and cut of a tiny portion of the baggie’s tip. Now you’re ready to pipe on the wafer cookie!
See the full directions in the recipe card at the bottom of this post. It’s printable too!
I like to use CandiQuik for all of my crafts and projects that involve melting candy. It is SO much easier than regular candy melts to work with. Trust me on this one… You’ll thank me later! It doesn’t burn and it tastes better. Best of all, it can be reheated multiple times which makes it sooooo much better than candy melts that can’t be reheated and burn easily. When in doubt, get CandiQuik over candy melts LOLolol.
More EASY Halloween Dessert Ideas by Smart School House to Try Next:
-
Peeps Houses
-
Candy Apple Ghosts
-
Marshmallow Ghosts
-
Halloween Ghosts
-
Pretzel Broomsticks
-
Halloween Ice Cream
Band-Aid Cookies
Print Here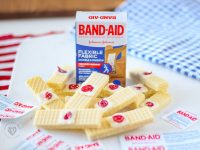
You Will Need
Ingredients Needed:
- Vanilla Waver Cookies
- White CandiQuik
- Food Coloring Gel
Other Supplies Needed:
- Toothpicks
- Plastic Baggie (for piping on the melted CandiQuik)
- Scissors
- Microwave safe dish
- Spoon
- Sandwich baggie
Directions
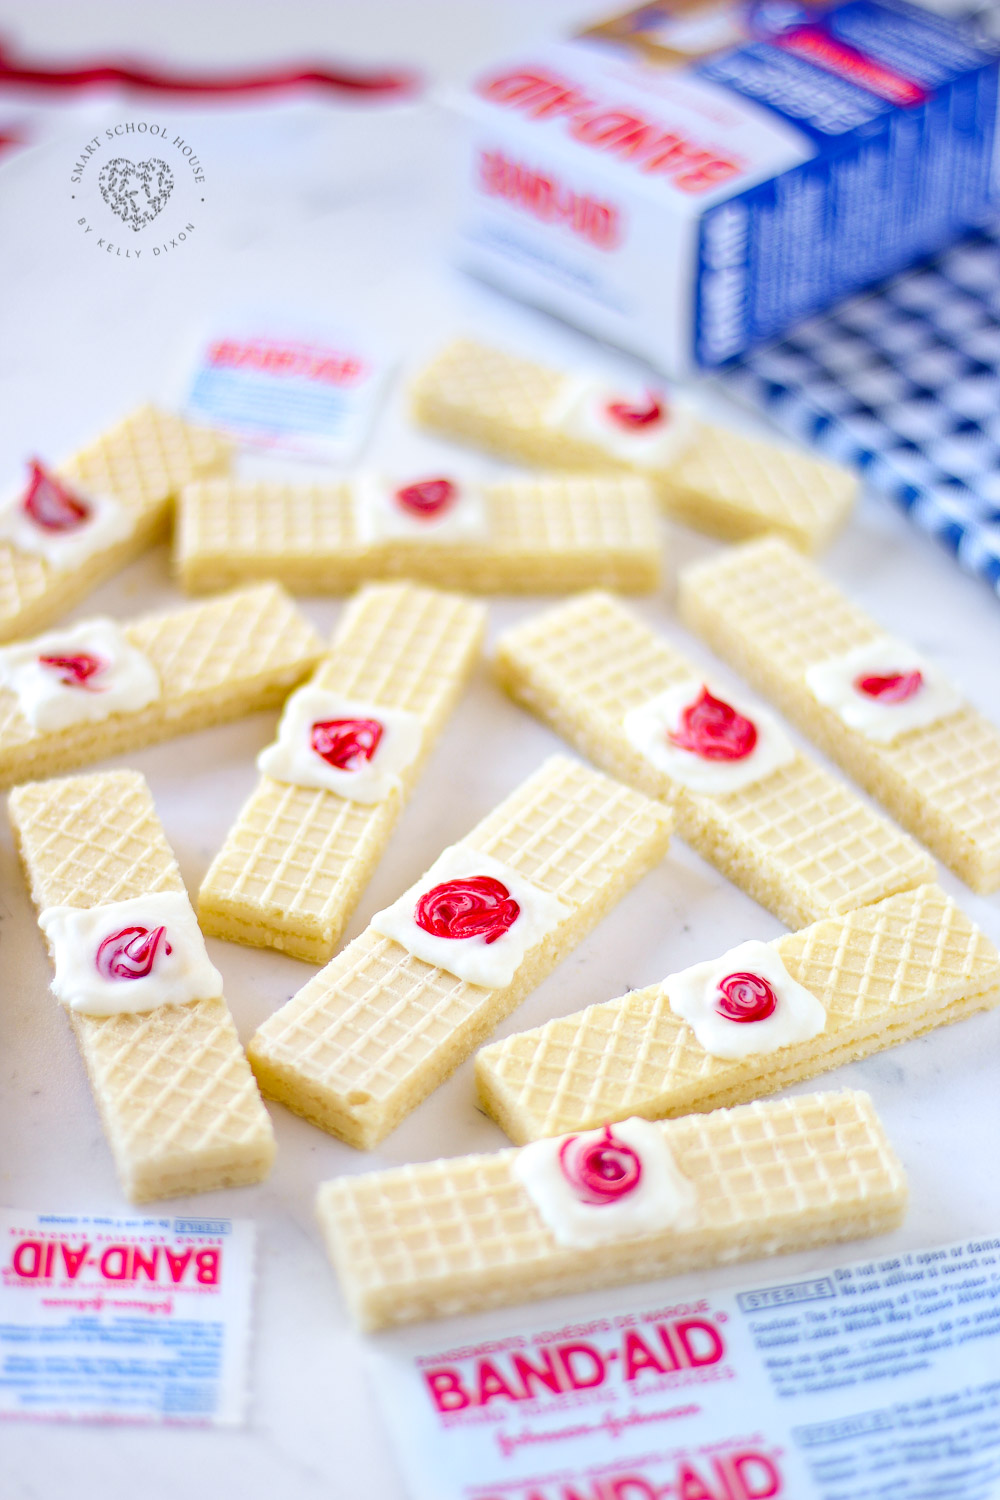
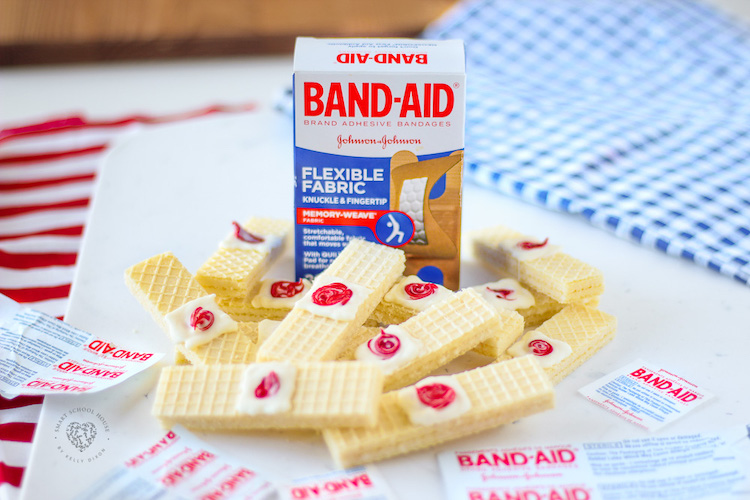
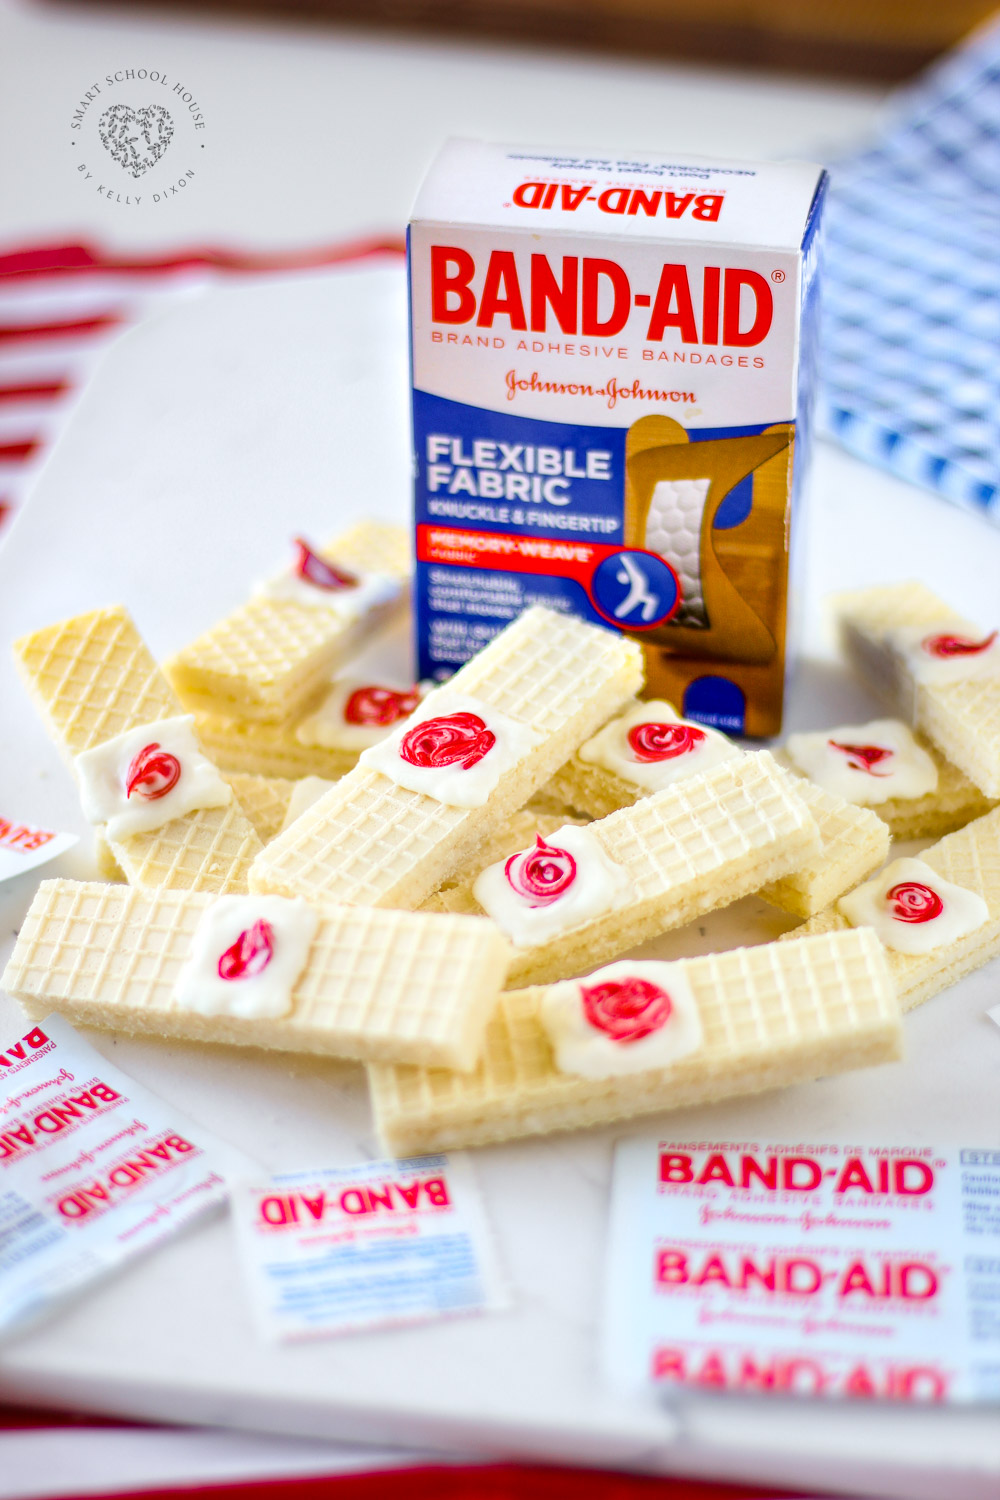
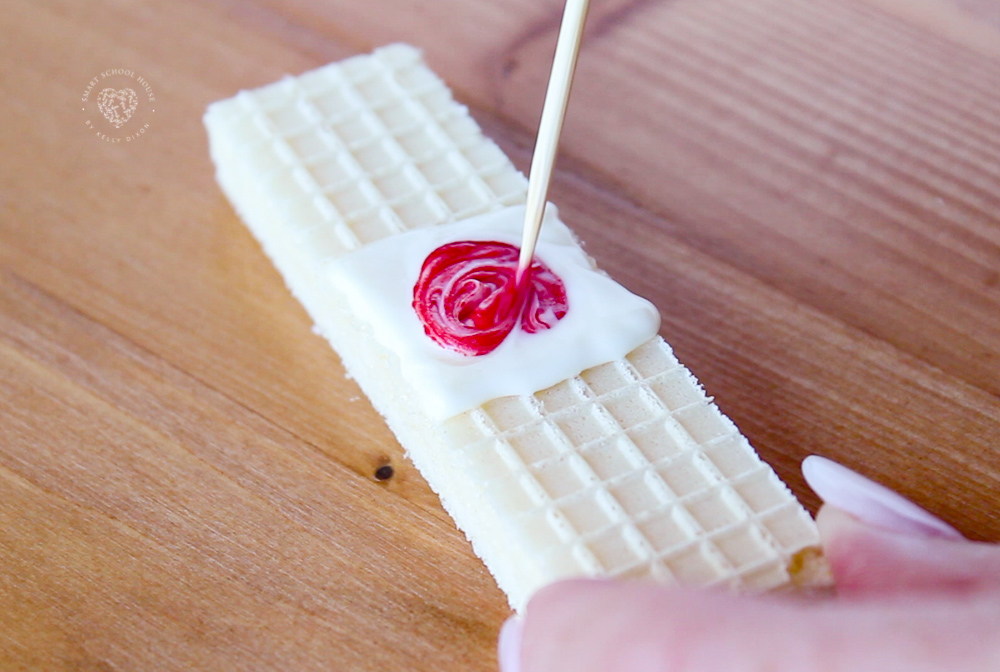
- Melt the CandiQuick or candy melts according to the instructions on the package (usually using a microwave safe bowl in 30 second intervals). We used CandiQuick (found in the baking isle) but any kind of candy melts will do. I used 3 squares of the candy melt to make about 12 cookies.
- Put the melted candy into the corner of a sandwich baggie. This creates a homemade frosting bag for piping!
- Cut a tiny piece of the corner off of the plastic baggie.
- Pipe a square of melted candy in the center of each vanilla wafer
- Squeeze a TINY dot of red food coloring on top of the melted candy
- Using a toothpick, swirl the food coloring around until the band aid looks perfectly bloody… and gross! Kids are SO good at this part of the job.


