This post may contain affiliate links. Please read our disclosure policy.
Plastic Plate Snow Globe
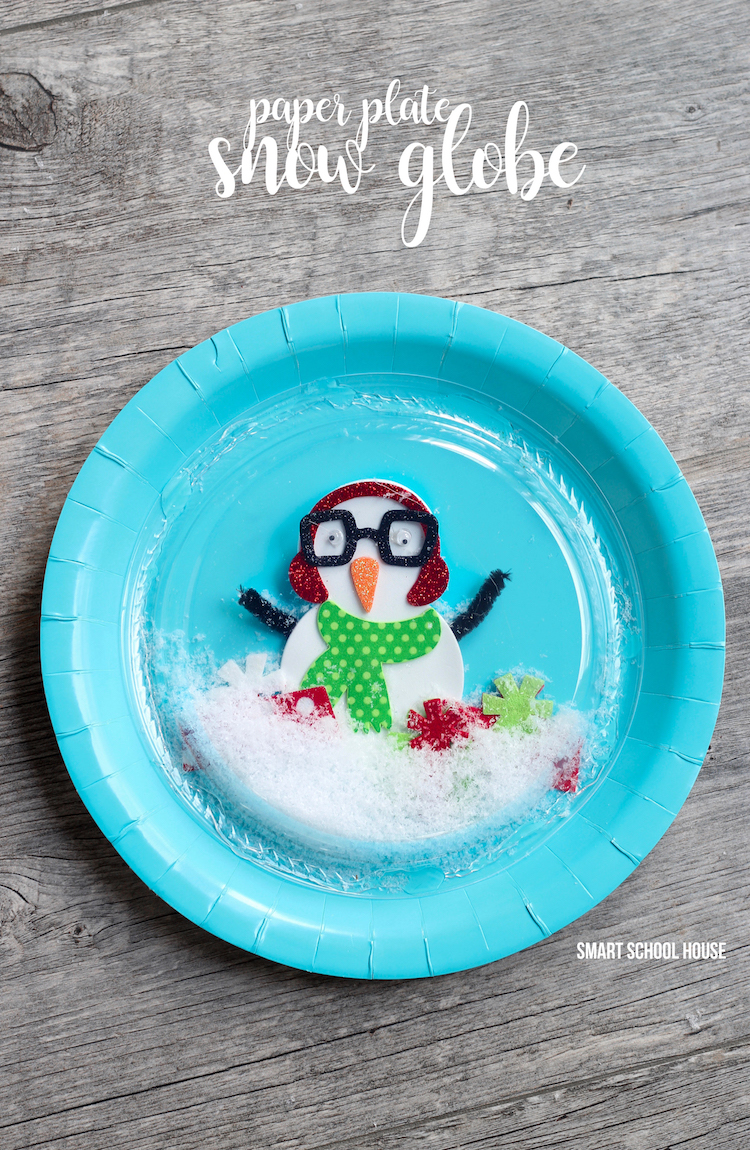
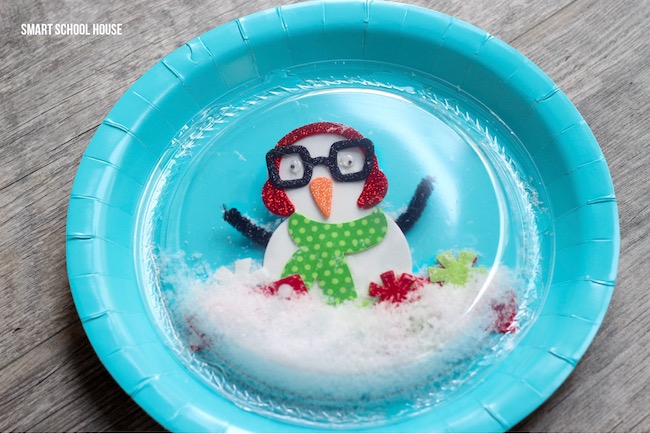
Happy holidays! Winter is here in several parts of the country, and although it doesn’t snow where we live, we still love to participate in snowy crafts! Today’s winter craft idea is just for the kiddos. We recently made a mason jar lid snow globe (seen here). This plastic plate snow globe is for kids of all ages! Today I’ll show you how we used a paper plate and a clear plastic plate to craft up a colorful wintery snowman scene. It’s ADORABLE!
How to Make a Snow Globe on a Plate
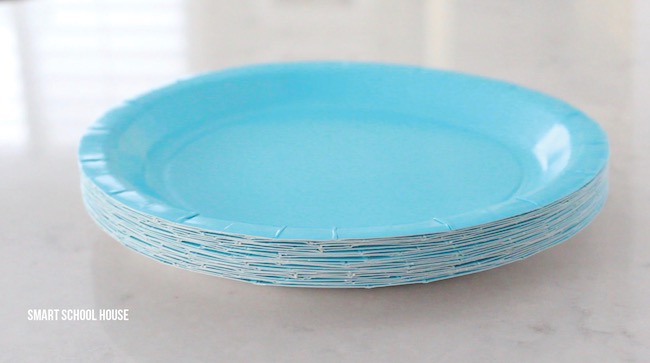
- Light blue paper plates
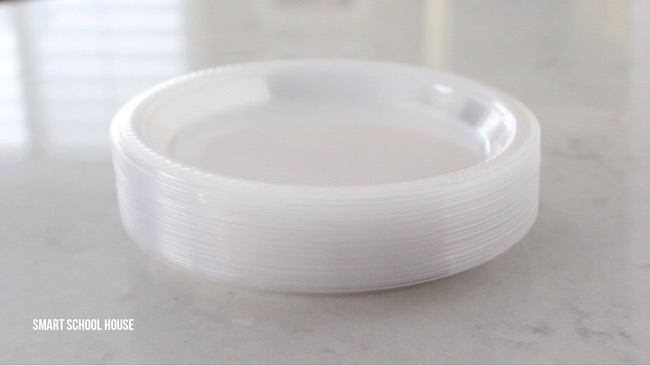
- Smaller sized clear plastic plates
- Fake snow
- Foam crafts/snowman for the inside (we got ours from the craft store)
- Glue. Parents can use hot glue or regular Elmer’s glue works too.
Directions:
- Use foam or stickers (or anything your kids want) for the inside of the snow globe. Kids can even cut out a picture of themselves to make it look like they are inside of the snow globe. Use glue to attach the items down to the lower middle area of the light blue paper plate.
- Sprinkle a small handful of fake snow in the middle of the plate. Be sure to clear the outer edges of the plate of any snow because this is where the clear plate needs to be attached!
- Using Elmer’s glue or hot glue, place the plastic plate on top of the light blue plate upside down. Make sure every edge of the plate is glued down to prevent any snow from coming out. Let it dry. Give it a shake and watch the plastic plate snow globe come to life!
How adorable and easy is this DIY winter craft?
Looking for more fun ideas to make with your plastic plate snow globe? Check out our other fun tutorials:


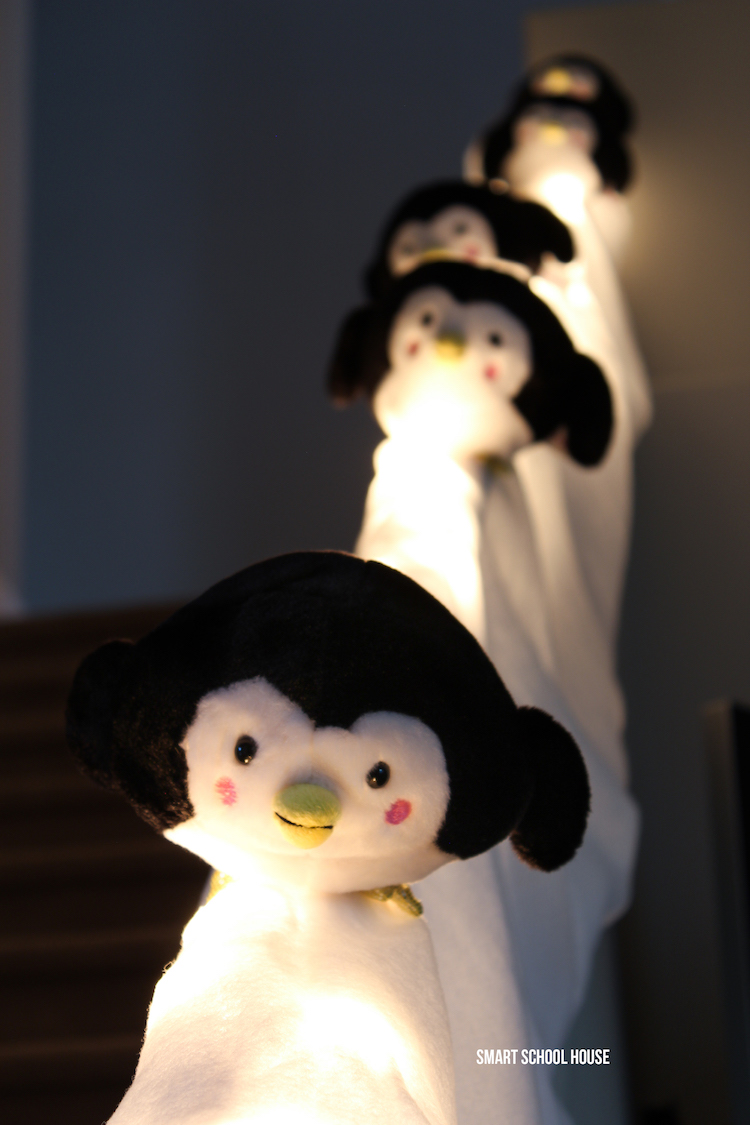
Penguins Sliding Down the Stairs