This post may contain affiliate links. Please read our disclosure policy.
I just love a Dollar Store craft that is easy to do and looks amazing! These Hanging Cages for Halloween are both spooky and creepy. What it costs to make them and how to assemble them won’t scare you at all! They are fun to make and look spectacular for Halloween. Bring the kids with you and let them pick out what kinds of things they want caged up this Halloween. Be sure to pin and save this post for when you’re ready to decorate for Halloween! ???
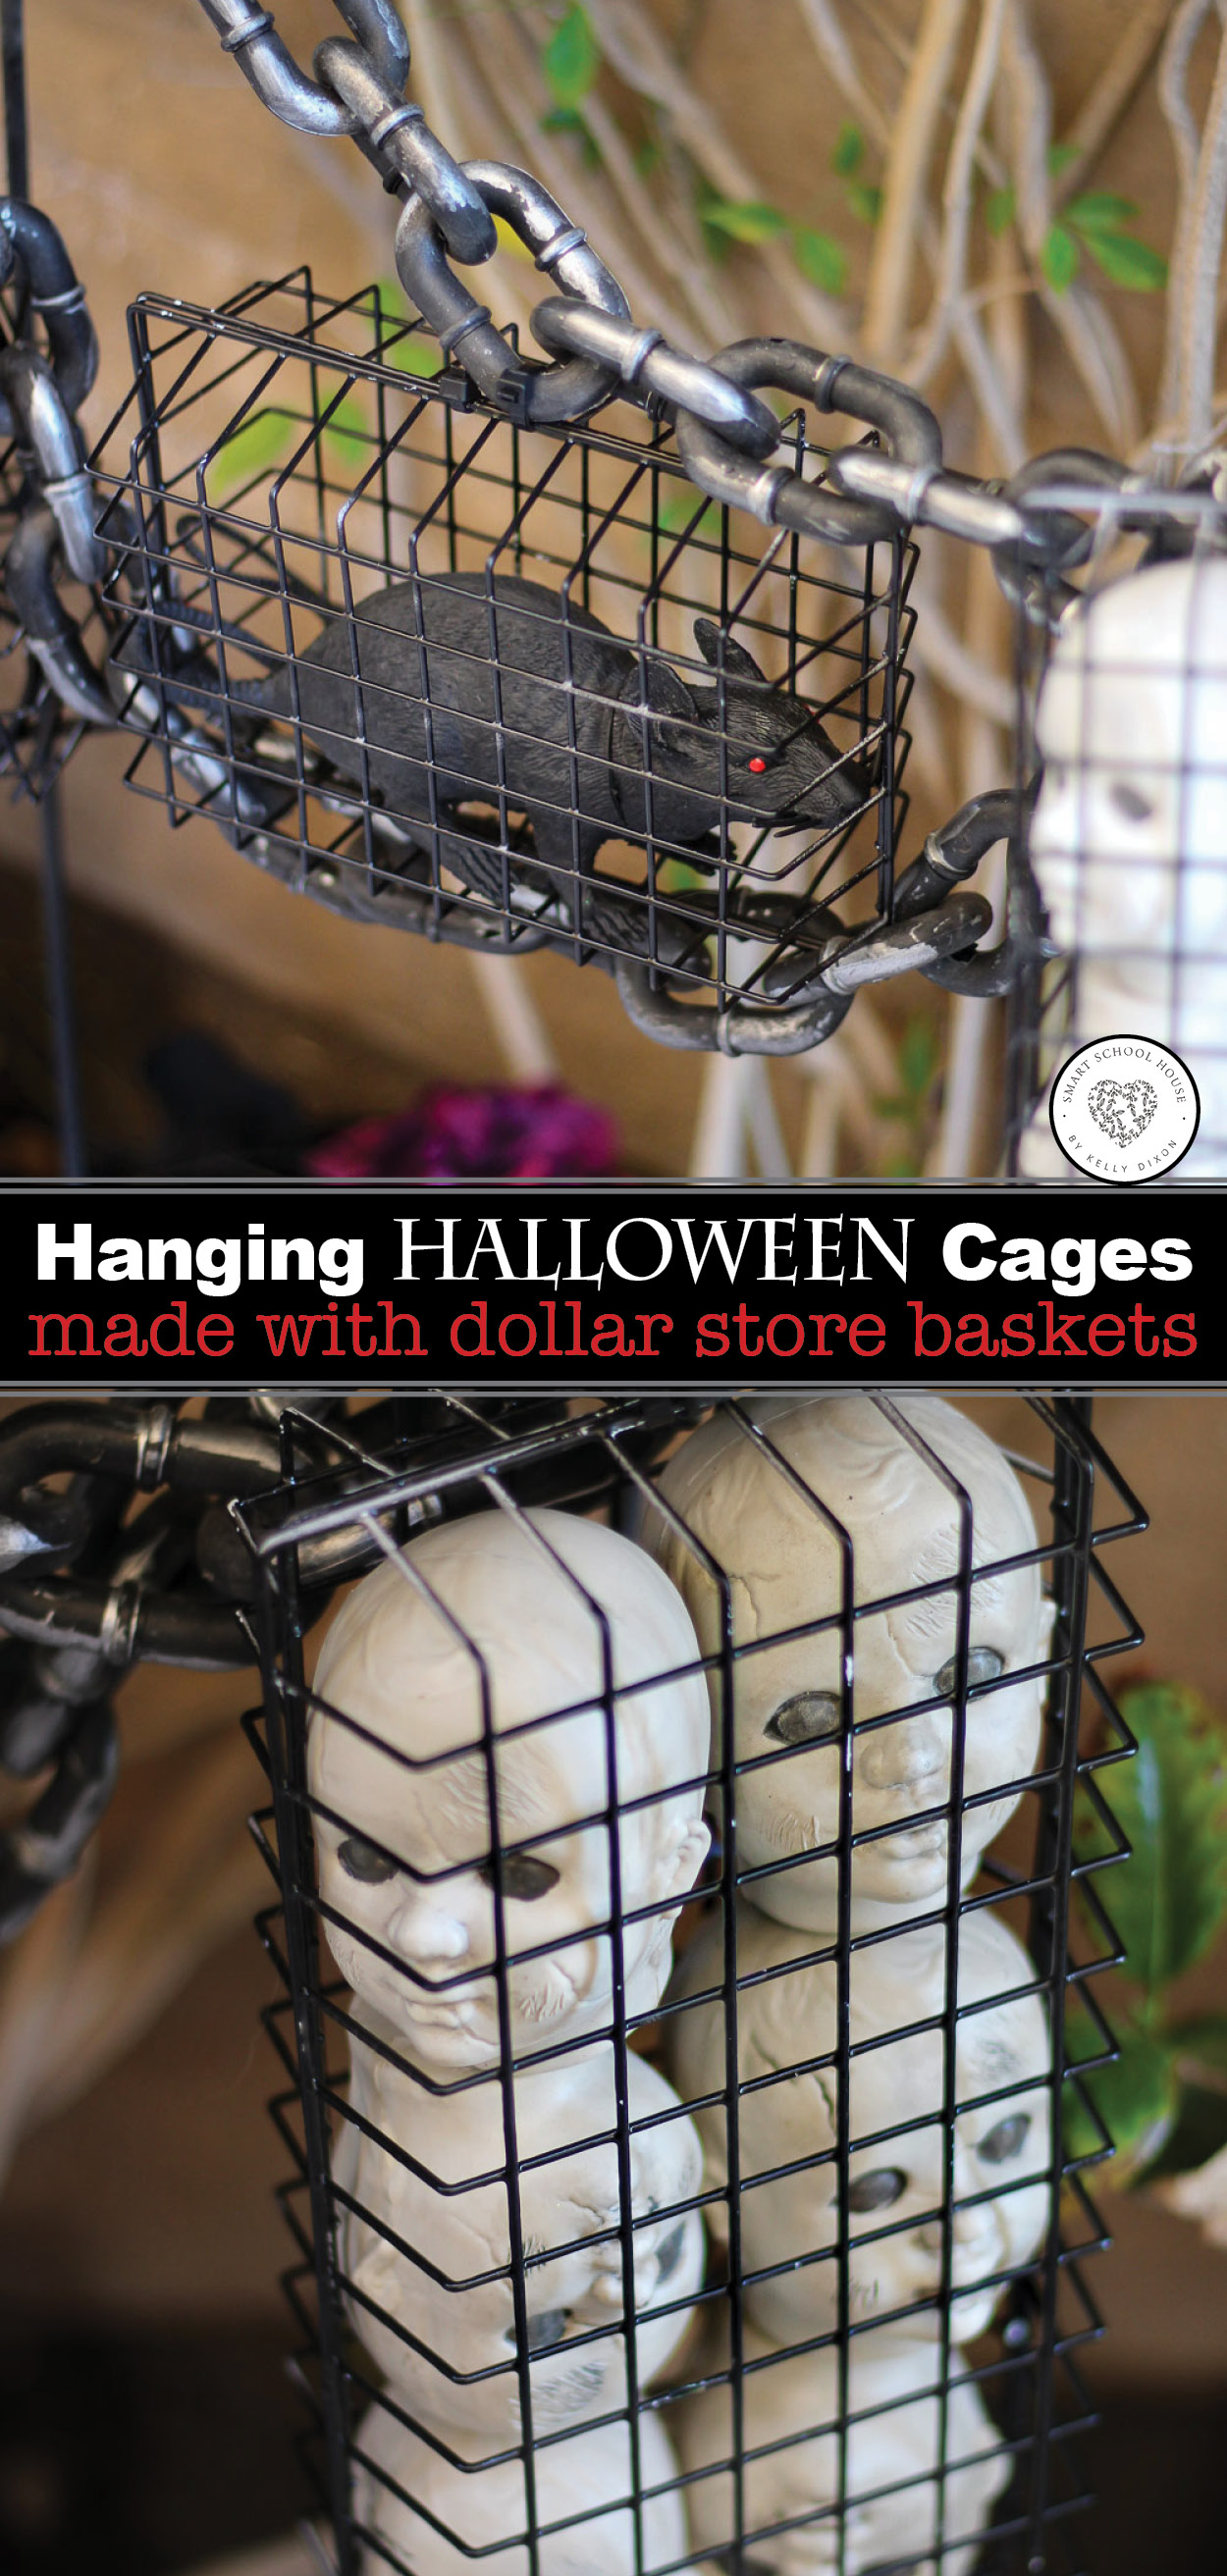
Hanging Cages for Halloween
Last month while my kids were at camp, I ran into the dollar store for supplies I needed for another craft. When I was in the kitchen organization aisle, I spotted these little white organization baskets. They come in a variety of sizes. They’re also great for organizing office, school, and craft supplies.
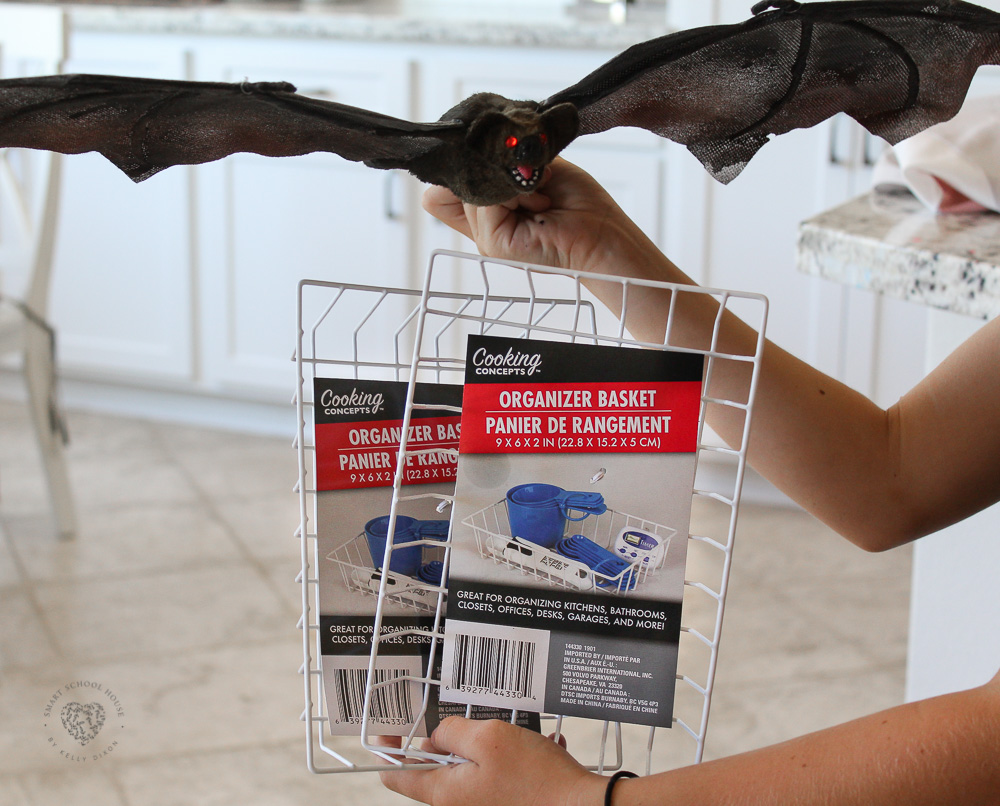
My daughter recently got this bat at Michael’s and she was so excited to hold him for the picture ?Have I ever mentioned that we love Halloween before? My kids are SO excited for it this year!
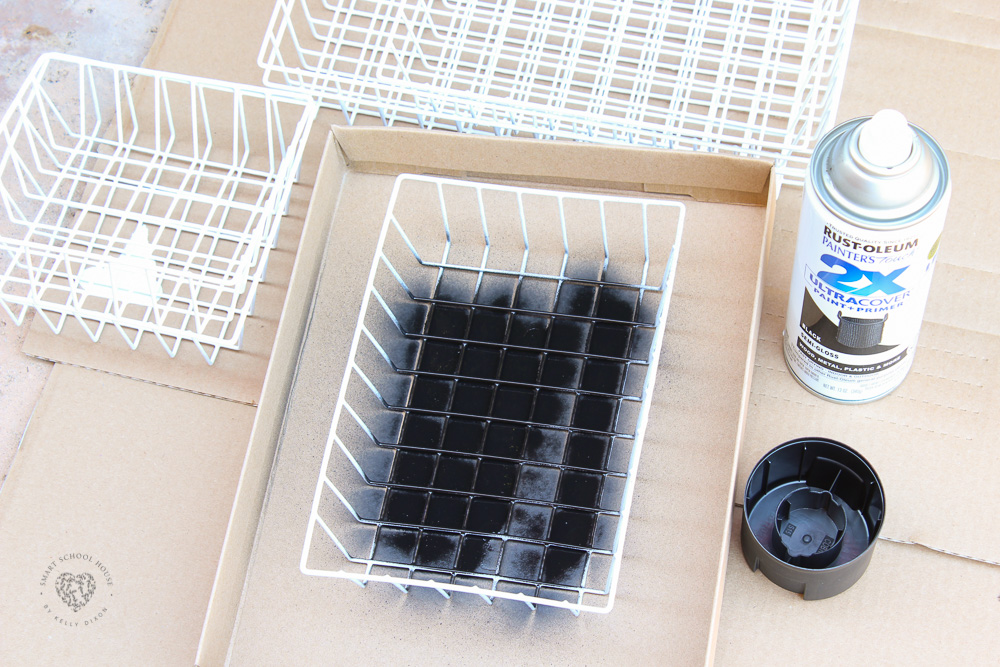
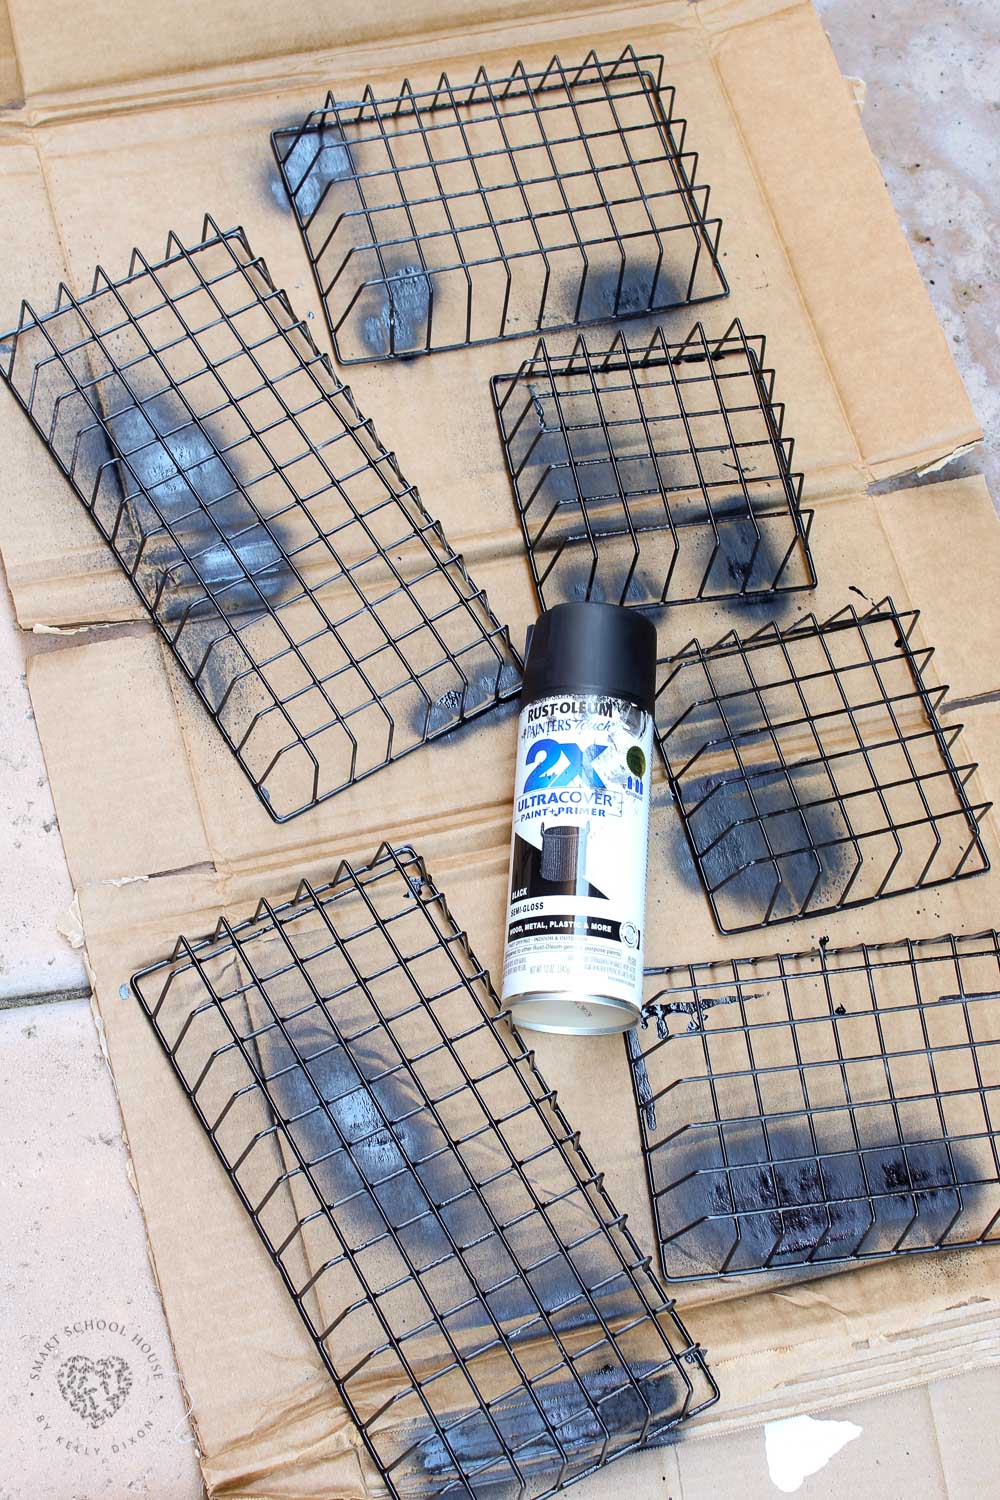
Next up, I spray painted the baskets black. I used THIS Rust-Oleum spray paint because it sticks to plastic. The baskets have a plastic covering over the wire basket. It was a really hot August day when I spray painting them, so they dried quickly. But, that’s what I love about working with spray paint- it generally dries quickly making it great for crafts!
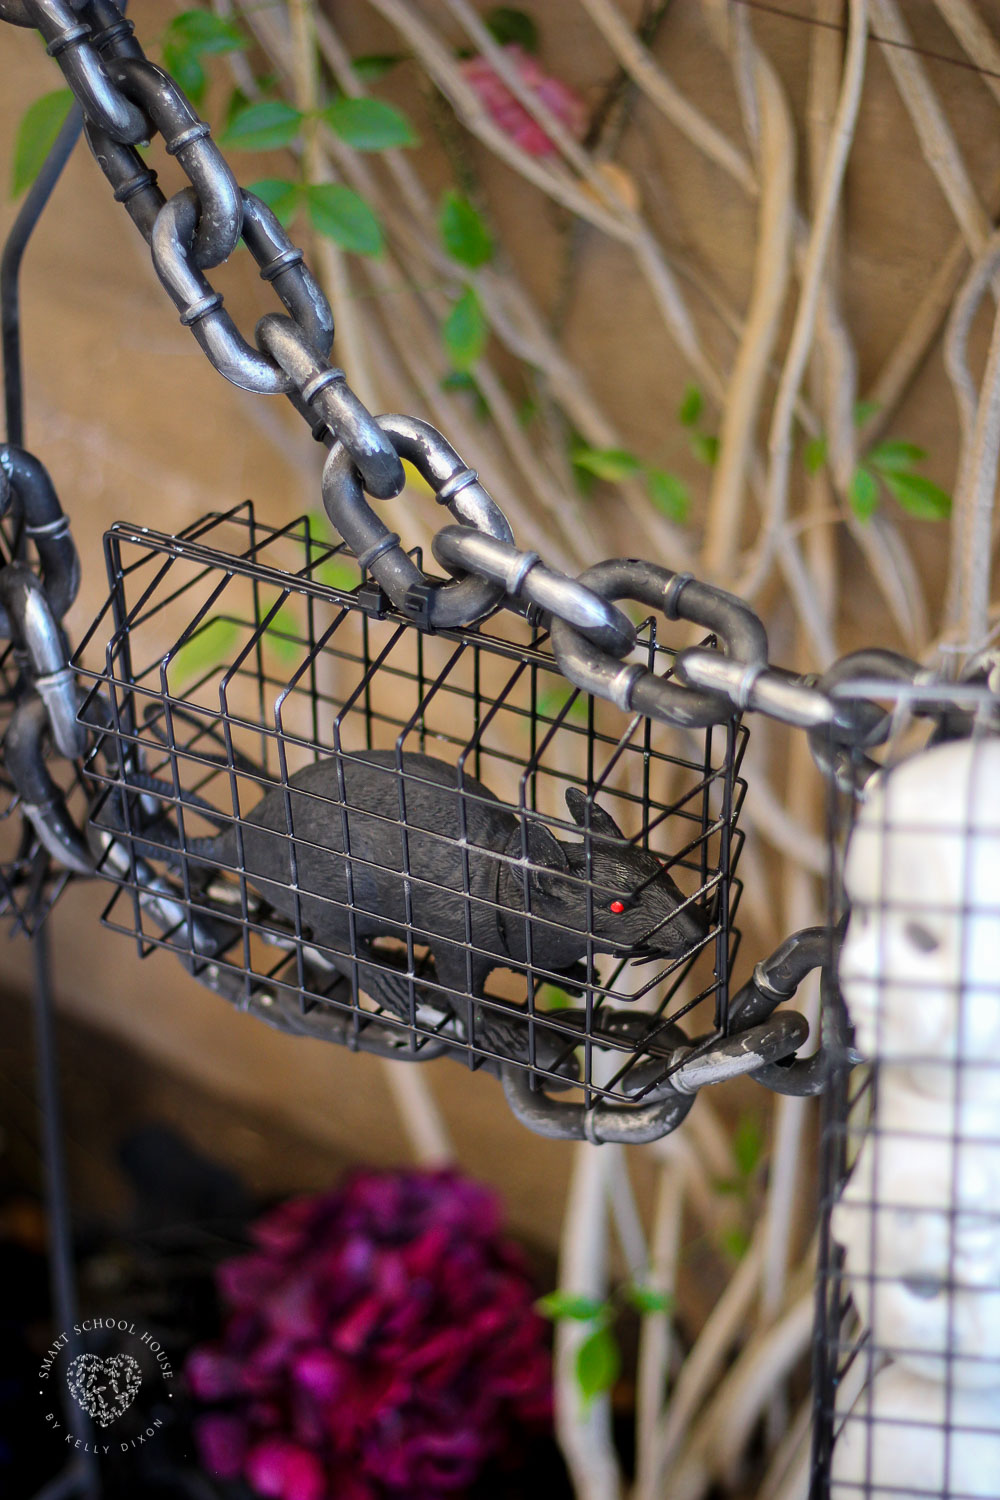
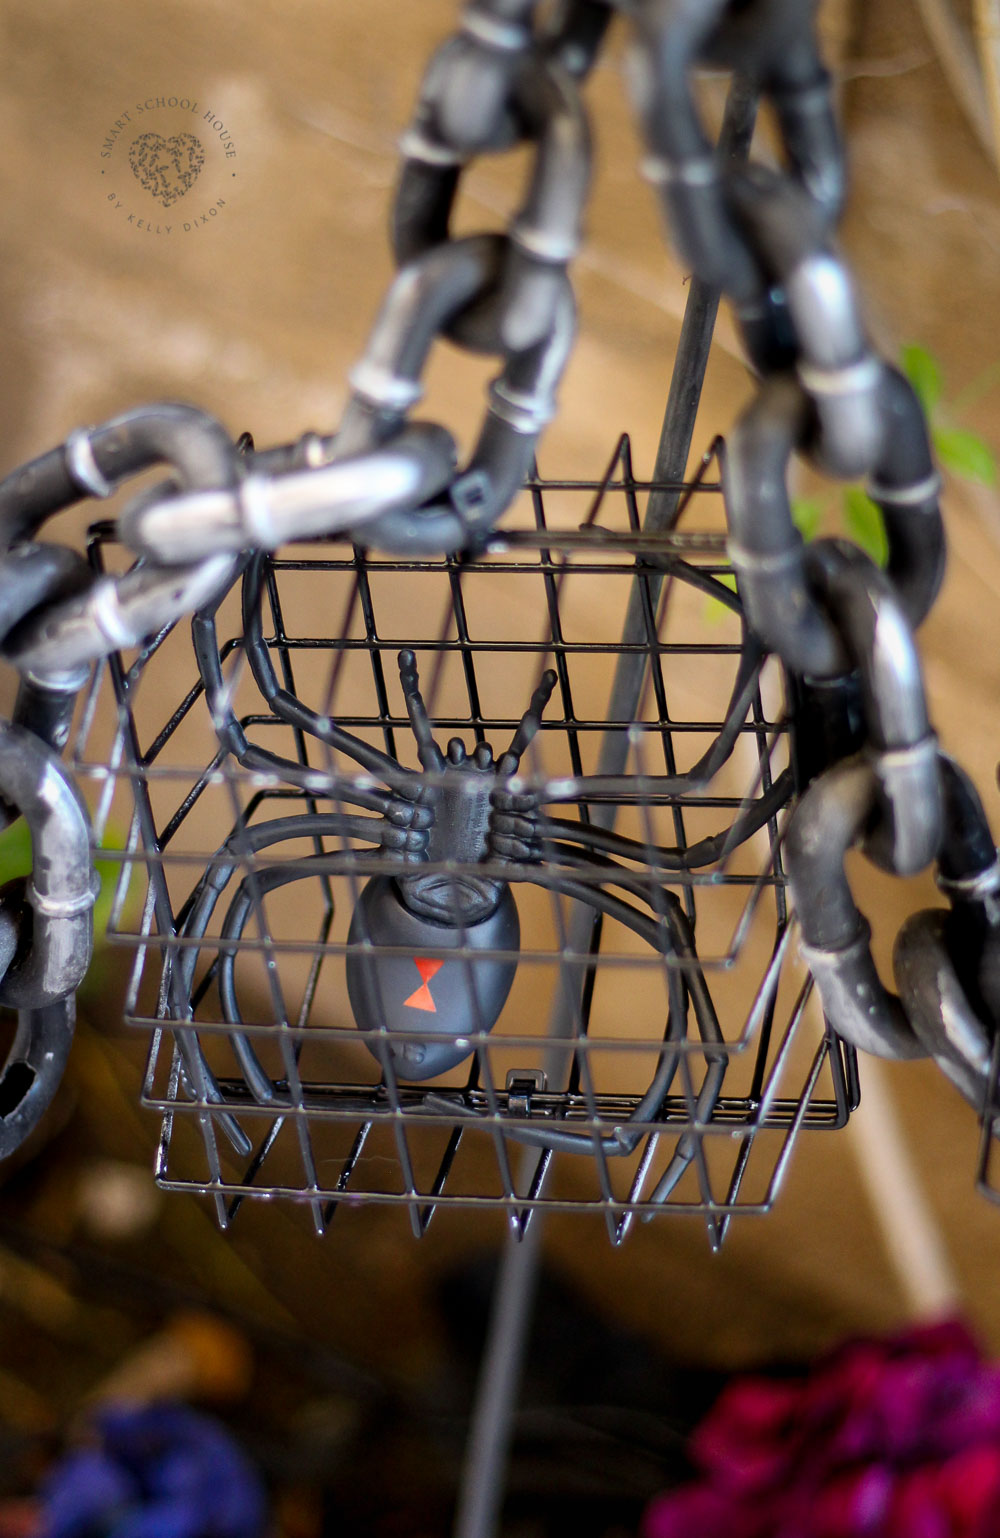
Once the spray painted baskets were dry, it was time to fill them up with Halloween decorations! We visited Michael’s craft store for the various things you see: baby doll heads, black rat, and spider. You’ll also want to get a Halloween chain link. They are actually plastic and very lightweight, but look so spooky and heavy in real life.
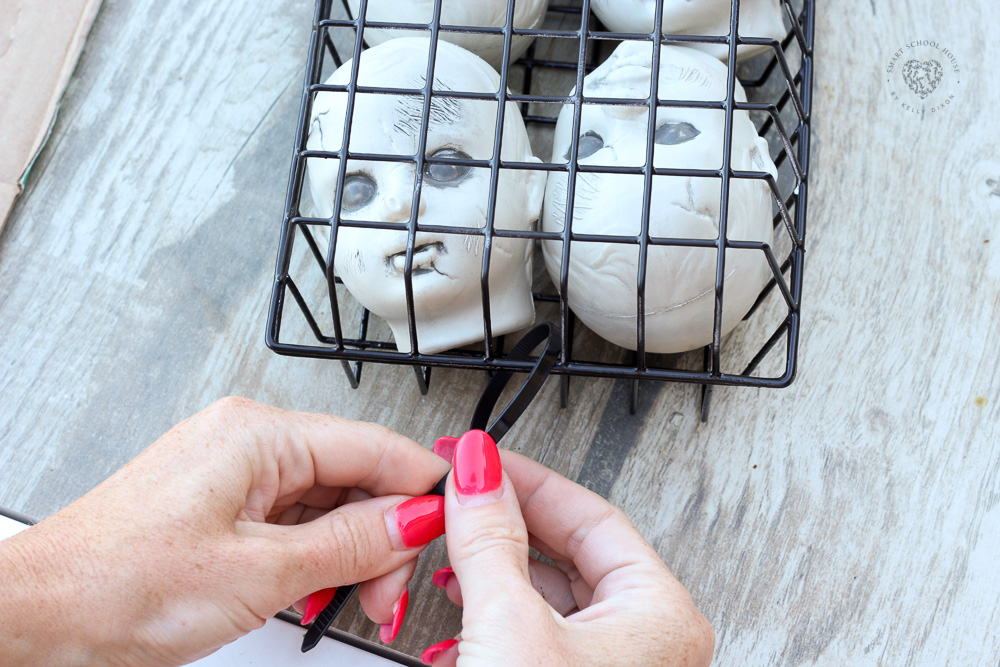
After that, the baskets were closed up using black zip ties. Simply zip them tight and cut off any extra plastic from the tie. Now they are ready to hang! Do you have a couple of shepard’s hooks? You can find them on Amazon or you can get them in the gardening section of a hardware store. I use them all year round for hanging plants and decor. Speaking of, you’ve seen these same shepard’s hooks in our ever-so-popular watering can pouring lights craft we did a few years back.
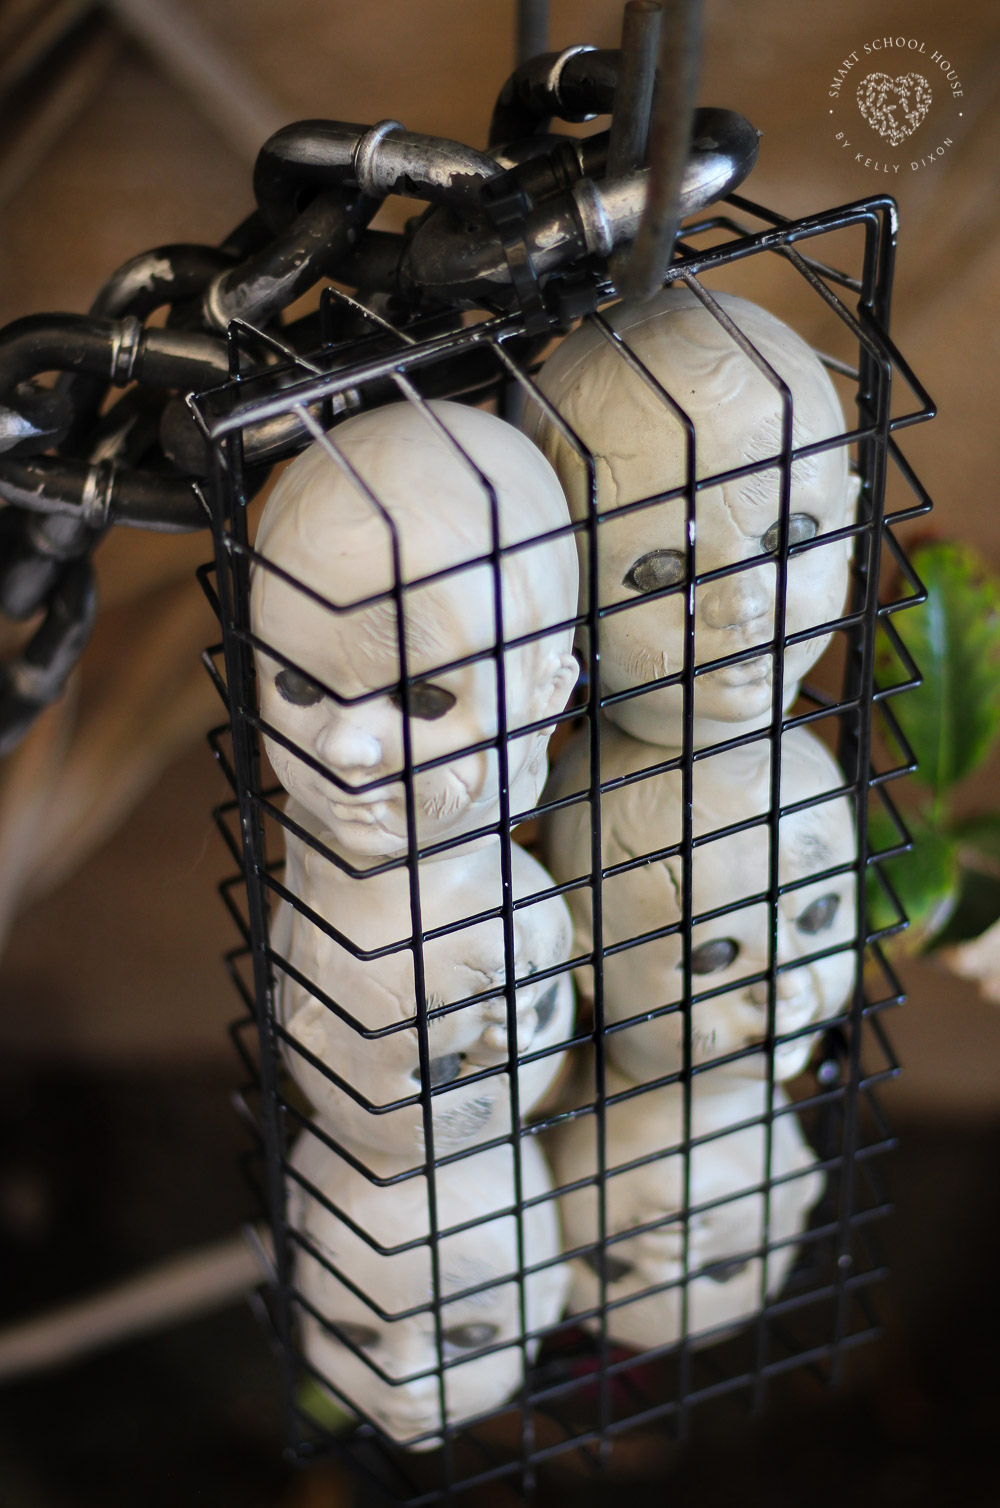
We think the hanging doll heads in the cage is the creepiest! How did we get the cages to hang? Take the plastic chain and drape it along 2 shepard’s hooks. Decide where you want the cages to hang and use zip ties to attach them to the chain. So simple!
What Halloween Craft Should You Try Next?
-
Flamingo Vultures
-
Halloween Watering Can with Lights
-
Tomato Cage Witch Hat
-
Glowing Pumpkin Pails
-
Toilet Paper Pumpkins
-
Skeleton Bubble Bath
Halloween Desserts and Treats to Make This October!
-
Pretzel Broomsticks
-
Halloween Punch
-
Marshmallow Ghosts
-
Meringue Ghosts
-
Vampire Cookies
-
Jello Halloween Ice Cream
Happy Halloween!
Hanging Cages for Halloween
Print Here
You Will Need
- Kitchen organization baskets found at the dollar store (2 of each size)
- Black zip ties
- Things to put into the cages like: baby doll heads, black rat, and spider
- Halloween chain link
- Black spray paint
- Scissors
- Cardboard or plastic to place under the baskets while spray painting
- Shepard’s hooks
Shop the Supplies Below:

Directions
- Place cardboard or plastic underneath baskets
- Spray paint the baskets black. Allow them to dry.
- Fill one basket with desired decorations
- Place a second basket on top and secure it closed with a zip tie
- Drape the Halloween chain along 2 shepard’s hooks
- Attached the finished cages to the Halloween chain using zip ties


