This post may contain affiliate links. Please read our disclosure policy.
Spooky! Today I’m going to show you how to make these awesome DIY Halloween Snow Globes on top of glass jars. It’s so quick and easy! The ways these snow globes can be decorated is endless. Once you have the supplies, let your spooky imagination run wild! Everyone loves a snow globe because there’s something mysterious and enchanting about them. I can’t wait to show you how to make them! I’ve even made a quick video tutorial to show you step-by-step directions. Be sure to save this idea for October. ?♀️?
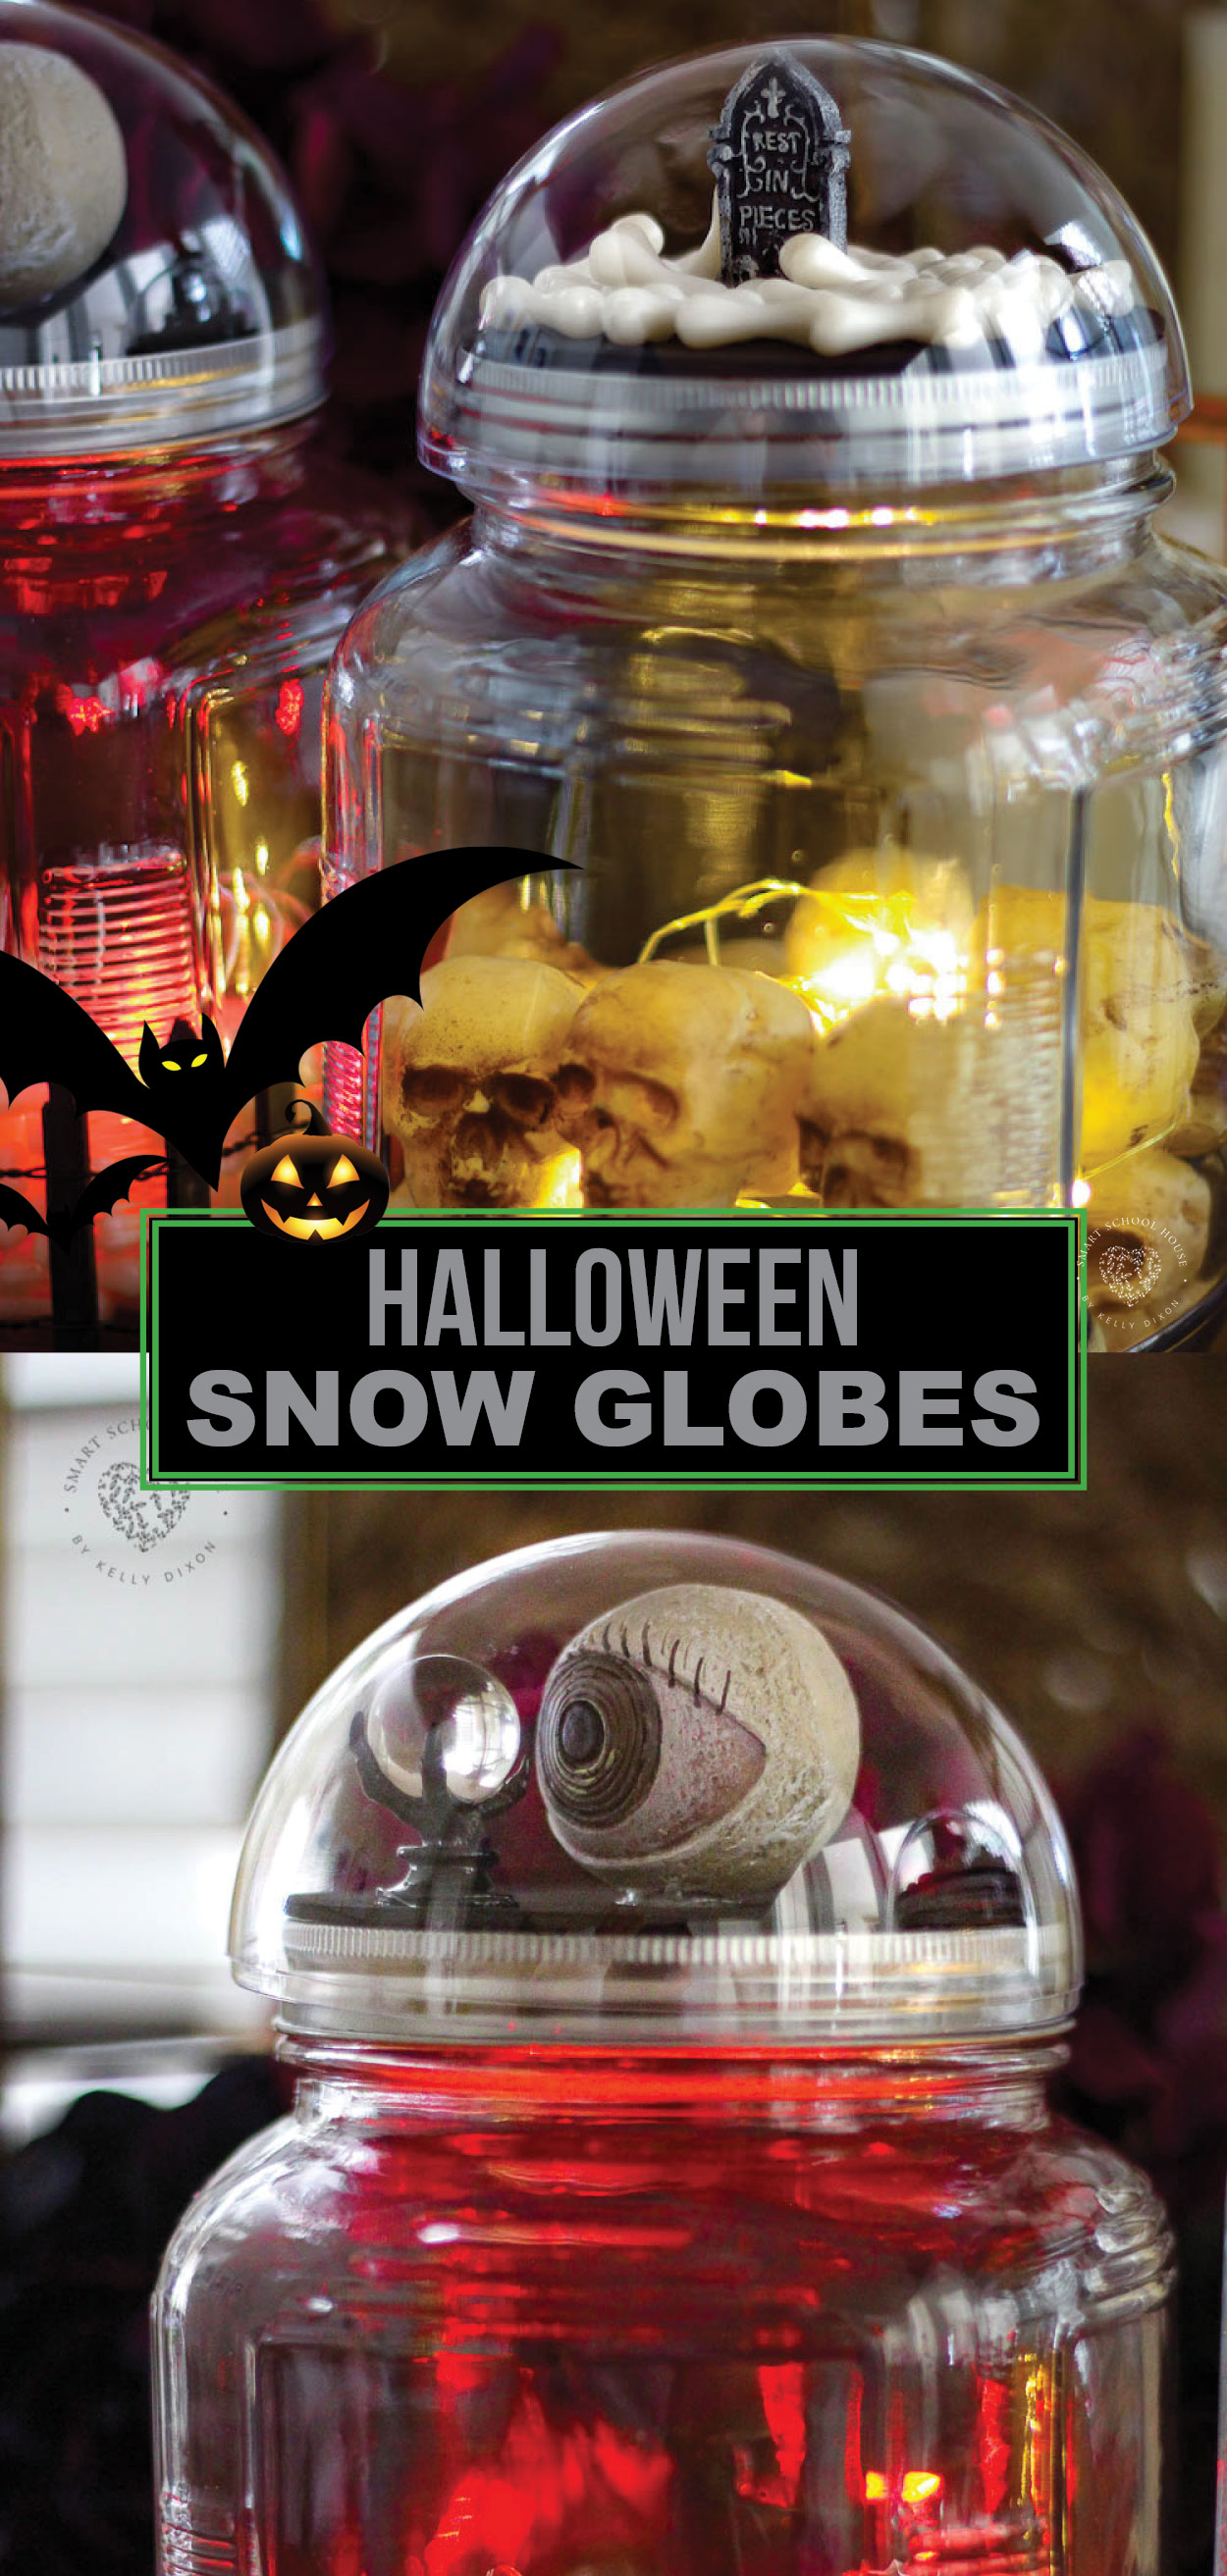
Halloween Snow Globes
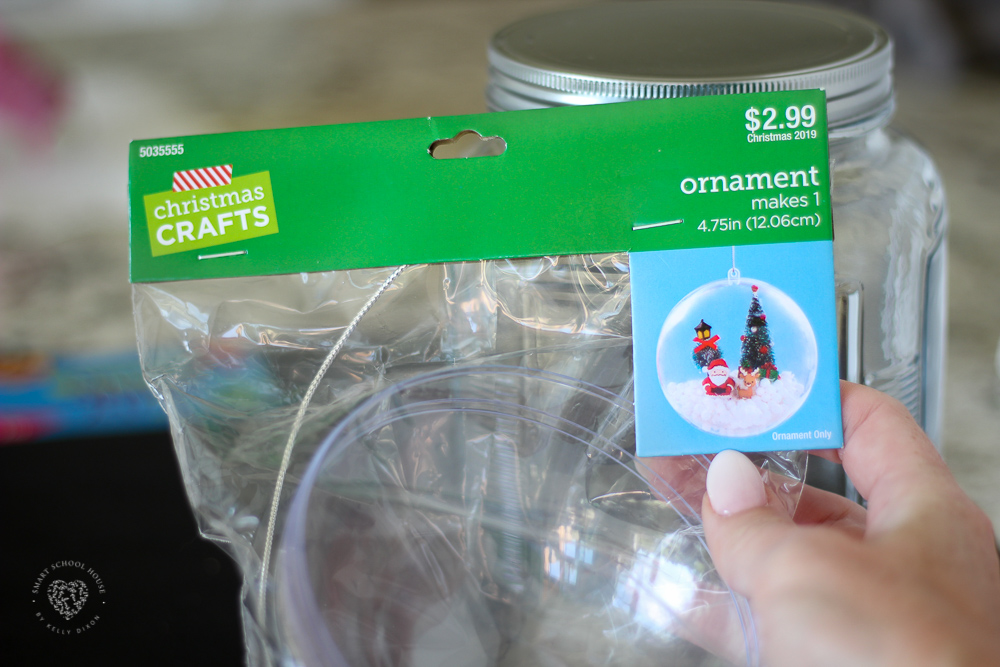
A few years ago I made Christmas Snow Globes on Mason Jar (tutorial HERE). When my daughter and I were at the craft store recently, we saw a clear ornament. It was different from the ones we had used for our Christmas snow globes but it gave us an idea! So, we picked up the clear ornament and walked it over to the aisle where the jars are sold. Wouldn’t you know it, the ornament fit on top of these jars perfectly. It was meant to be!
A lot of people have asked what size ornaments I used for the Christmas snow globes. What I suggest is going to the craft store and finding the clear plastic ornaments that come apart in 1/2. They oftentimes come in a variety of sizes, as seen in my Christmas snow globes post. Then, go to the area where the jars are sold and find which jar(s) fit best. This particular clear ornament that I used for the Halloween snow globes was designed for crafting. So, instead of coming in a pack with several ornaments, it came with just one. Very convenient!
I found the ornament at Hobby Lobby, which is a craft store that happens to put their Christmas decor out in August ?You can also find the ornaments online but it’s easier to pick it out in person so you can find ornaments that fit whatever jar size you like. In this case, the plastic ornament fit right over the miniature decorations. With my Christmas snow globes, I glued them into place. Either way works!
How to Make a Halloween Snow Globe on Top of a Jar: Video?
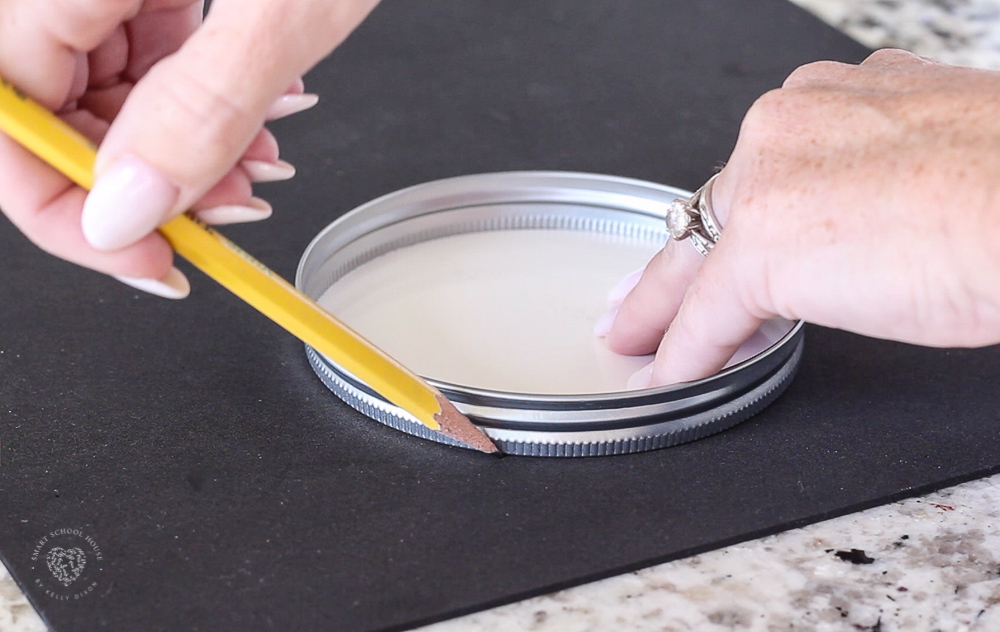
Cover the mason jar lid with black craft foam. That makes the silver lid dark for a good Halloween setting. Do this by tracing the lid and cutting out a perfect size circle. Use hot glue to stick the craft foam onto the lid.

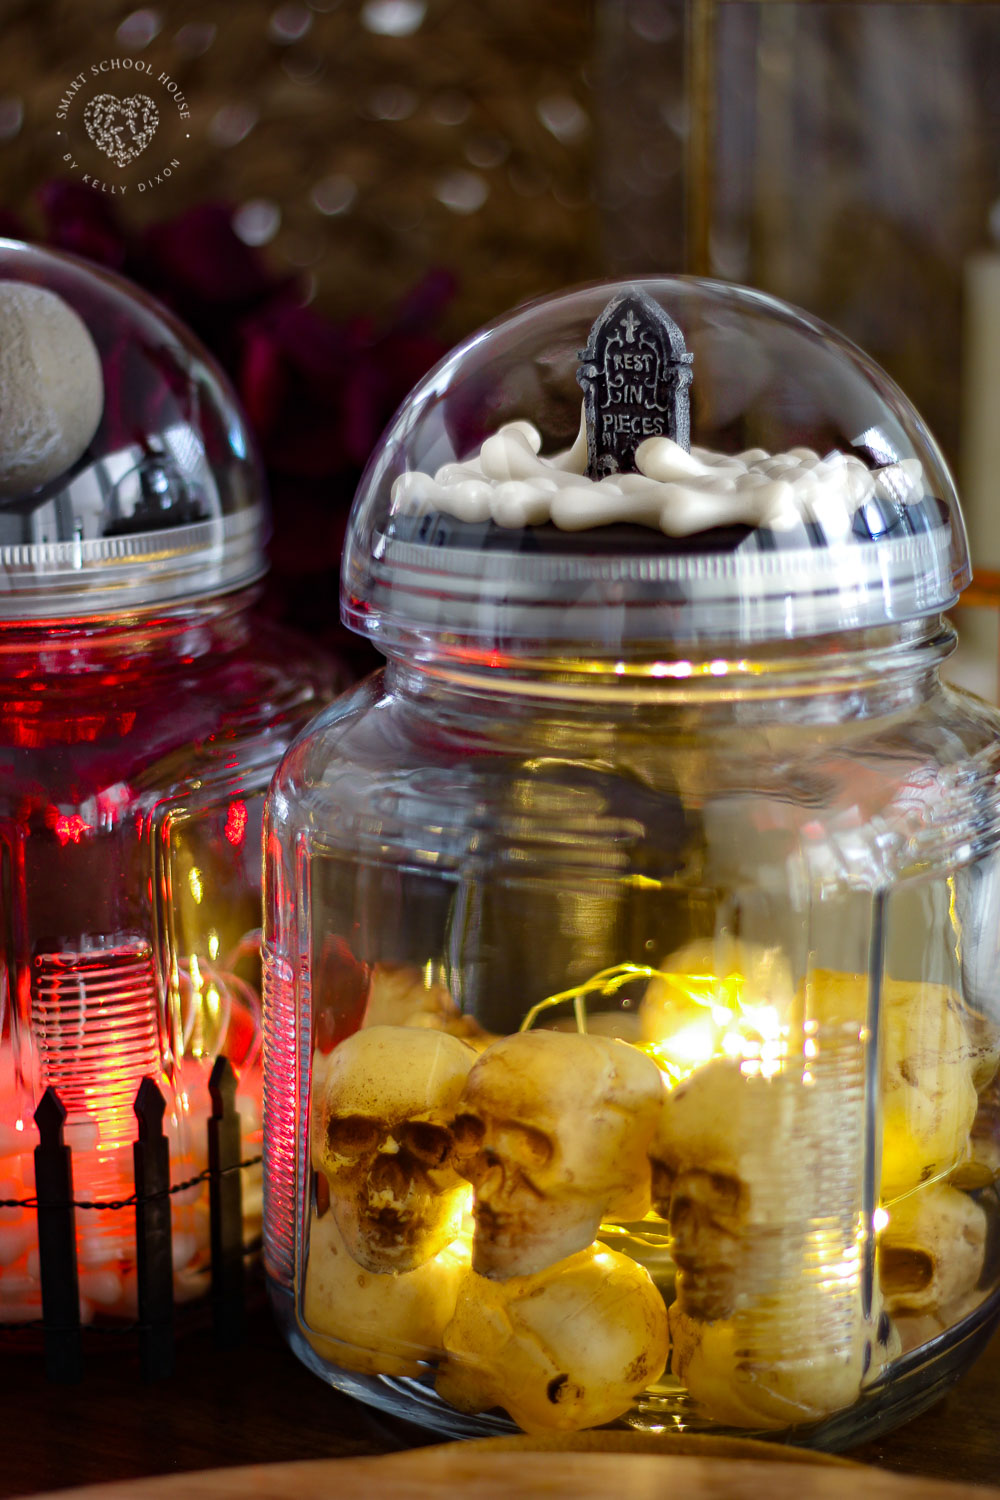
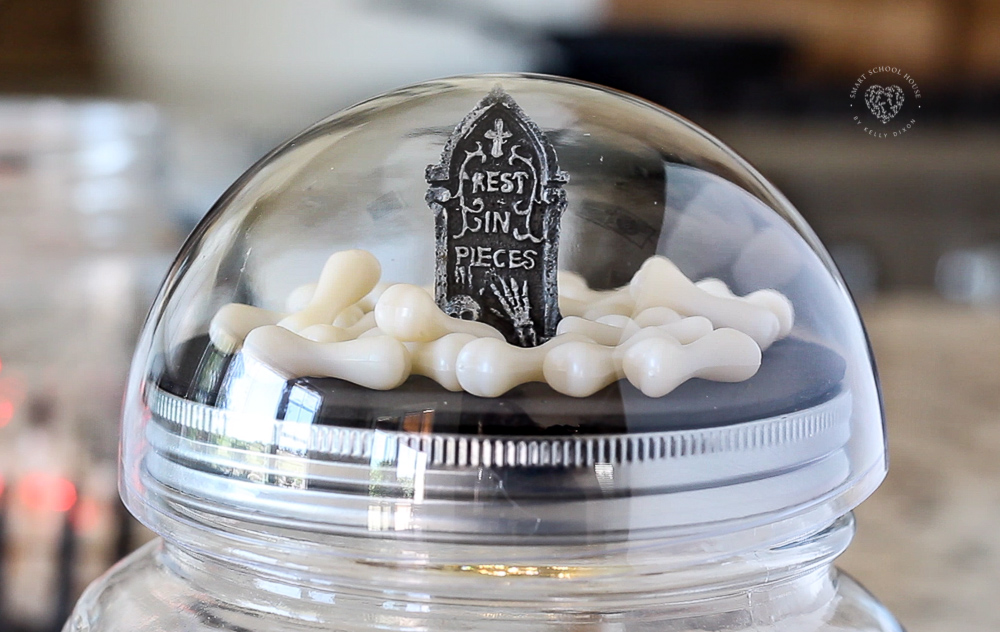
Next up, it’s time to start decorating the snow globe! You can find these miniature decorations at any craft store. They are used for making fairy gardens, terrariums, and other things. Here are some great choices on Amazon. Once again, hot glue is great for keeping the decorations in place. I found the miniature bones at Michael’s craft store (the glow in the dark!).
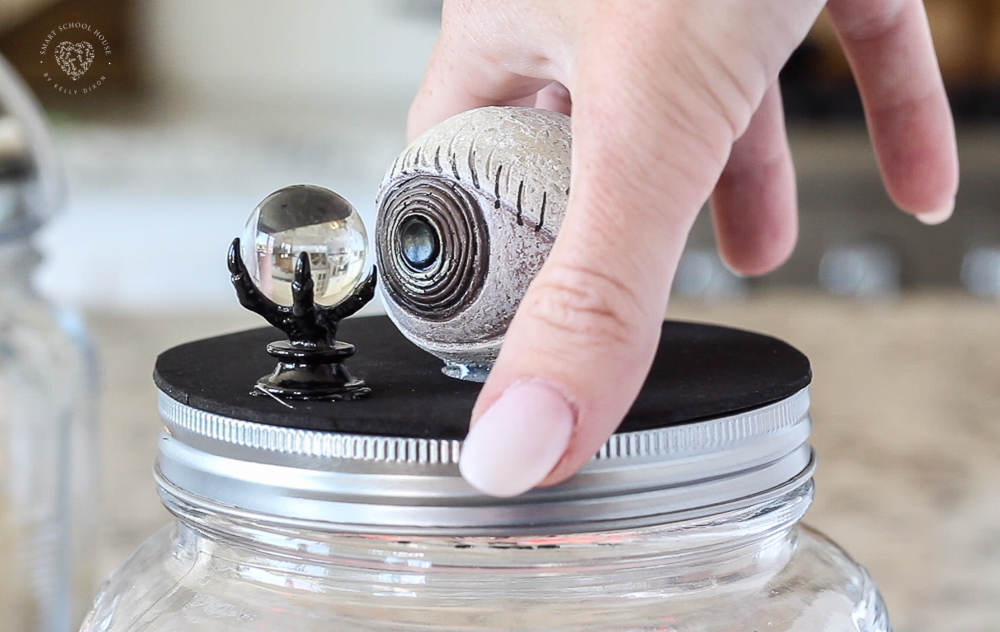
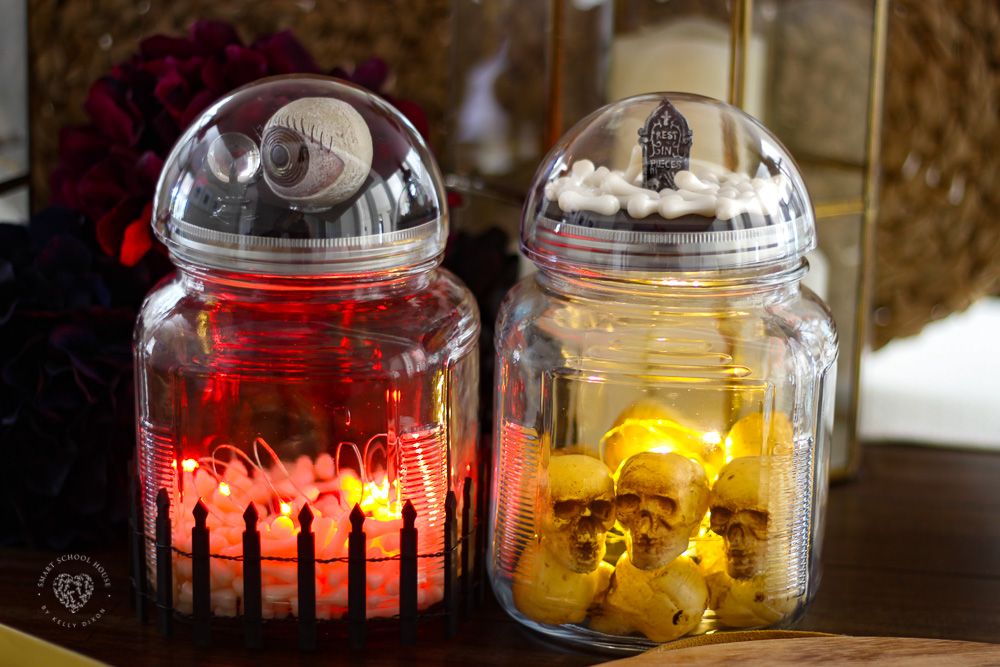
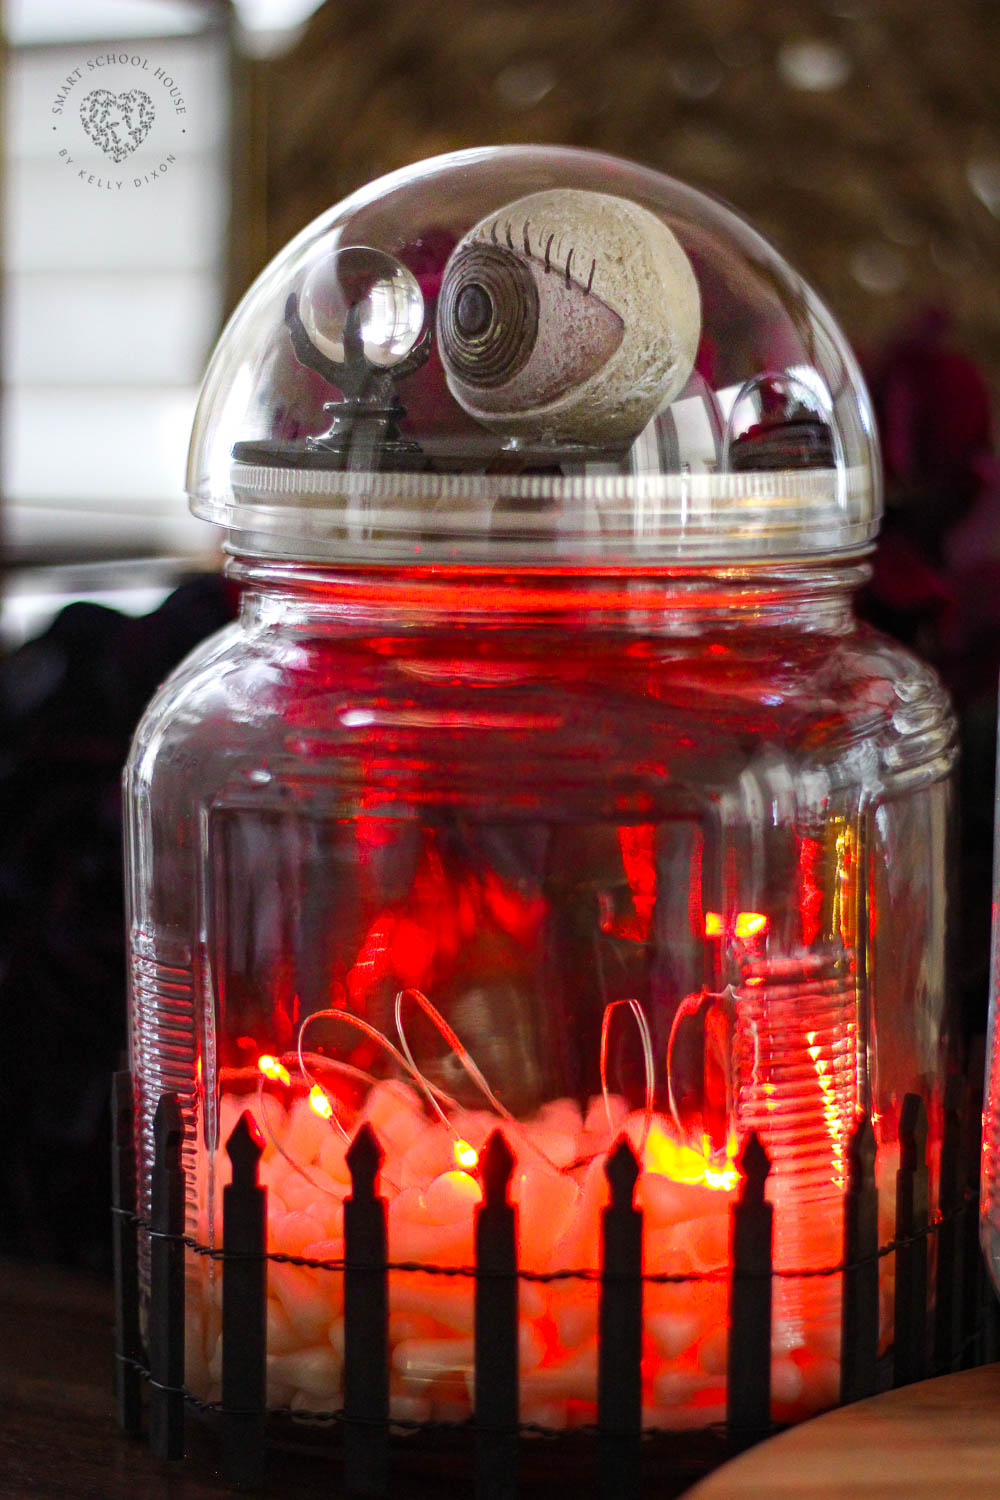
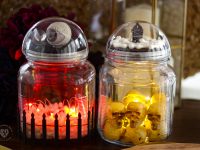
I also got the eyeball and the crystal ball from Michael’s as well. Once all of your decorations are secured onto the lid, fill the jar with more Halloween decor. I used a mini black picket fence, mini skulls, as well as red and warm white twinkle lights. Twist the lid on and then place 1/2 of the plastic ornament on top! Depending on the size of the ornament and the lid, you may or may not have to secure the dome with hot glue. The printable directions can be found below at the end of this post.
More EASY Halloween Crafts by Smart School House:
-
Dollar Store Spooky Hanging Cages
-
Flamingo Vultures
-
Halloween Watering Can with Lights
-
Tomato Cage Witch Hat
-
Glowing Pumpkin Pails
-
Toilet Paper Pumpkins
-
Skeleton Bubble Bath
Simple Halloween Desserts by Smart School House:
-
Halloween Peeps Houses
-
Candy Apple Ghosts
-
Marshmallow Ghosts
-
Halloween Ghosts
-
Pretzel Broomsticks
-
Halloween Ice Cream
Happy Halloween!
You Will Need
- Mason jar with a lid. Find them at a grocery store, craft store, or here
- This is the large jar I used. It was about $10 at the store.
- Miniature Halloween decorations. Find them at the craft store or here
- Fairy lights found here
- Glue gun (tip: E6000 glue works for a stronger hold!)
- Black craft foam
- Scissors
- Clear Plastic Ornaments (as pictured above and in the video)
Directions
- Trace the jar’s lid on the black foam
- Cut out the circle and glue it to the top of your jar’s lid
- Fill the jar with various spooky Halloween decorations AND fairy lights
- Hot glue miniature Halloween decorations on the craft foam
- Twist the lid with the glued on decorations onto the jar
- Place 1/2 of a plastic ornament on top! You may or may not need to glue the lid in place depending on the size.
**** See THIS VIDEO and post for additional instructions and ideas. ****


